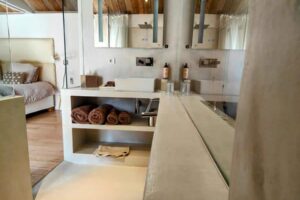
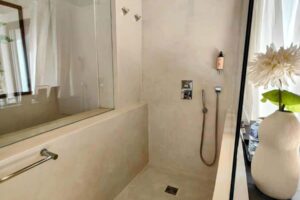
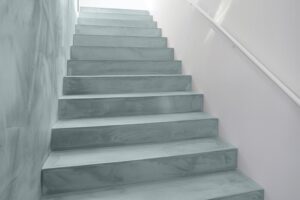
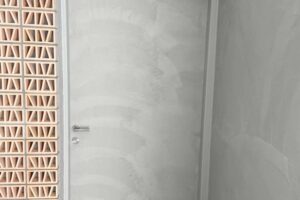
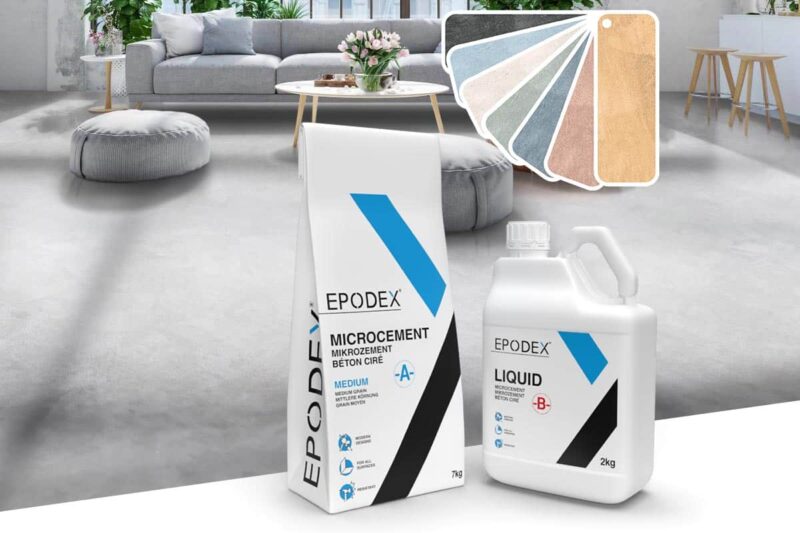
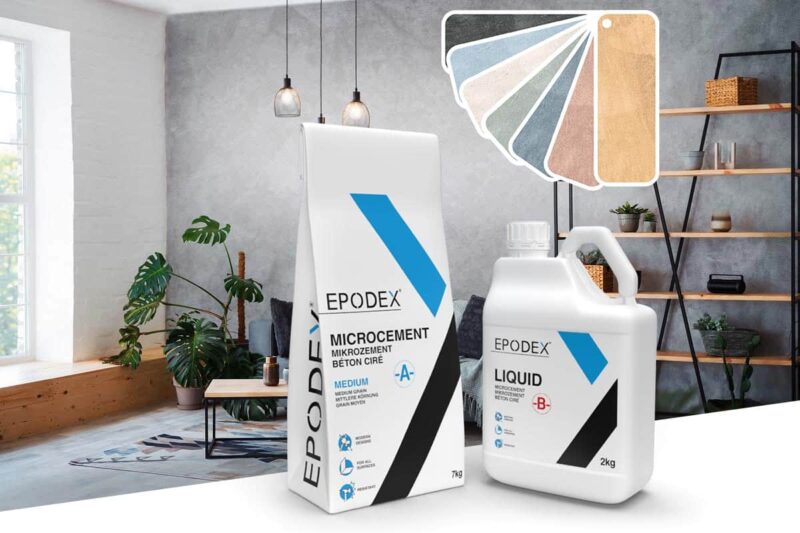
Get the service you deserve!
✓ Guaranteed hassle-free shopping experience. Simply select the color and the square footage you want to cover. We automatically calculate the required amount of microcement and dye for you.
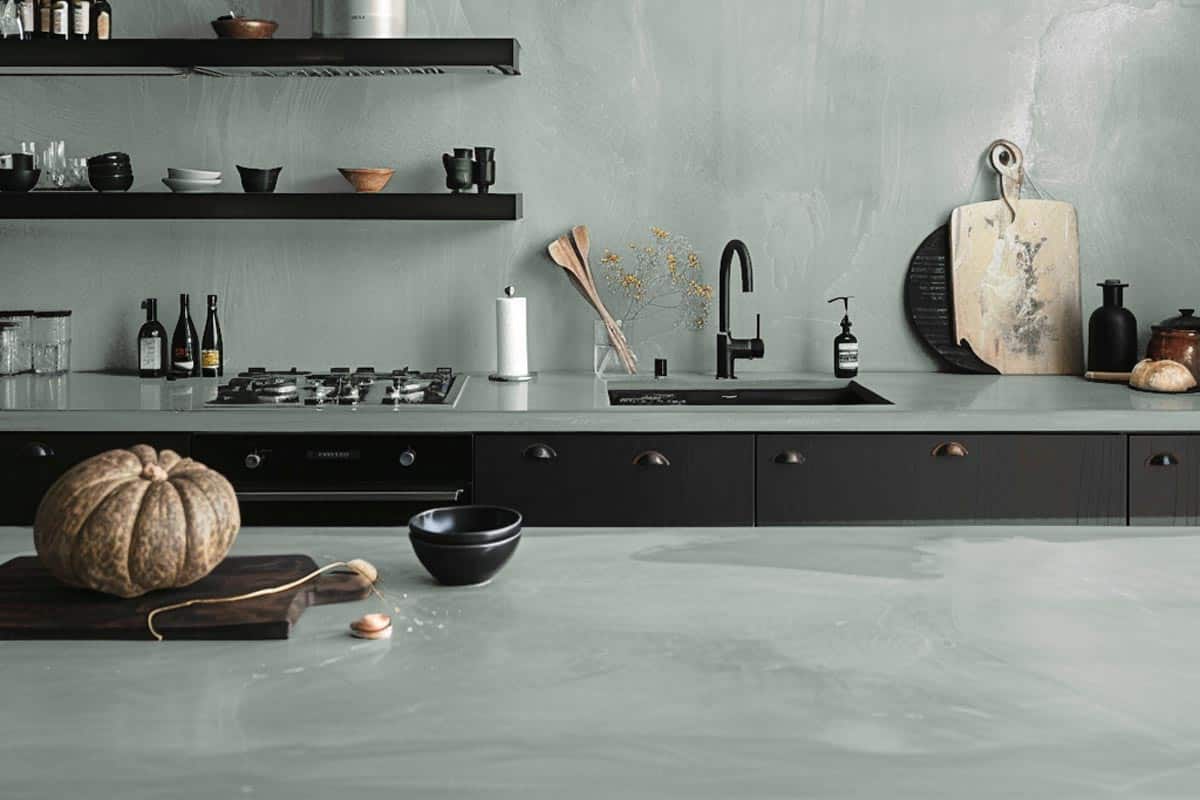
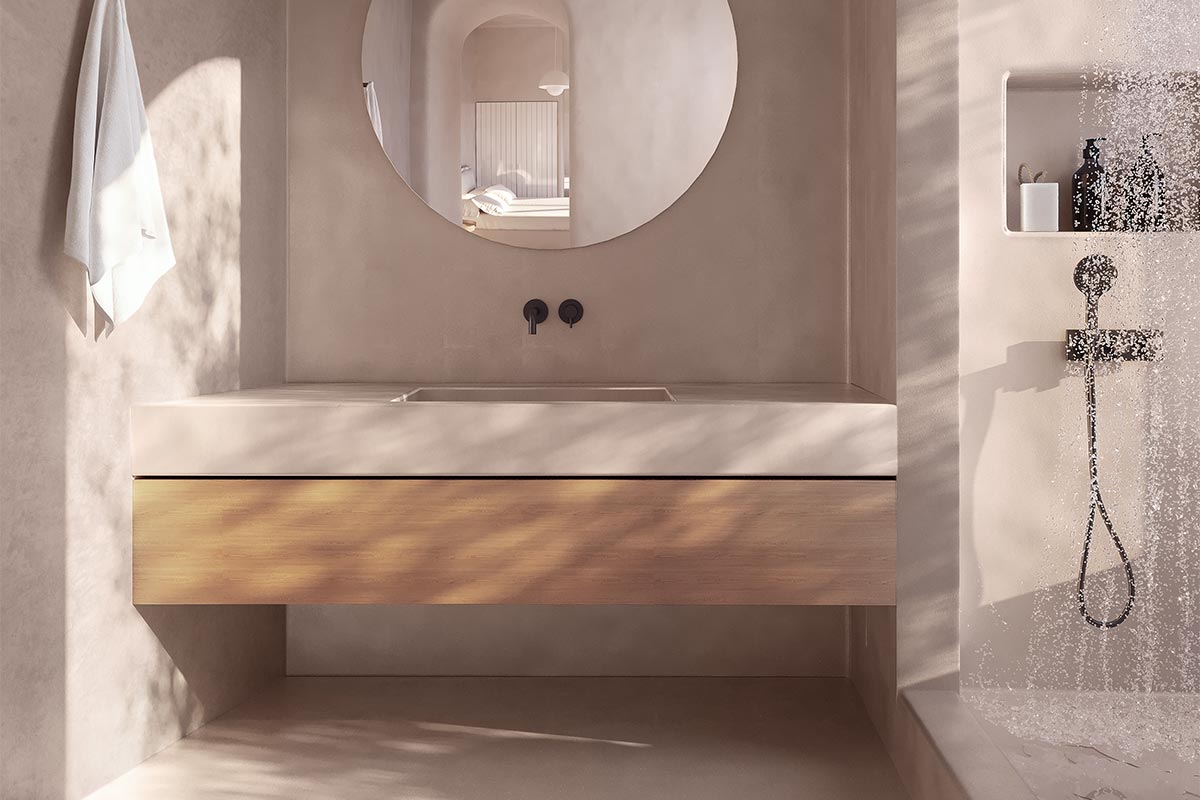
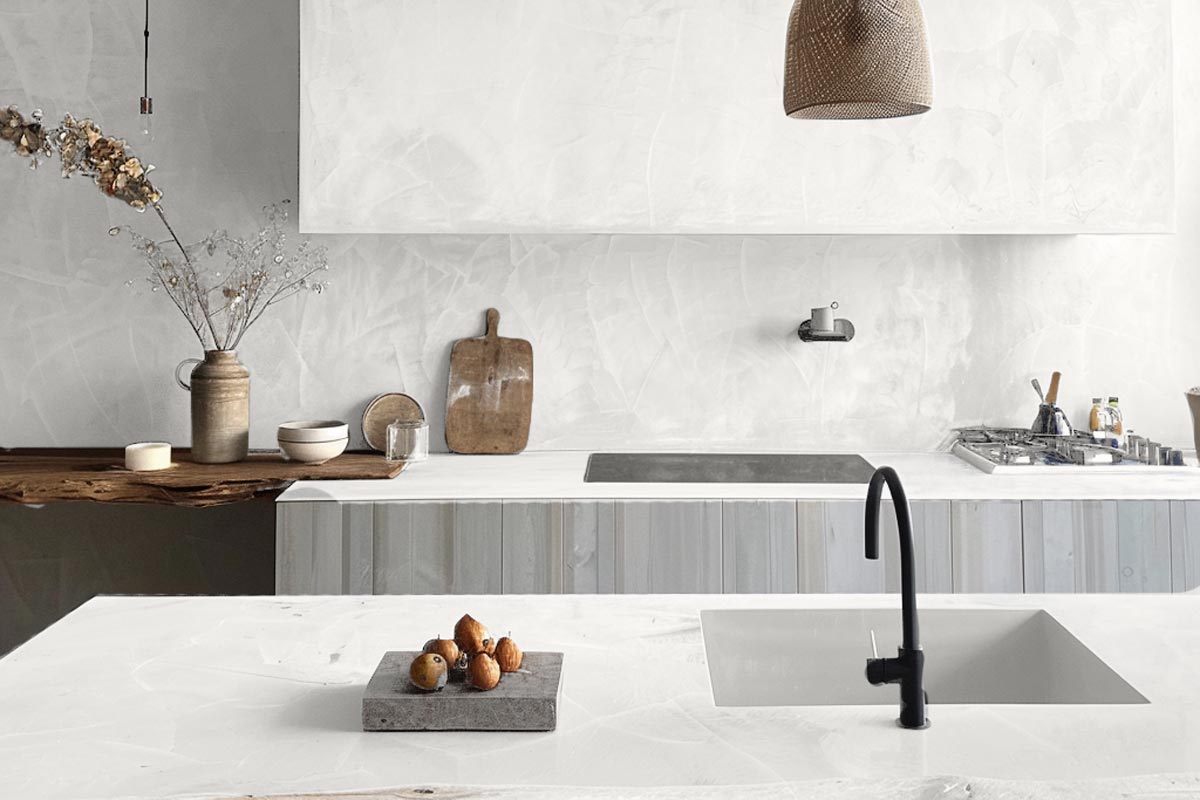
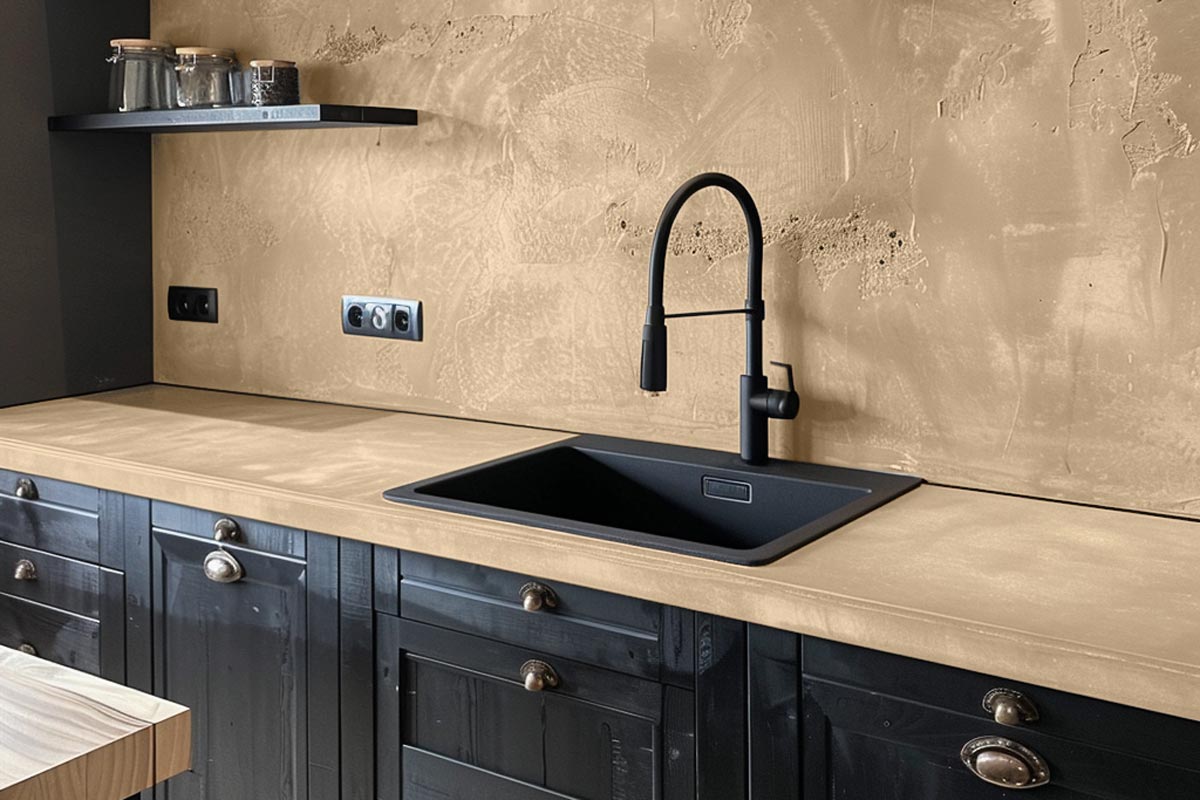
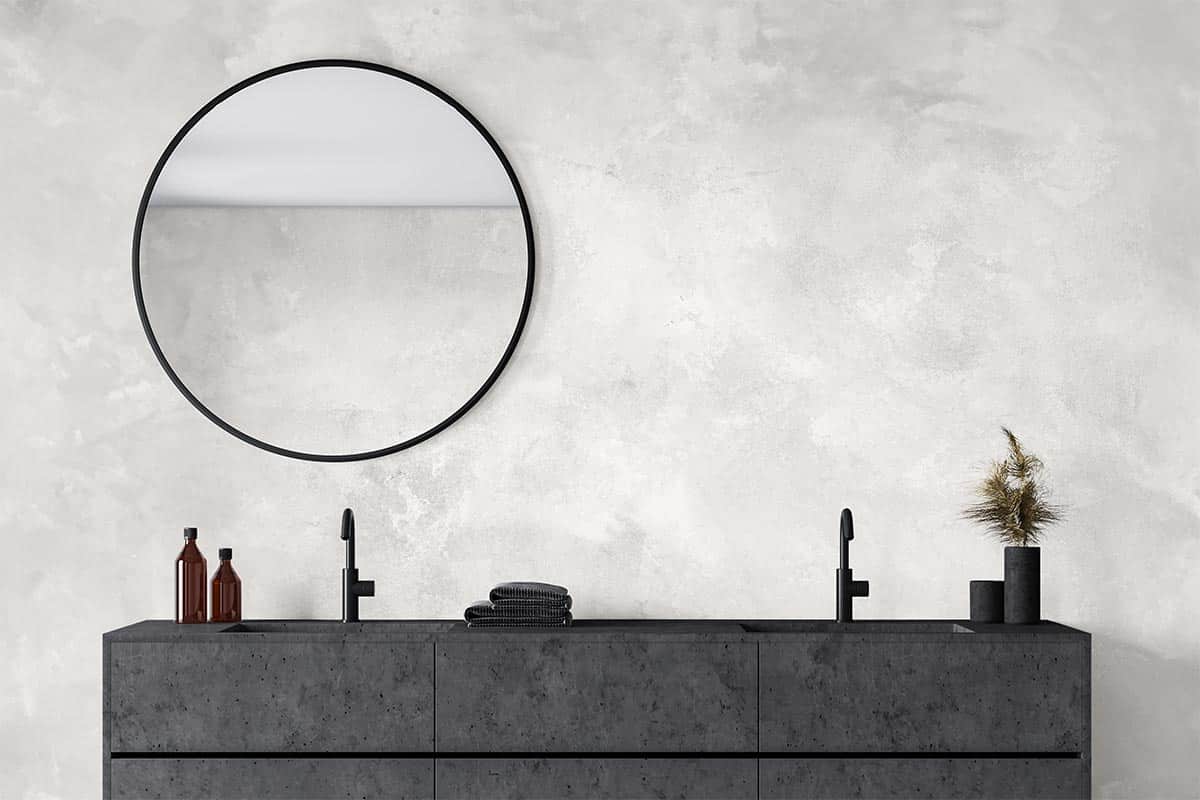
✓ No surprises. You always get the color you see online. We present all our colors in 4K videos and high-resolution pictures so you can see exactly what you are getting.
✓ Professional easy to follow step-by-step tutorials.
✓ Same Day Shipping
✓ Delivery across USA
✓ Friendly 24h-Support
Instructions for Use
Primer
- The substrate must be stable, dry, and free of dirt, separating agents, and coarse unevenness.
- Sand off any unevenness.
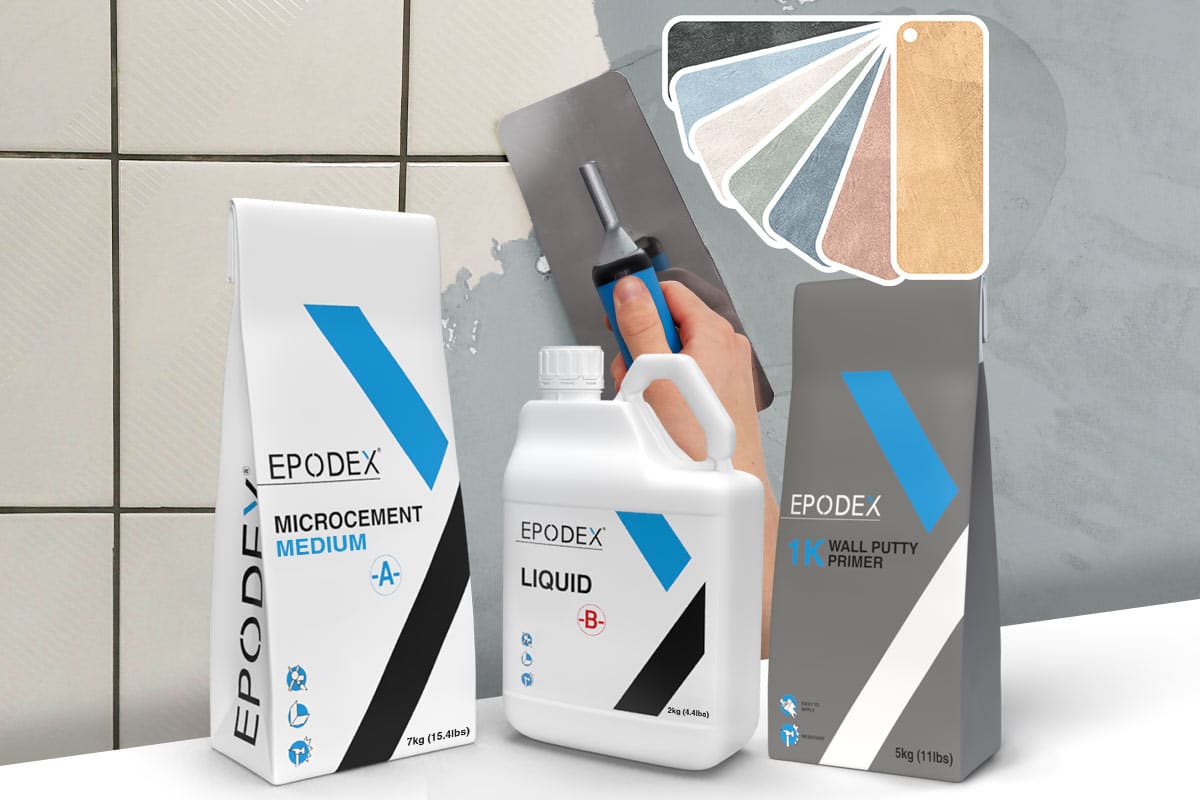
- If required use our Putty Primer on your walls and 2K Leveling Compound on your floor to level and prime, for example on tiles.
- If your area to be coated is already leveled and smooth, use either our 2K Bonding Primer (for-non absorbent surfaces) or DEEP PRIMER (for absorbent surfaces) to prime your furniture.
Main Coating
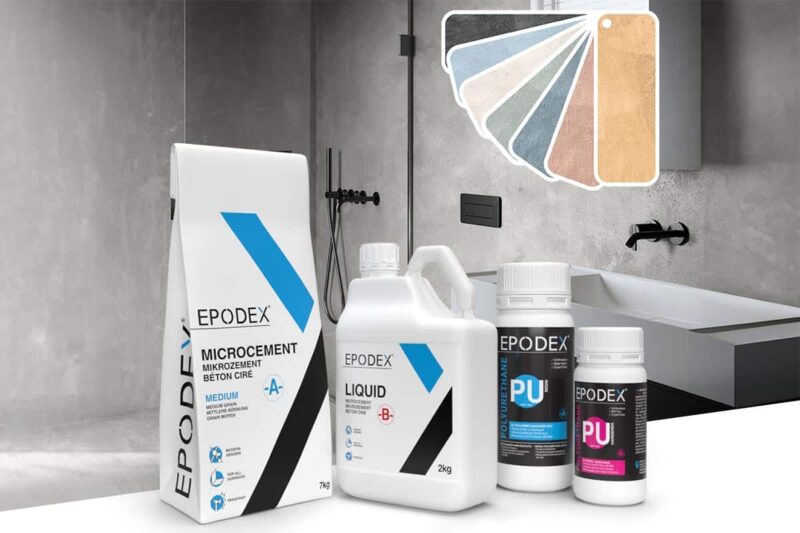
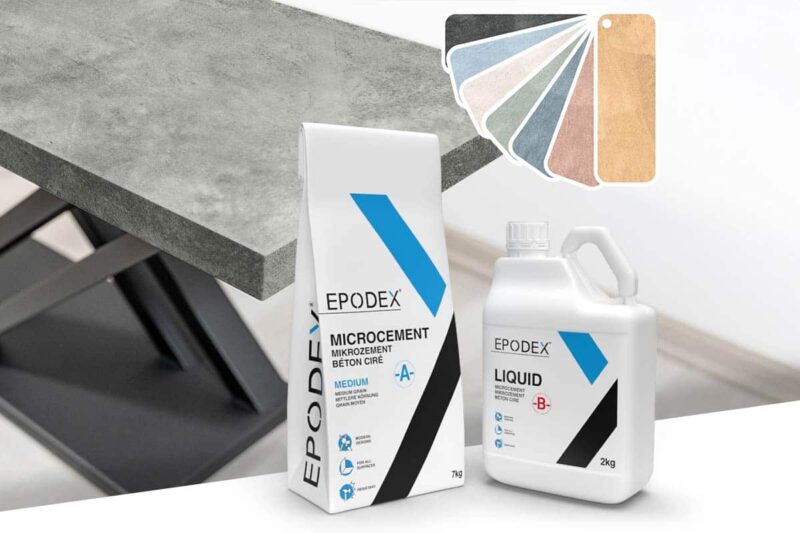
- Mix microcement A components with the Liquid B component in the mixing ratio specified on the label.
- Add 2% WB pigment to color the material (i.e. 2×3.5oz WB Pigment to 1 bag microcement powder and its liquid B-component).
- Spread the material thinly with a trowel and allow to dry.
- Sand off any unevenness in the surface greater than 1/8″ and vacuum up any sanding dust.
- Apply a second coat in the same way within 24 hours.
Application of microcement on walls: Layer 1 (medium grain size): 0.24lb/sqft, Layer 2 (medium grain size): 0.24lb/sqft
Application of microcement on a floor: Layer 1 (large grain size): 0.32lb/sqft, layer 2 (medium grain size): 0.24lb/sqft
Pro Tip: Up to 10% WB Pigment can be added for more intense colors. If you exceed 24 hours between the microcement layers, sand the first layer and remove the dust. This roughens the surface for better bonding and ensures the next layer won’t break off.
For stubborn fine particles, use a light brush of liquid B. Brush or roll on a small amount to avoid flooding the surface.
Sealant
Note: For damp rooms, surfaces in direct contact with water and heavily used surfaces (high mechanical stress, cleaning with aggressive cleaning agents, etc.), we recommend sealing the surface with EPODEX matte polyurethane resin (PU resin).
- Wait at least 48 hours after the last microcement layer before proceeding with the PU sealant.
- The temperature of the room, the substrate, and the PU must be at least 60°F.
- Make sure that the substrate is clean, dry, and free of any substance that may prevent the PU’s adhesion.
- Coat the surface with the PU resin.
- To do this, mix the PU resin (A) with PU hardener (B) in a 10:1 ratio by weight (e.g.: 10oz A + 1oz B).
- Transfer the mixture to a paint tray and mix again. This way you make sure that resin (A) and hardener (B) mix completely.
- We recommend mixing smaller quantities (max. 35oz at once), as the material, is very reactive and sets quickly (pot life: 60 min. for 35oz).
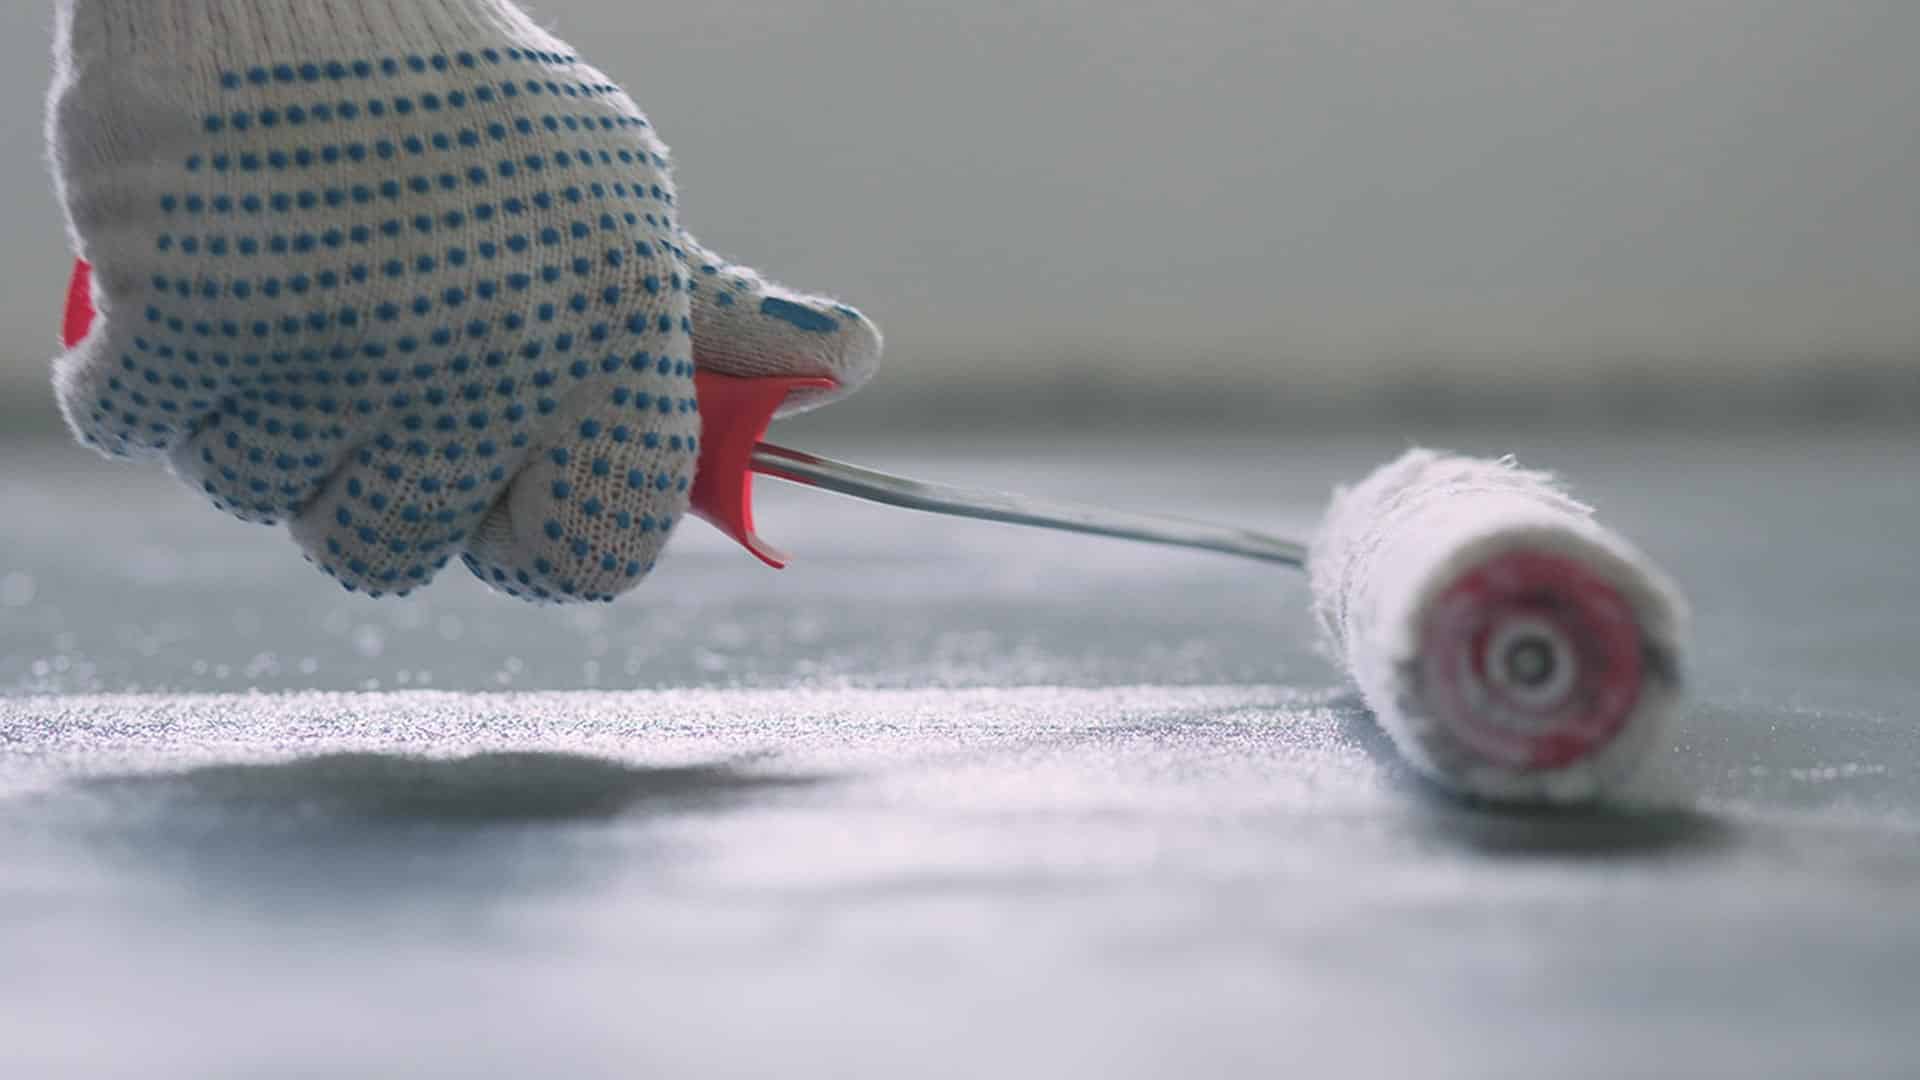
- Apply the material very thinly with a foam roller in a criss-cross pattern. To achieve an even finish, use our scraper grid to scrape off excess material before application. We recommend a layer thickness of max. 150µm. If the coat is too thick, the PU won’t cure properly.
- The material can be walked on after approx. 20-24 hours and is completely chemically cured after approx. 7 days.
Pro Tip: To ensure that your PU is applied everywhere, apply the quantity received in 2 coats. By applying 2 coats in a criss-cross motion, the chance of an unsealed gap is greatly reduced.
Customer Service: If you have further questions, please contact us by phone, e-mail or use our WhatsApp support.
Note: Please note that due to different lighting conditions and monitors, the colors may not be uniformly displayed.

