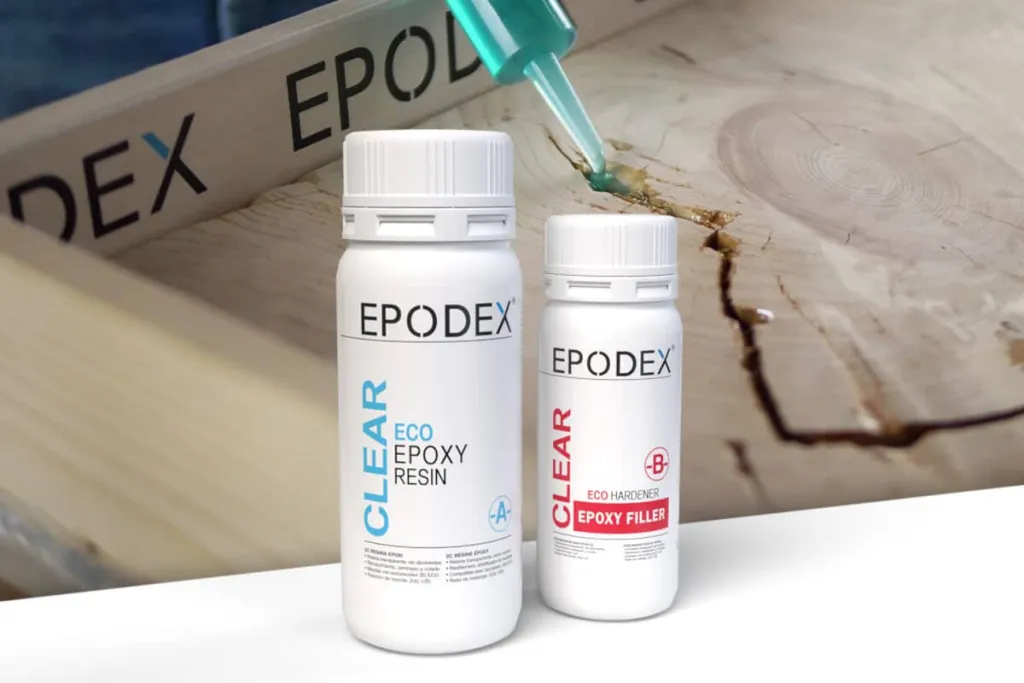
Epoxy Filler Kit
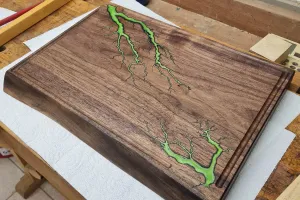
Perfect for Filling Cracks in Wood, Concrete, and other Surfaces
- Ideal to repair and fill holes and cracks
- Layer Thickness: 1/16" - 12"
- Binds to every surface such as wood, concrete, glass and more
- Can be painted on, sanded, and milled after curing
- Kit consists of resin and hardener (mixing ratio 2:1)
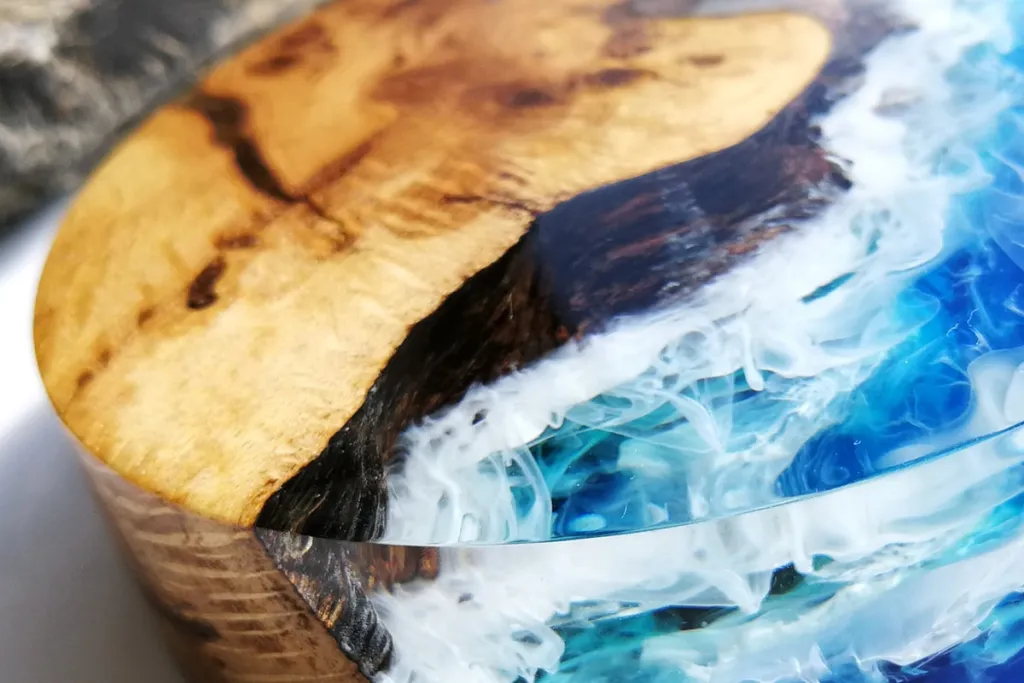
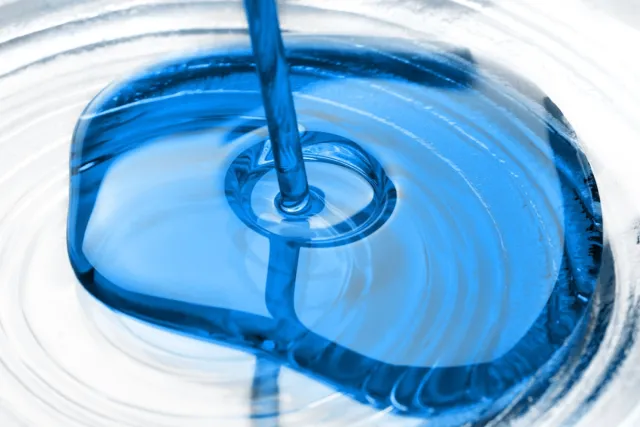
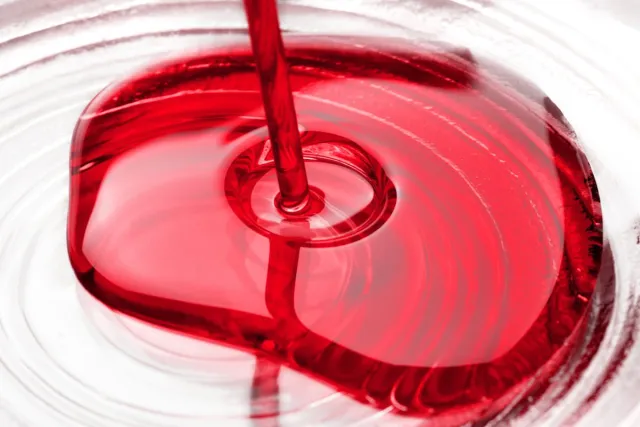
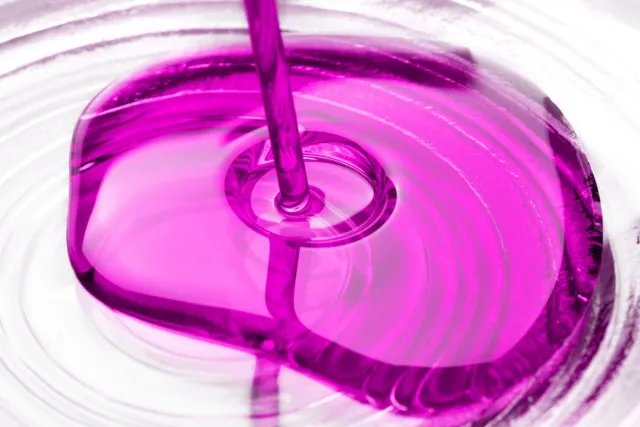
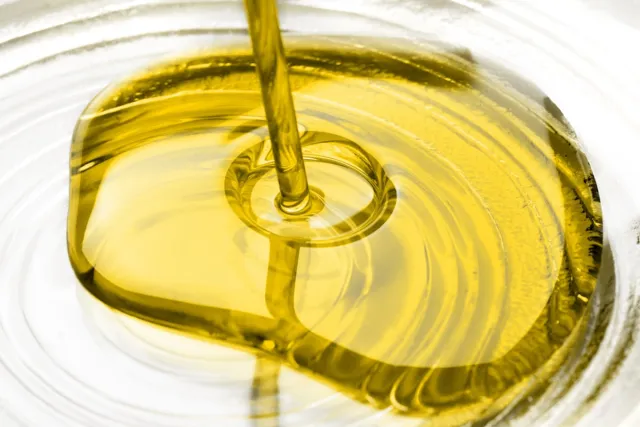
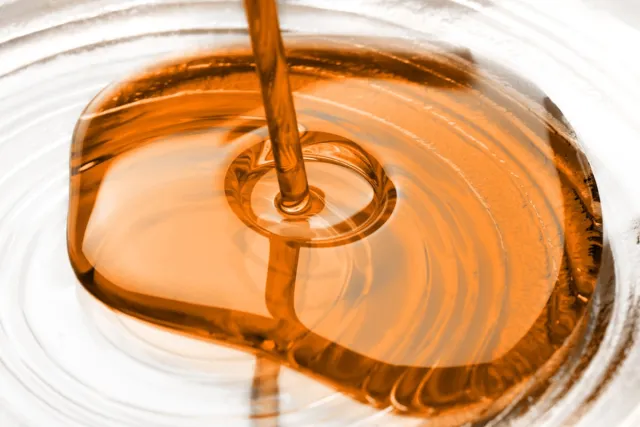
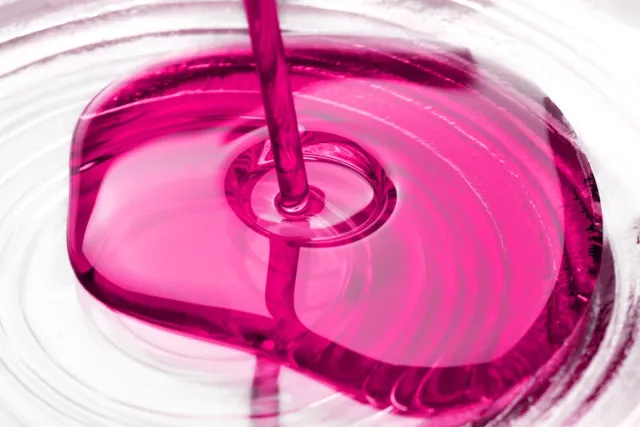
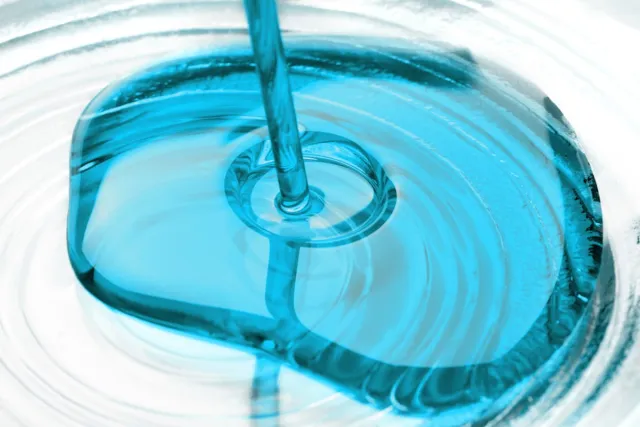
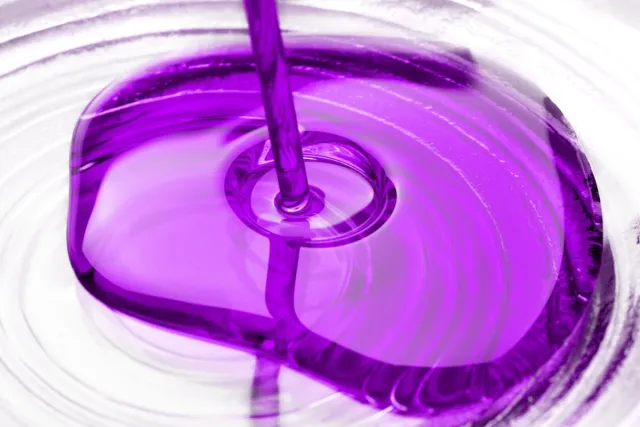
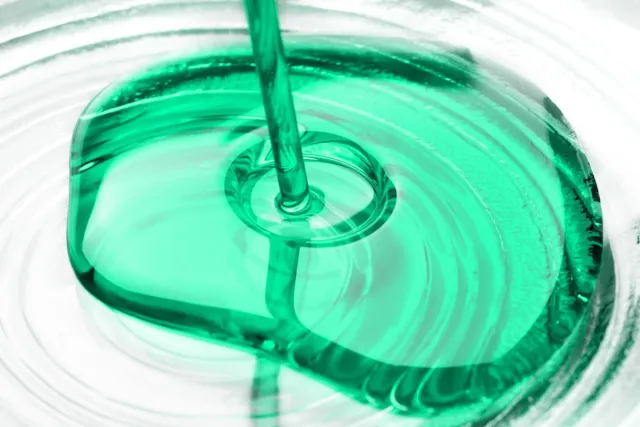
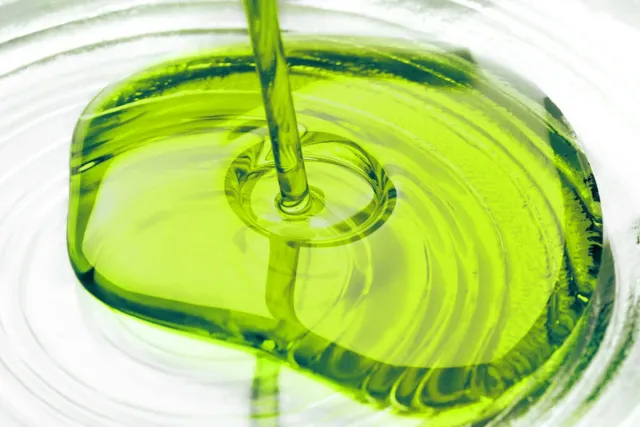
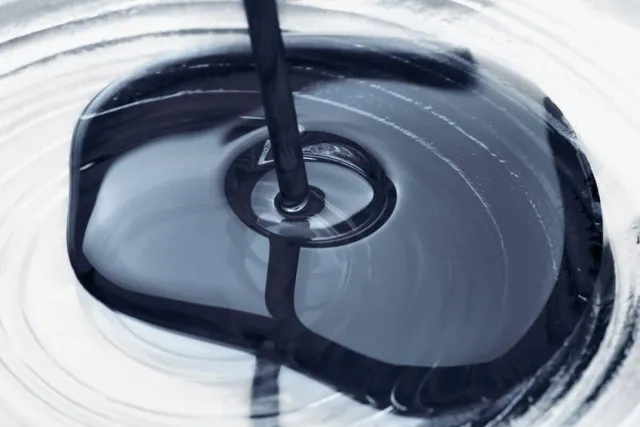
- Optionally add a colorant to your kit and make your own colored filler
2. Select Height Here!
3. Select quantity
PU Topcoat (Optional)
Save big now!
✓ Best Price Guarantee: Have you found a similar epoxy at a lower price? Send us a link to the product within 14 Days of your order and we will knock 10% off the competitor’s price!
✓ Money Back Guarantee: Test a small amount of your epoxy order and experience the quality. If you are not satisfied, return your order and we will refund the purchase price.
✓ Choose a flooring epoxy kit with colorant! Instead of buying colorants separately, select your desired color in combination with the epoxy to save big.
✓ Precise purchasing! We are offering the largest and most diverse quantity selection of epoxy (Kits from 24oz up to 75gal). Save money by only buying what you really need.
✓ Get quantity discounts! The more you buy, the more you save!
✓ 5% off for New Customers. Sign up NOW!
✓ Free Shipping over $50
Get the service you deserve!
✓ Guaranteed hassle-free shopping experience. Simply select the color and the epoxy quantity you want. We automatically calculate the required amount of colorant to dye the clear epoxy.
✓ No surprises. You always get the color you see online. We present all our colors in 4K videos and high-resolution pictures so you can see exactly what you are getting.
✓ Professional easy to follow step-by-step tutorials.
✓ Money-Back Guarantee
✓ Same Day Shipping
✓ Delivery across USA
✓ Friendly 24h-Support
Get the products you’ve always dreamed of!
✓ The biggest color selection on the market.
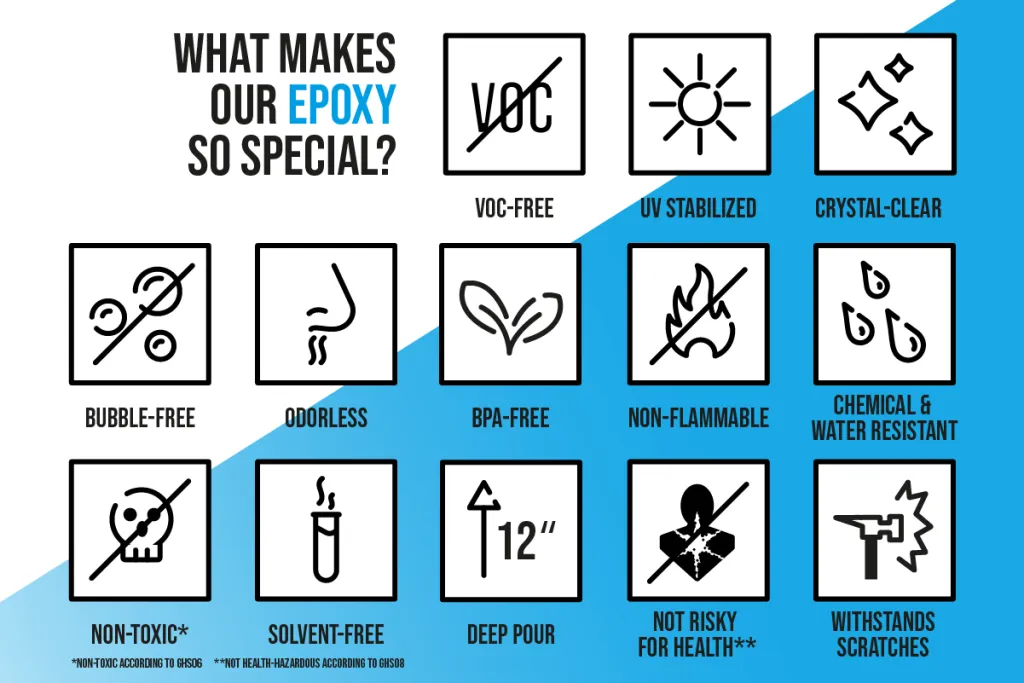
✓ The best epoxy properties across the USA:
- Bubble Free
- Casting up to 12" with our Deep Pour & Casting Epoxy
- Odorless
- Solvent Free
- BPA Free
- Easy to Use
Instructions for Primer
- Please ignore this section, if you are filling a tiny hole or crack. We recommend priming any cracks where a paintbrush can fit in.
- Use a little bit of your Epoxy Filler kit to prime (layer thickness: approx. 1oz/sqft).
- Mix the resin A-component with the hardener B-component in a 2:1 ratio (e.g., 64oz resin: 32oz hardener).
- Stir through the edge and bottom of the mixing cup as material will settle there. Ideally, pour into a clean mixing cup and mix again. This ensures that the resin and hardener are completely mixed together.
- Use the resin-hardener mixture immediately after mixing, as the product can start to boil in the mixing cup.
- Paint the epoxy primer with a foam roller or brush on the desired surface.
- Let the primer cure at 70°F until it is no longer sticky.
Instructions for Filling
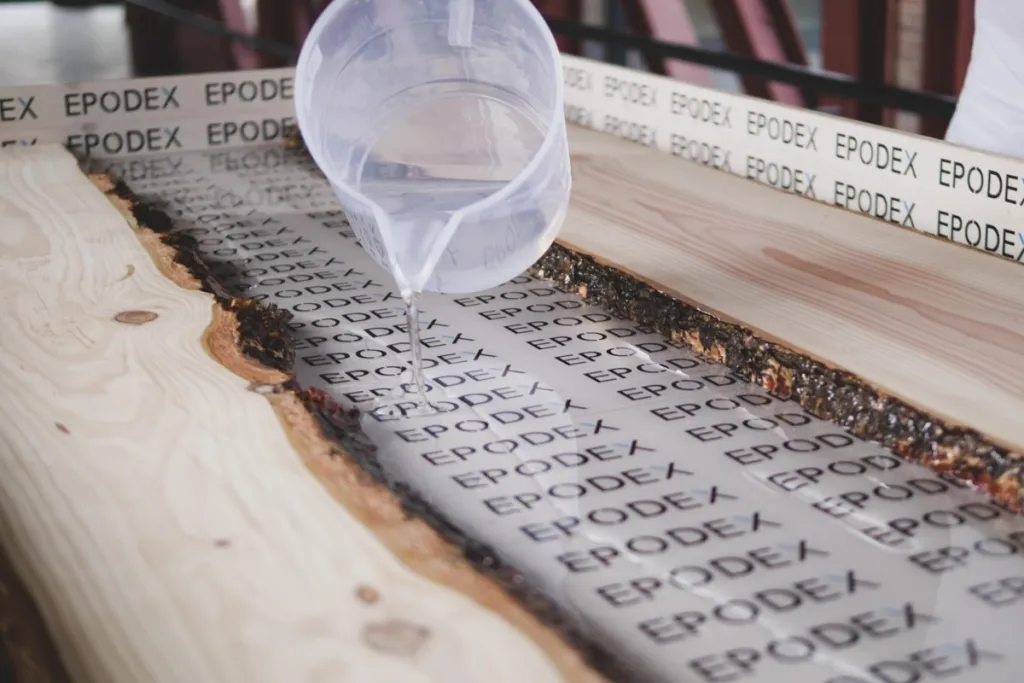
- After your primer has cured. Mix again resin-hardener in a 2:1 ratio (e.g., 64oz resin: 32oz hardener).
- Stir through the edge and bottom of the mixing cup as material will settle there. Ideally, pour into a clean mixing cup and mix again. This ensures that the resin and hardener are completely mixed together.
- If you wish to color your resin, add your EPODEX pigments and colorants. Adjust the color to your liking by adding more or fewer colorants.
- If you wish to thicken your epoxy, add fillers such as sawdust or chopped fiberglass until your mixture reaches peanut butter consistency.
- Use the resin-hardener mixture immediately after mixing, as the product can start to boil in the mixing cup.
- Let your epoxy resin cure completely. Detailed information can be found on the hardener label.
Note: Always respect the maximum casting per layer. To fill more than the maximum casting height, proceed in layers. Let the resin cure between each layer.
Info: Epoxy resin is sensitive to any kind of moisture during curing (risk of amine blush formation, i.e., white patches in the top layer). For this reason, we recommend that you avoid any contact between water and the epoxy until it has cured completely. For thin layers, cold temperatures (ambient, substrate, and resin temperatures below 70°F) and increased humidity, the time until the epoxy resin is fully cured may be extended.
Consumption Volumes
Determine the required amount of resin needed with the help of our epoxy resin “Calculator” on this product page.
Quantity of Colorants to Use
- Powder pigments (Metallic, Neon and Glow in the dark): 1g of pigment per 2oz of epoxy.70g (2.5oz) of pigment per gallon of epoxy,
- Transparent dyes (except white, black, and gray): 1g of dye per 17.5oz of epoxy. 7g (0.25oz) of dye per gallon of epoxy,
- Transparent white, black, and gray dyes: 1g of dye per 53oz of epoxy. 2.5g (0.1oz) of dye per gallon of epoxy,
- Semi-transparent dyes (except white): 1g of the desired dye and 0.5g of white dye per 26.5oz of epoxy. 5g (0.2oz) of the desired dye and 2.5g (0.1oz) of white dye per gallon of epoxy,
- Semi-transparent white: 1g of dye per 17.5oz of epoxy. 7g (0.25oz) of dye per gallon of epoxy,
- Solid color: 1g of dye per 3oz of epoxy. 40g (1.5oz) of dye per gallon of epoxy),
- Glitter pigments/flakes: 1g of dye per 3oz of epoxy. 40g (1.5oz) of dye per gallon of epoxy
Customer Service: If you have further questions, please contact us by phone, e-mail or use our WhatsApp support.
Note: Please note that due to different lighting conditions and monitors, the colors may not be uniformly displayed. All information is recommendations based on our experience; without legal obligation.
reviews
Warning Danger
Warning Danger Causes skin irritation. May cause an allergic skin reaction. Causes serious eye irritation. Toxic to aquatic life with long lasting effects. Causes serious eye damage. Harmful to aquatic life with long lasting effects. Warning! Hazardous respirable droplets may be formed when sprayed. Do not breathe spray or mist. Contains epoxy compounds. May produce an allergic reaction. Contains epoxy constituents. May produce an allergic reaction. The information on the product label must always be followed.

Related Products
