


Get the service you deserve!
✓ Guaranteed hassle-free shopping experience.
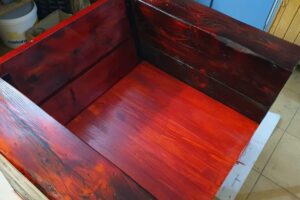
✓ No surprises. You always get the color you see online. We present all our colors in 4K videos and high-resolution pictures so you can see exactly what you are getting.
✓ Professional easy to follow step-by-step tutorials.
✓ Money-Back Guarantee
✓ Same Day Shipping
✓ Delivery across USA
✓ Friendly 24h-Support
Get the products you’ve always dreamed of!
✓ The biggest color selection on the market.
✓ The best epoxy properties across the USA:
- Bubble Free
- Odorless
- Solvent Free
- BPA Free
- Easy to Use
Instructions for Use
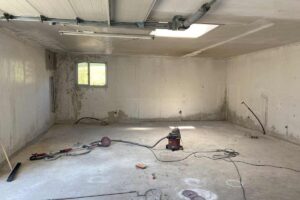
- The temperature of the room, the substrate, and the paint must be at least 60°F.
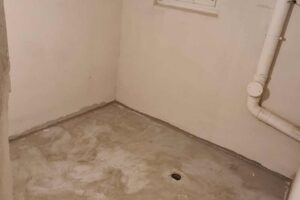
- Make sure that the substrate is clean, dry, and free of any substance that may prevent the paint’s adhesion.
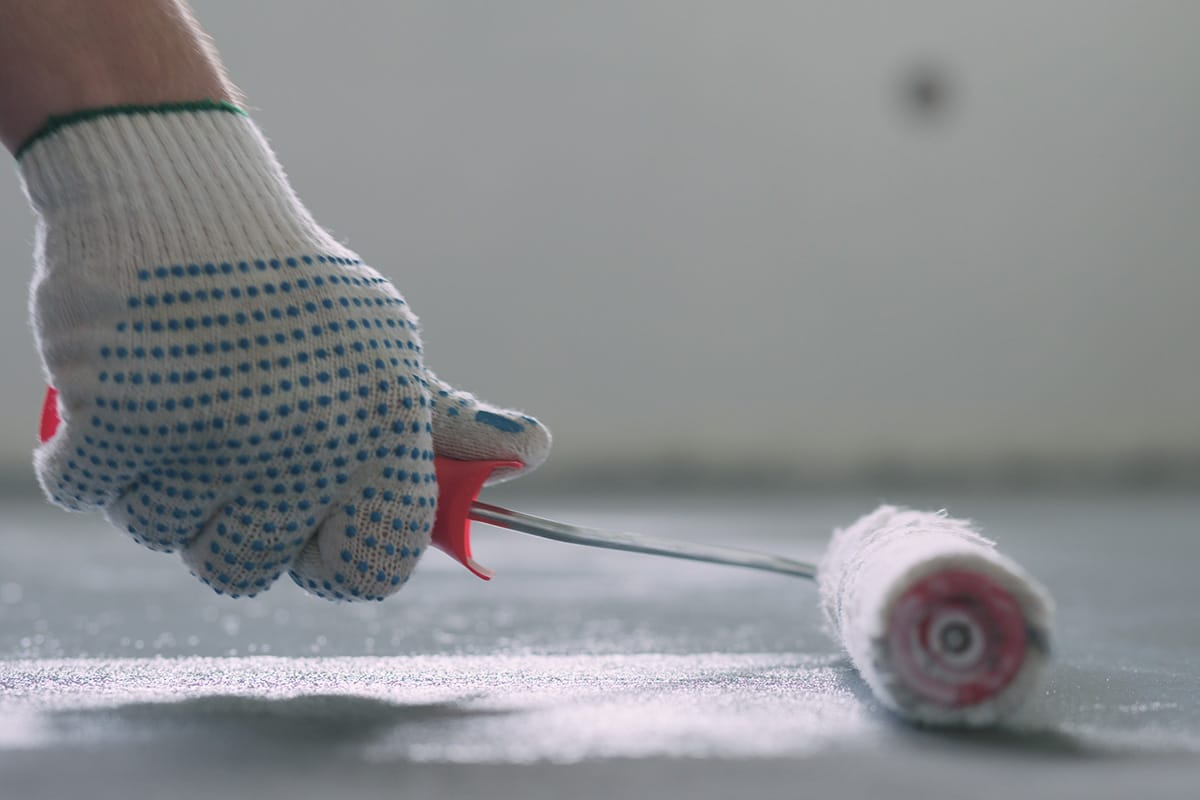
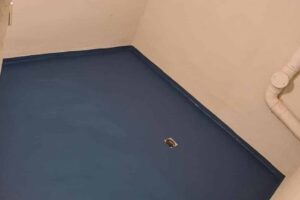
- Coat the surface with the PU resin.
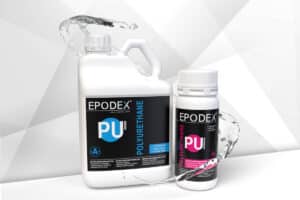
- To do this, mix the PU resin (A) with PU hardener (B) in a 10:1 ratio by weight (e.g.: 10oz A + 1oz B).
- Transfer the mixture to a paint tray and mix again. This way you make sure that resin (A) and hardener (B) mix completely.
- We recommend mixing smaller quantities (max. 35oz at once), as the material, is very reactive and sets quickly (pot life: 60 min. for 35oz).
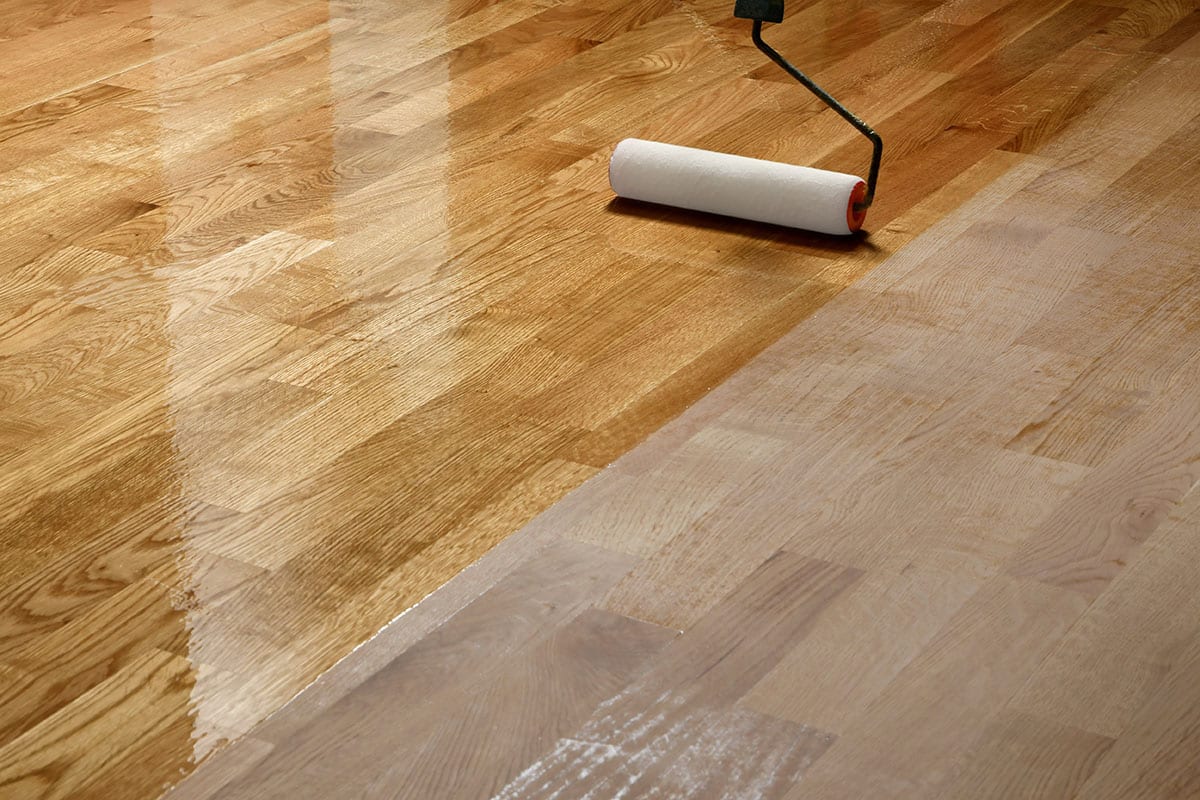
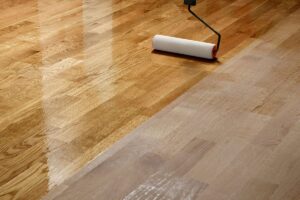
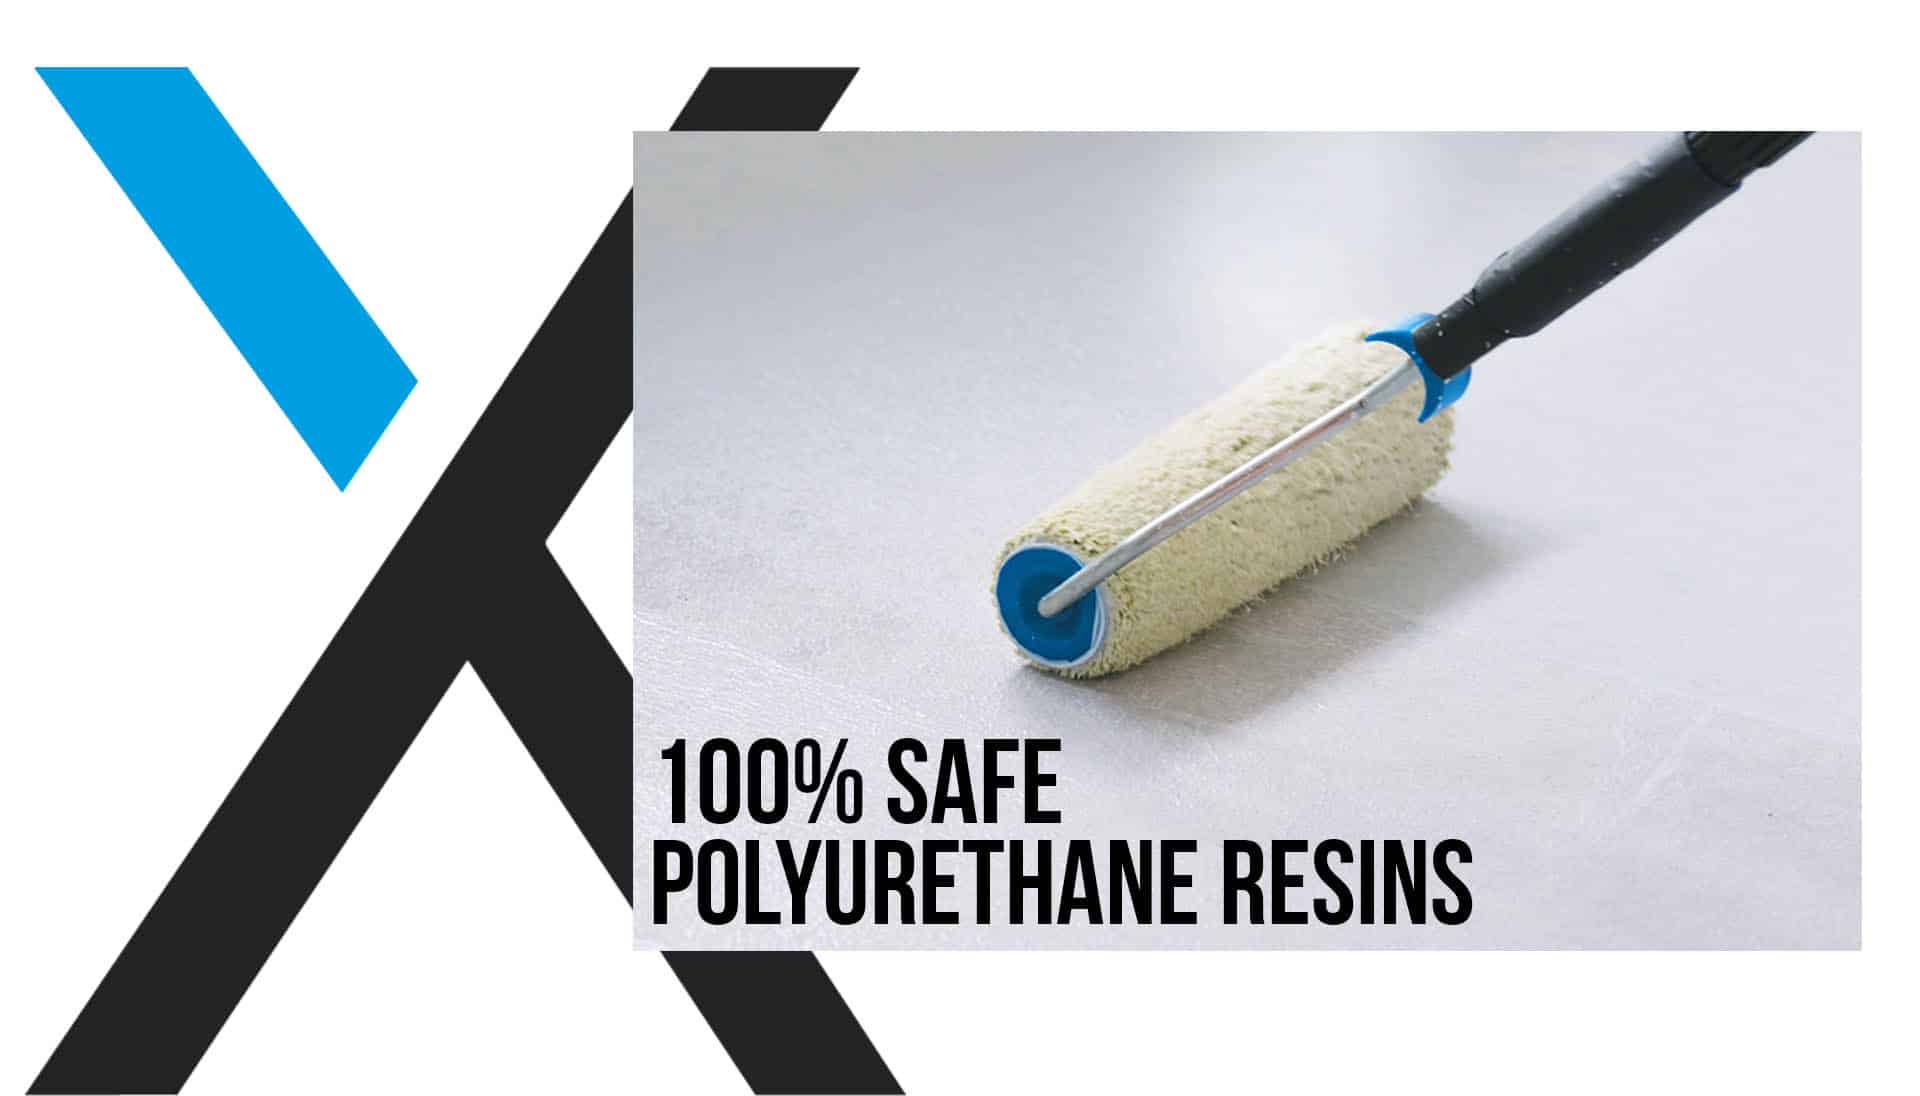
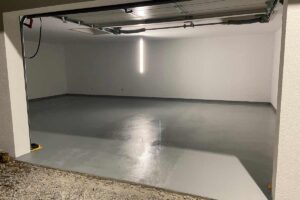
- Apply the material very thinly with a foam roller in a criss-cross pattern. To achieve an even finish, use our scraper grid to scrape off excess material before application. We recommend a layer thickness of max. 150µm. If the coat is too thick, the PU won’t cure properly.
- The material can be walked on after approx. 20-24 hours and is completely chemically cured after approx.7 days.
Pro Tip: To ensure that your PU is applied everywhere, apply the quantity received in 2 coats. By applying 2 coats in a criss-cross motion, the chance of an unsealed gap is greatly reduced.
Customer Service: If you have further questions, please contact us by phone, e-mail or use our WhatsApp support.
Note: Please note that due to different lighting conditions and monitors, the colours may not be uniformly displayed.


")
