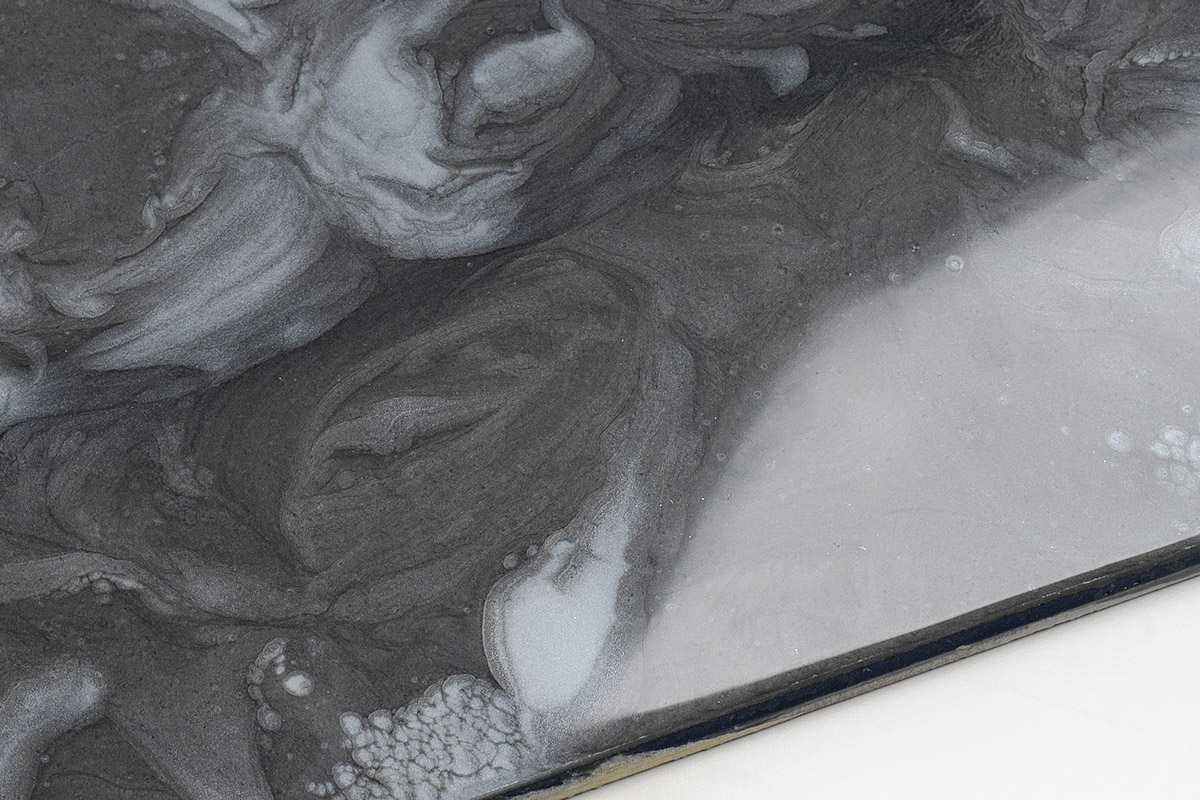
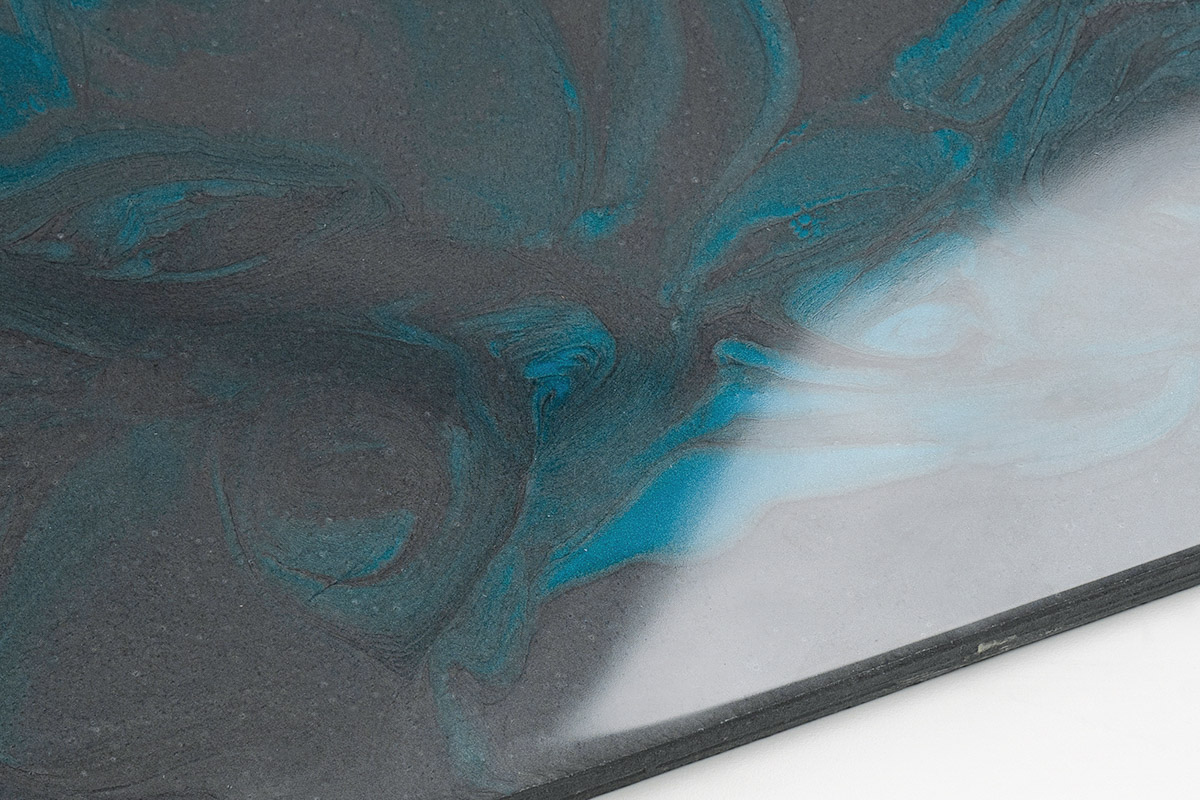
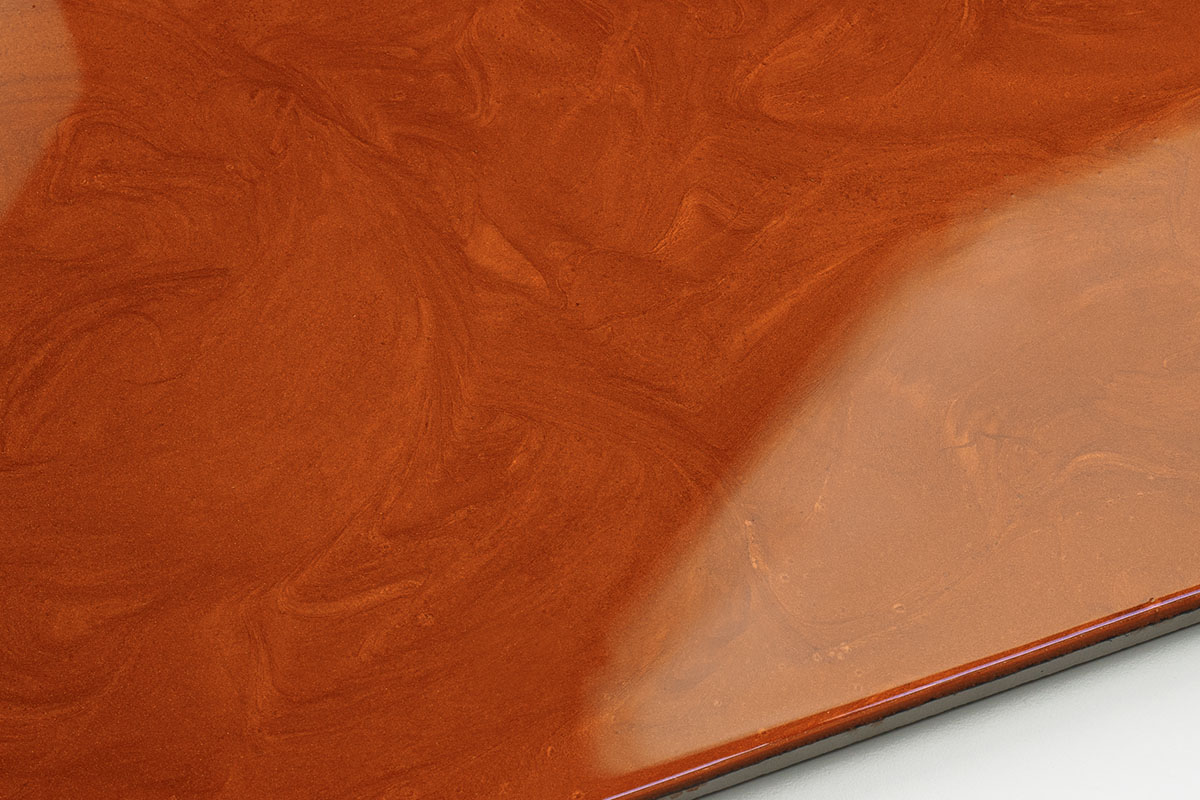
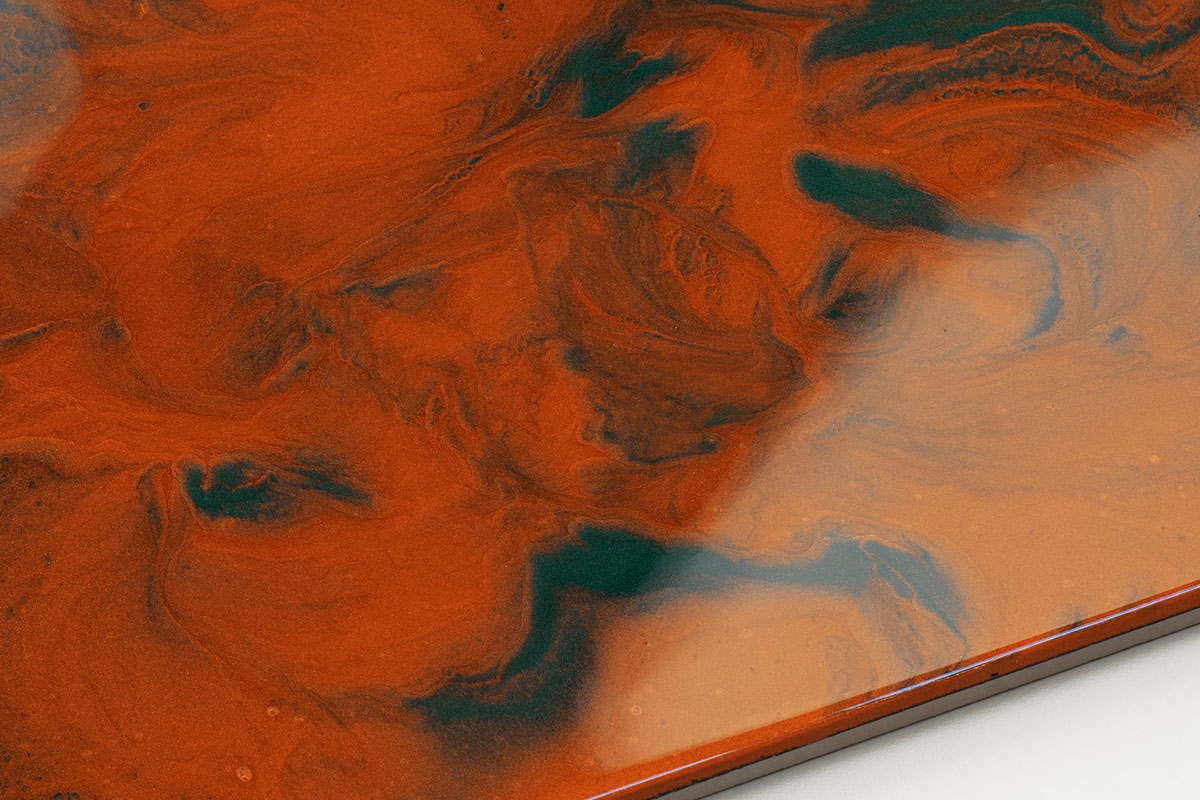
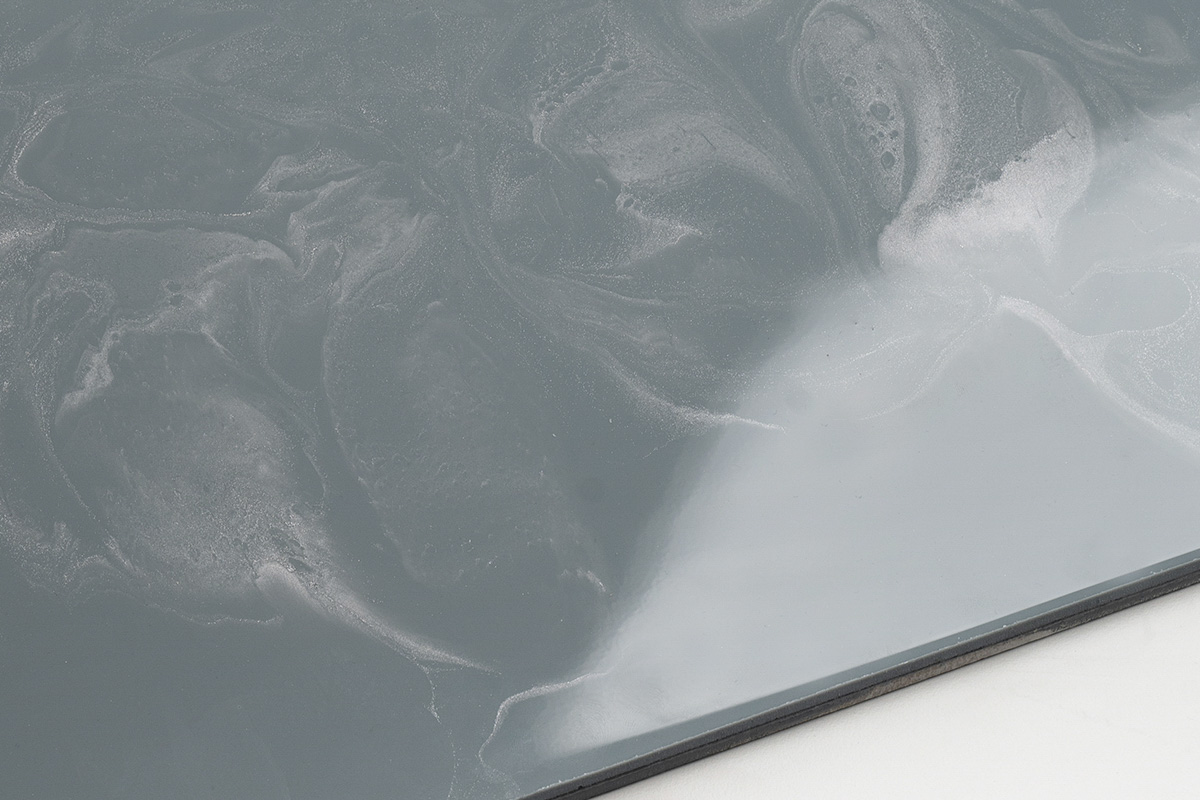
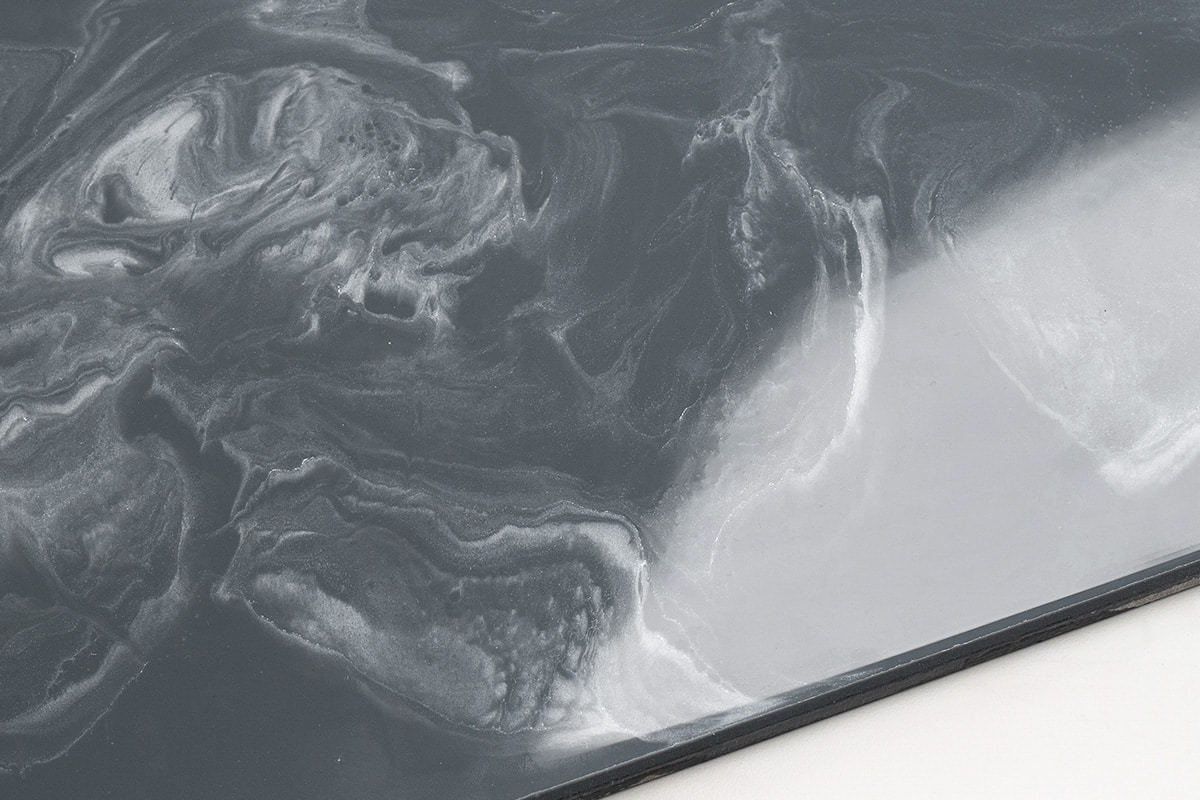
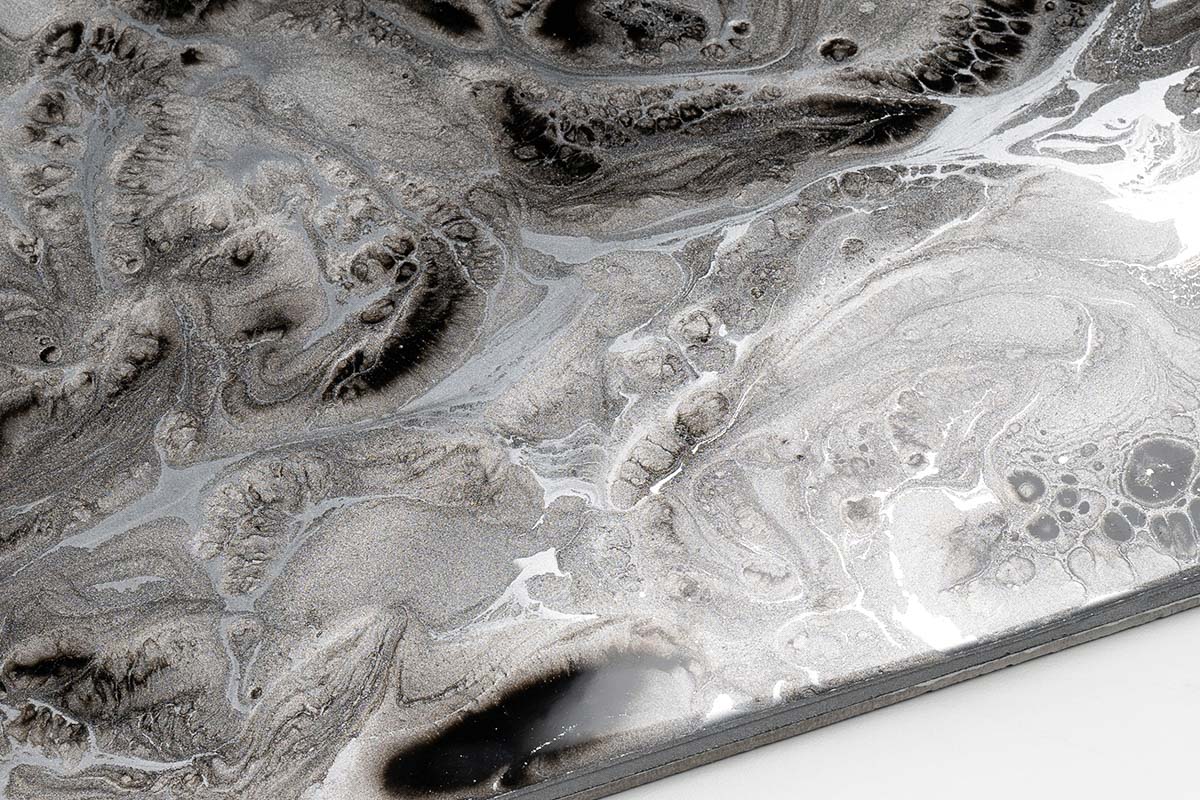
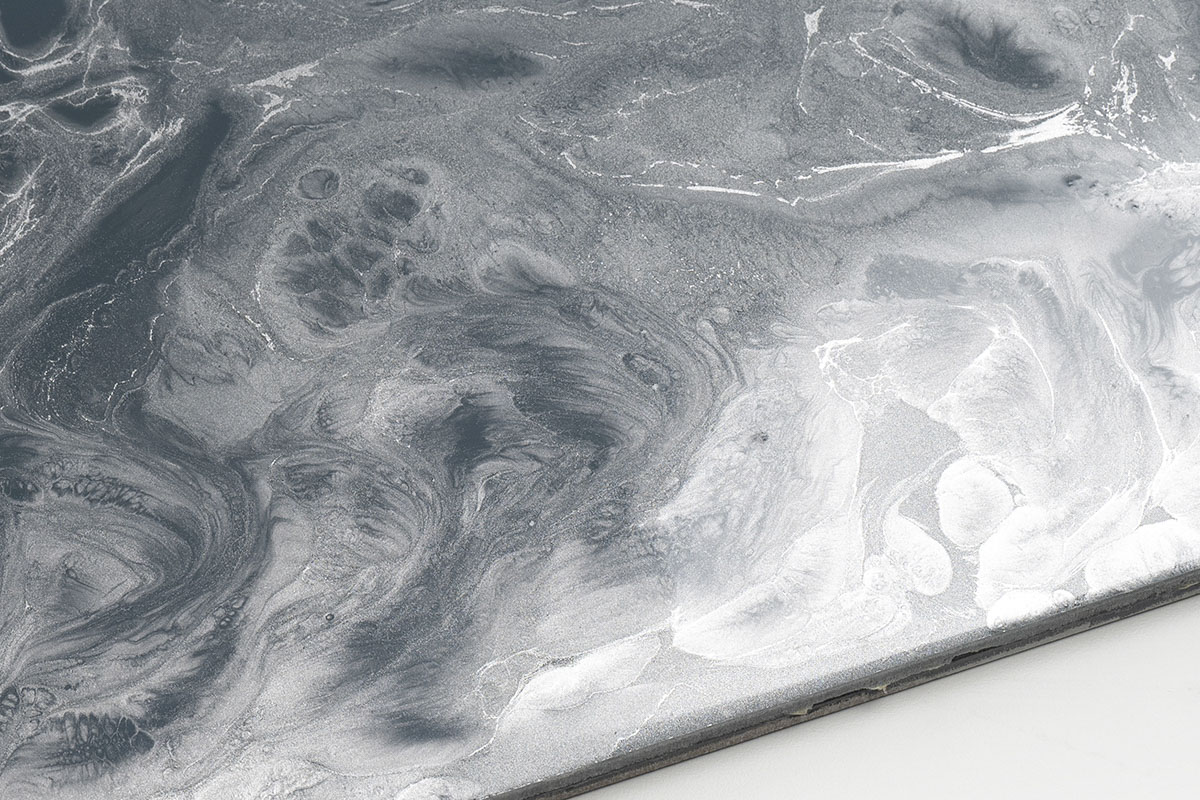
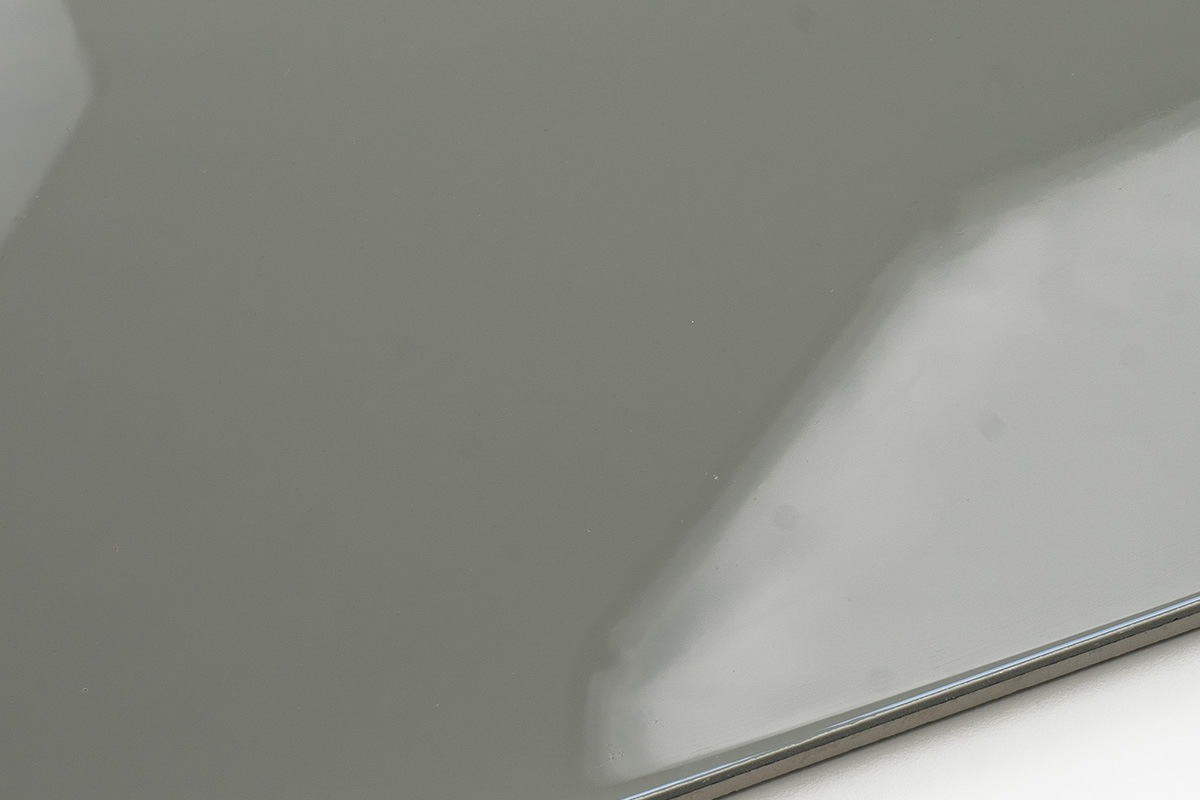
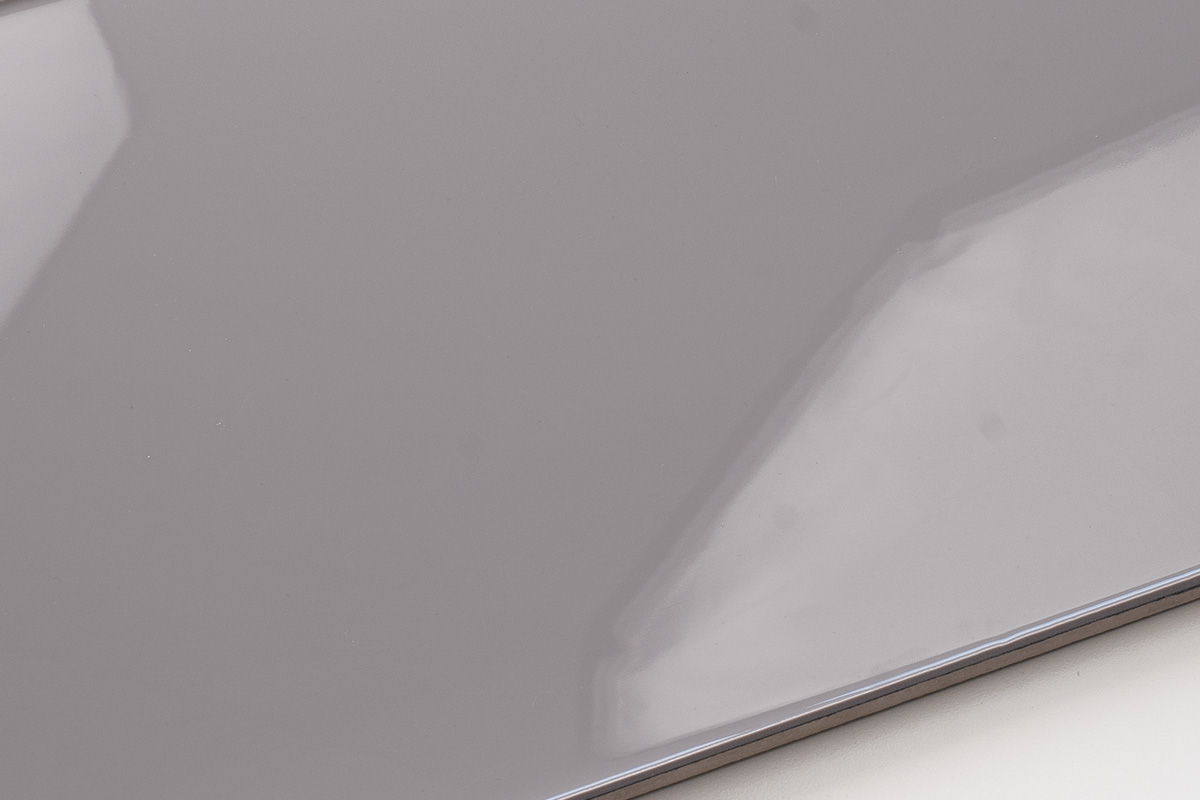
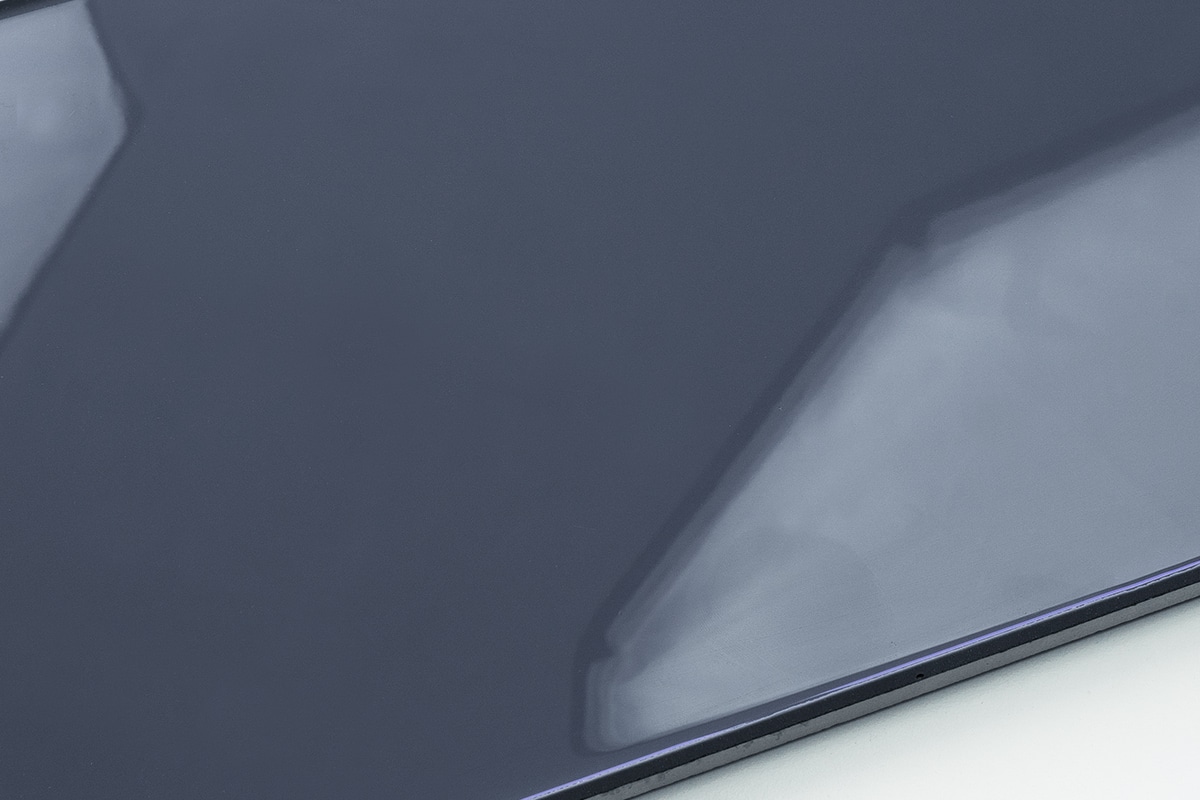
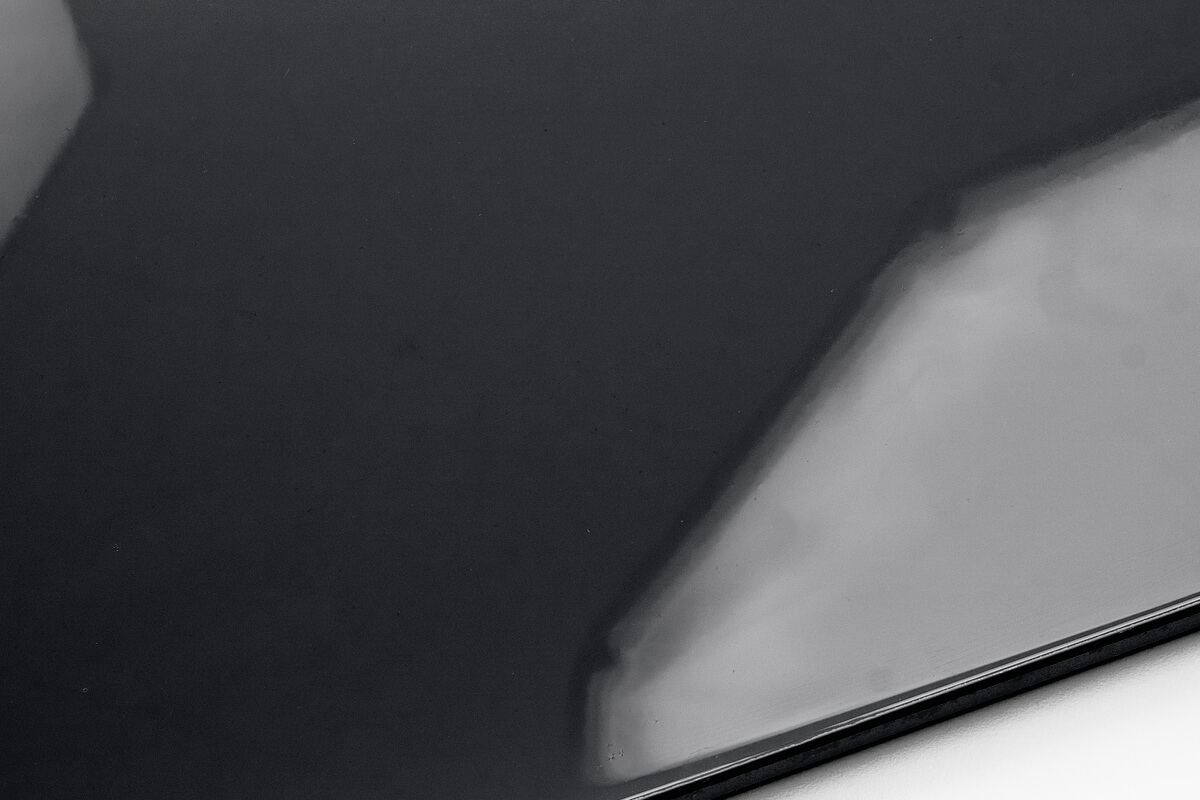
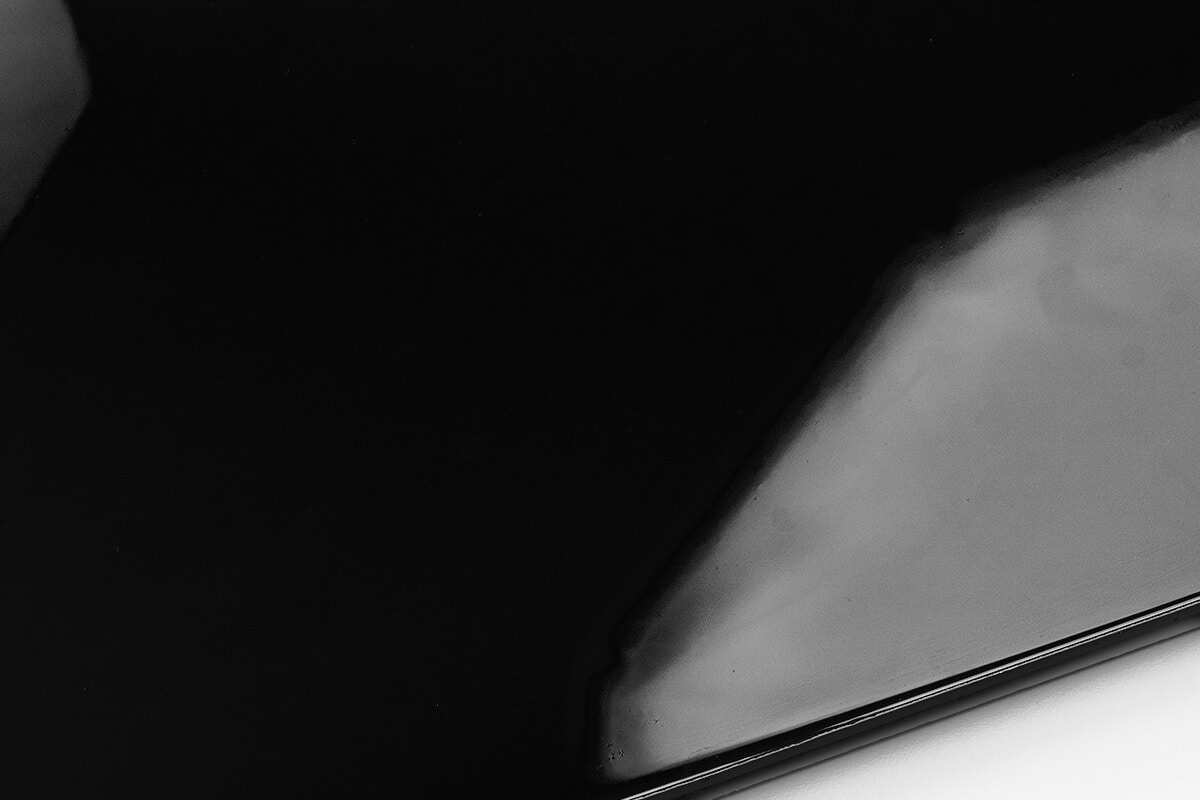
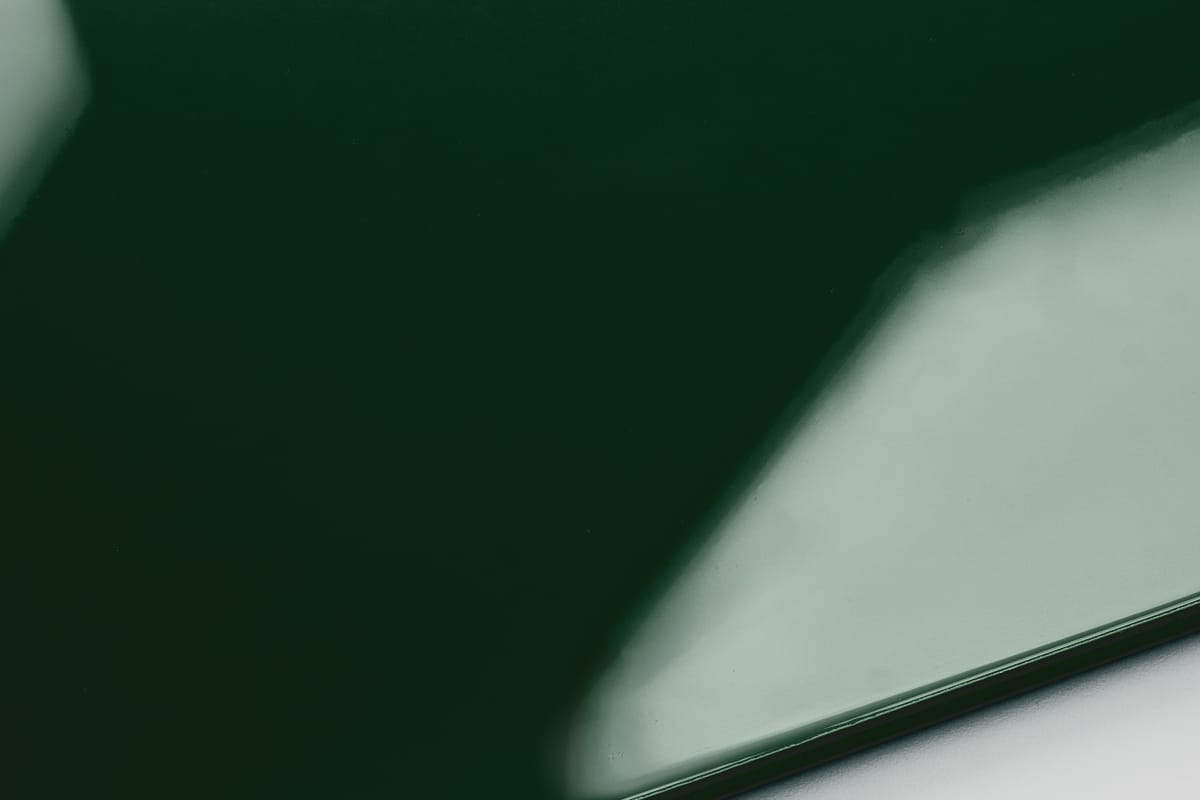
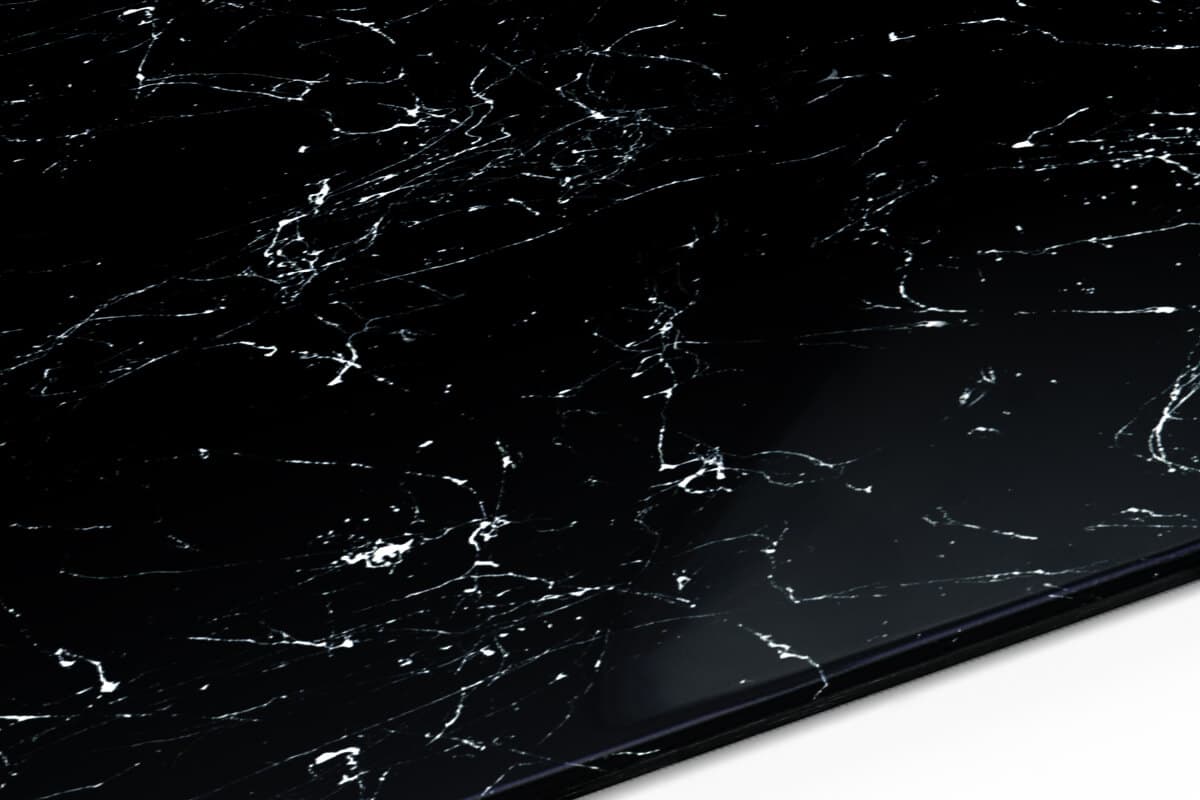
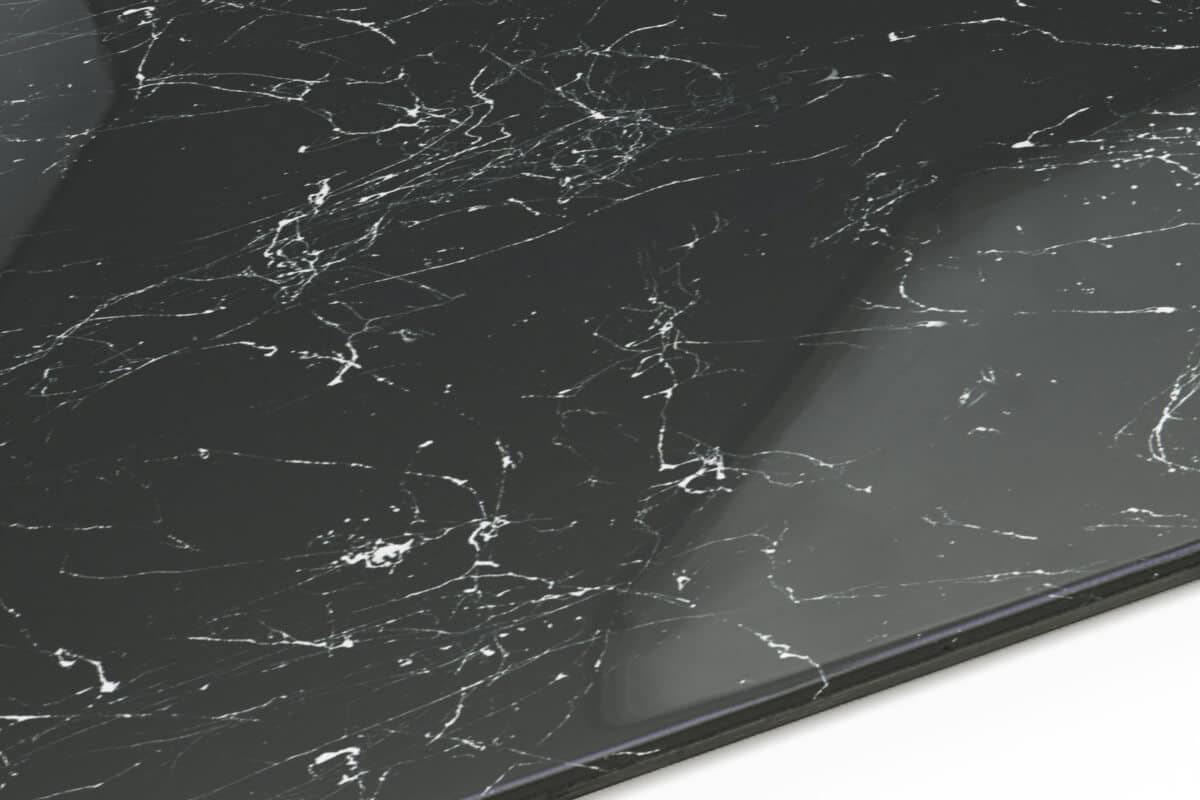
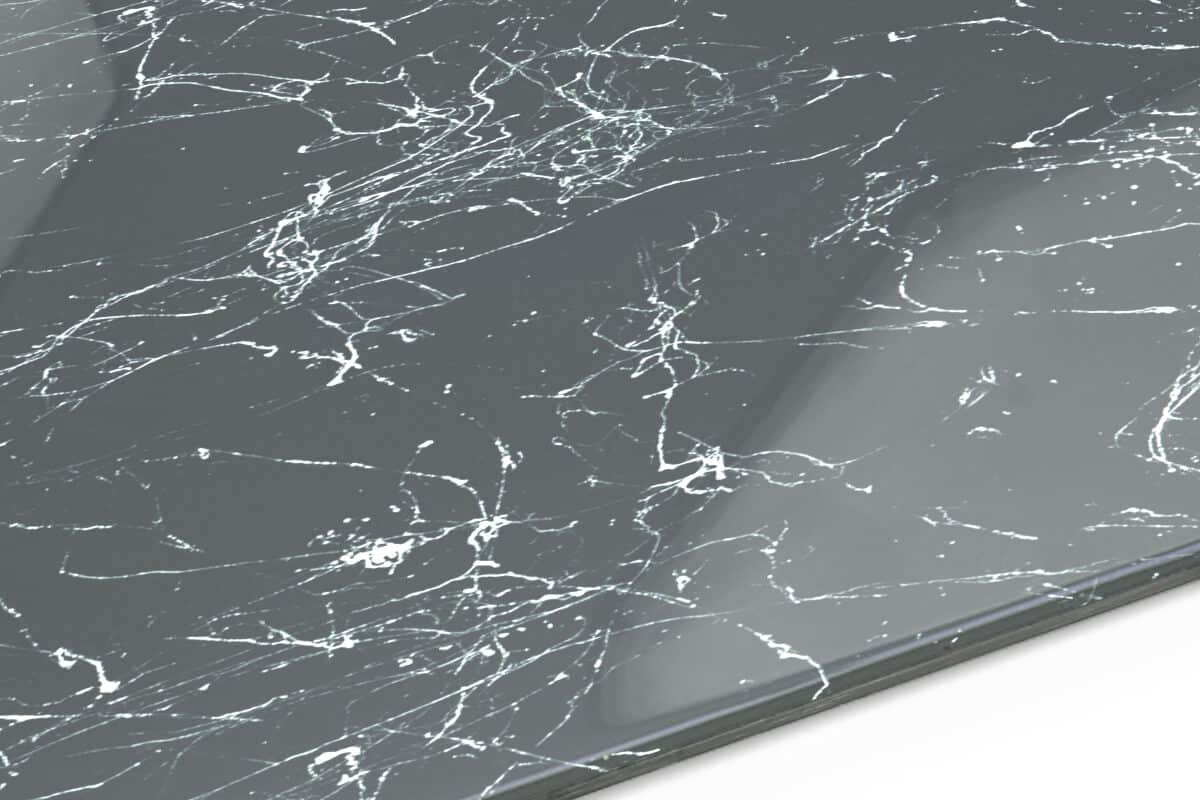
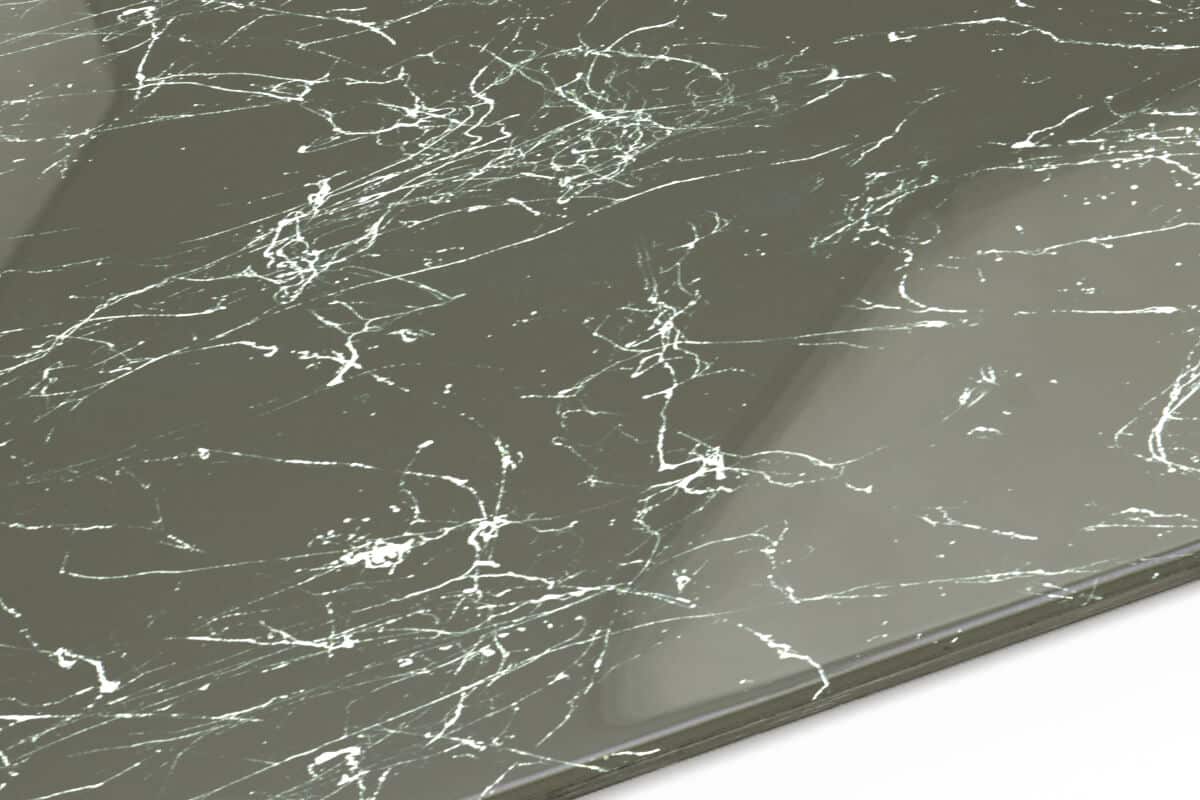
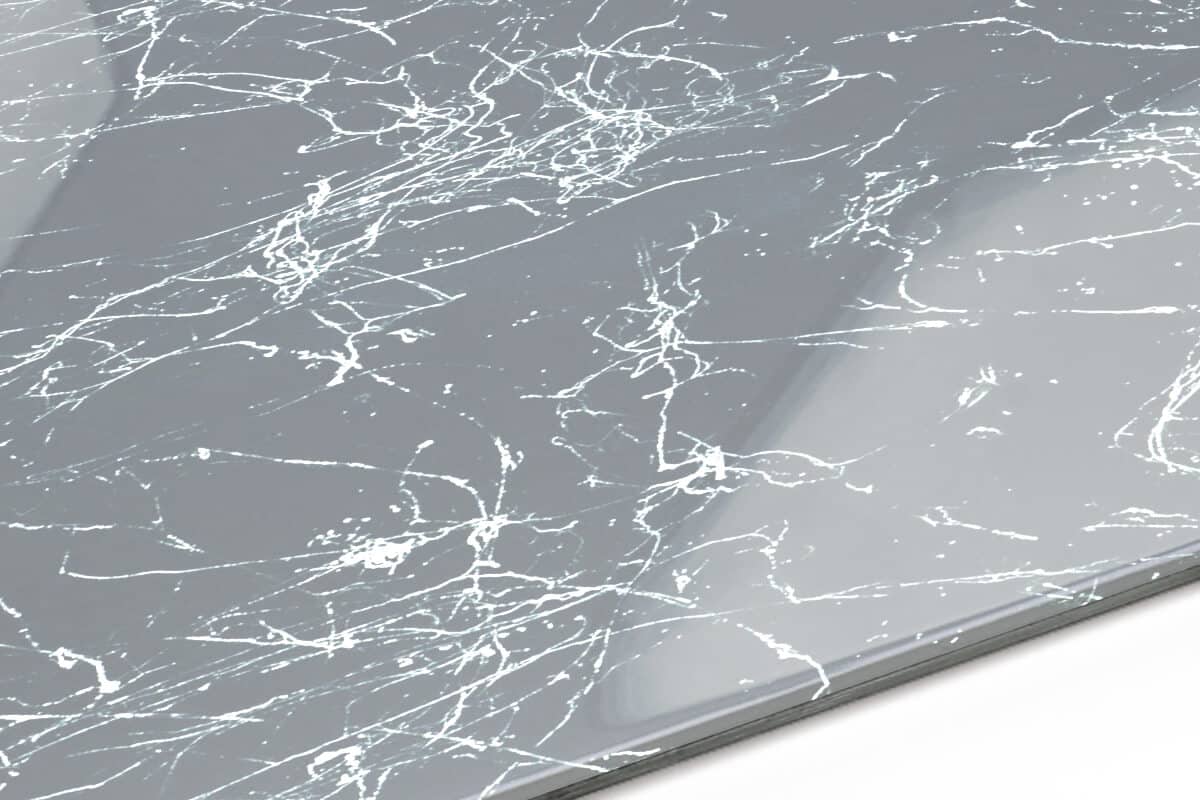
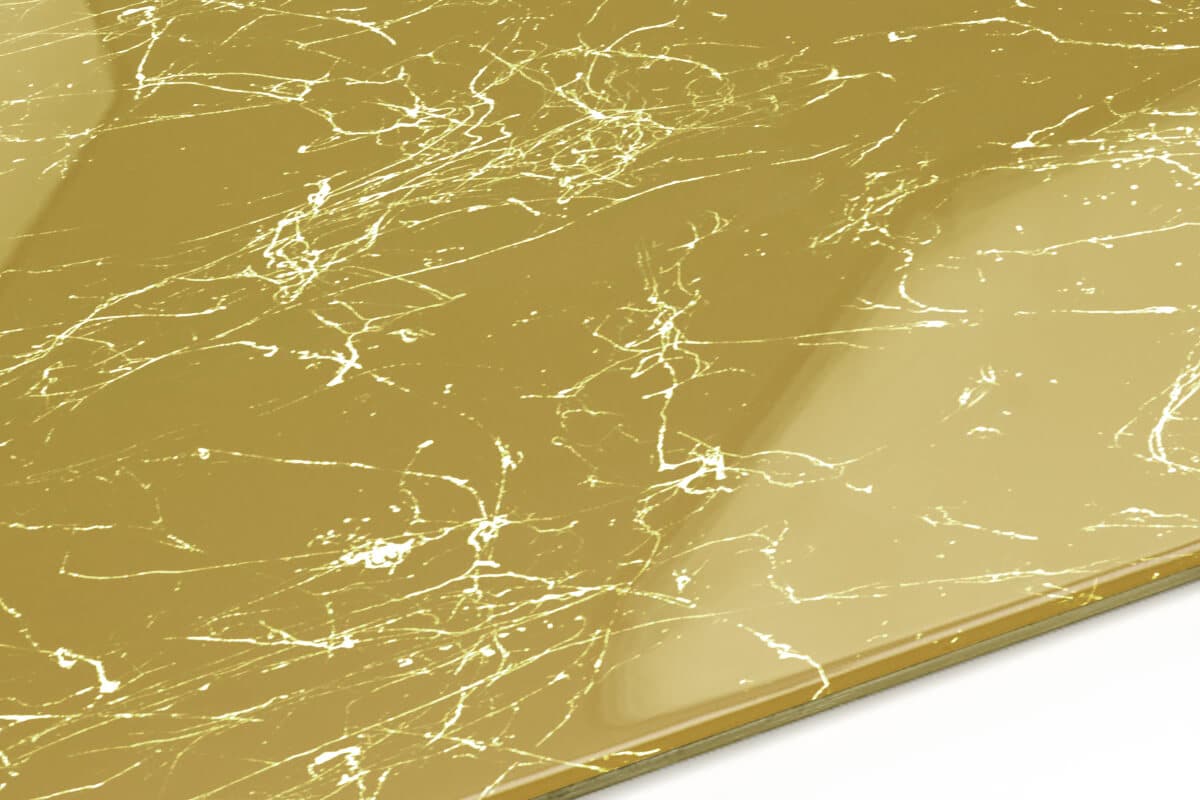
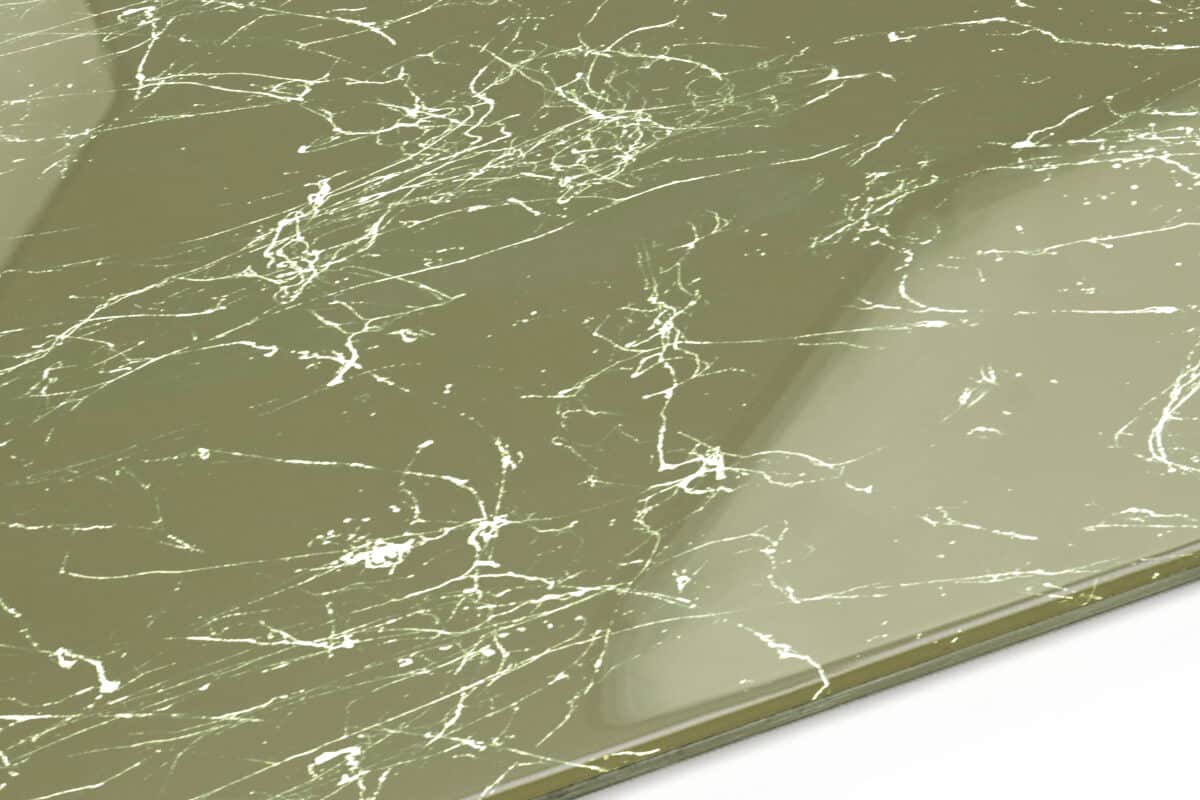
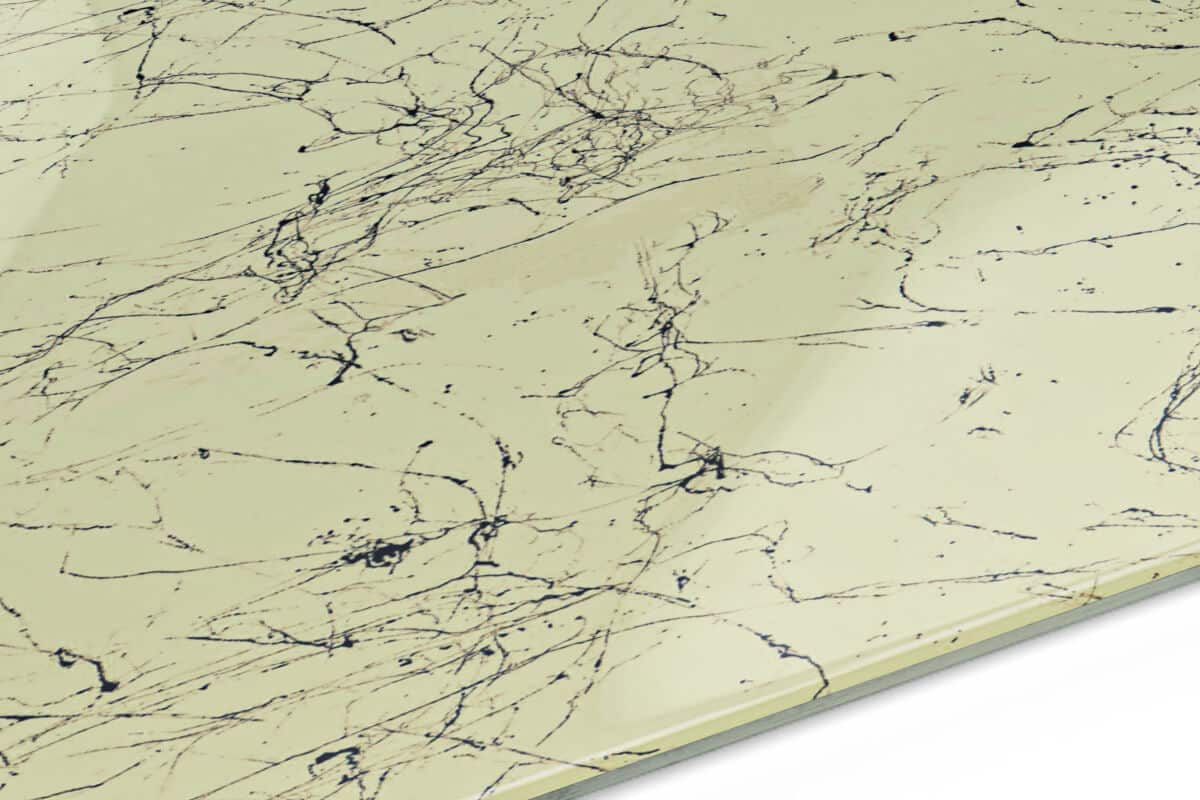
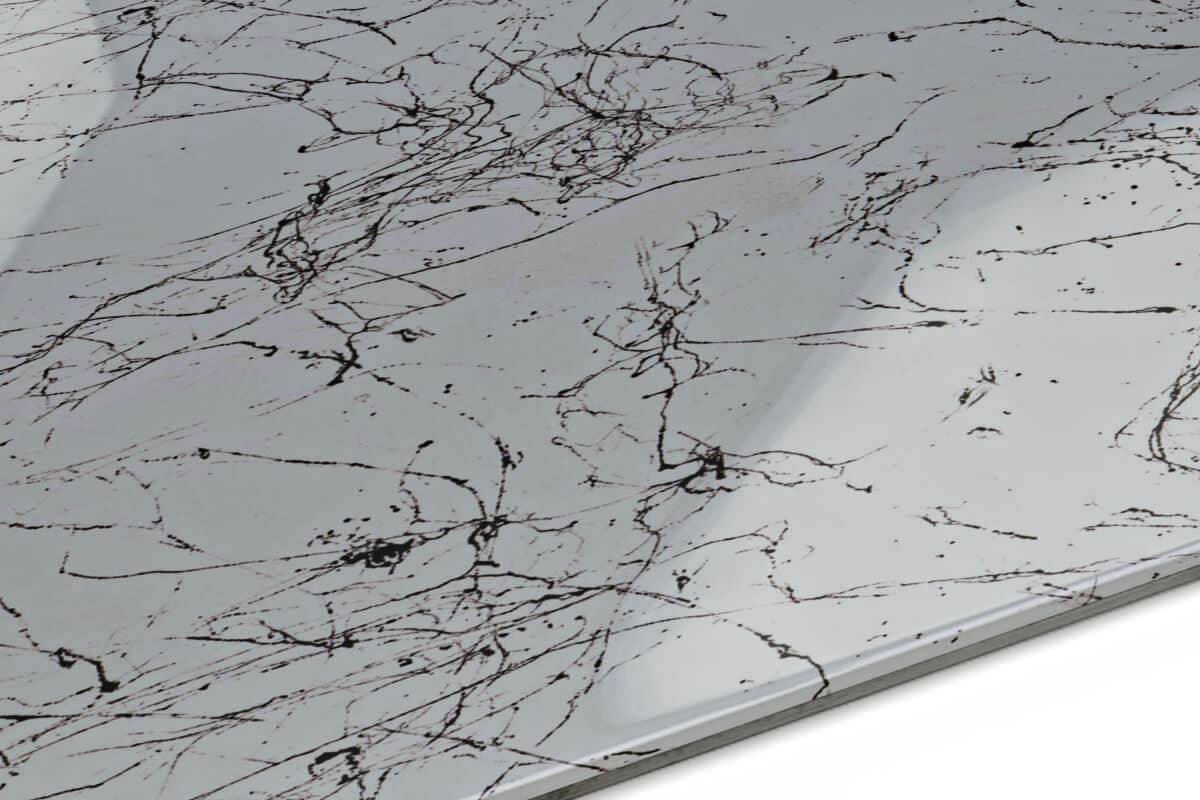
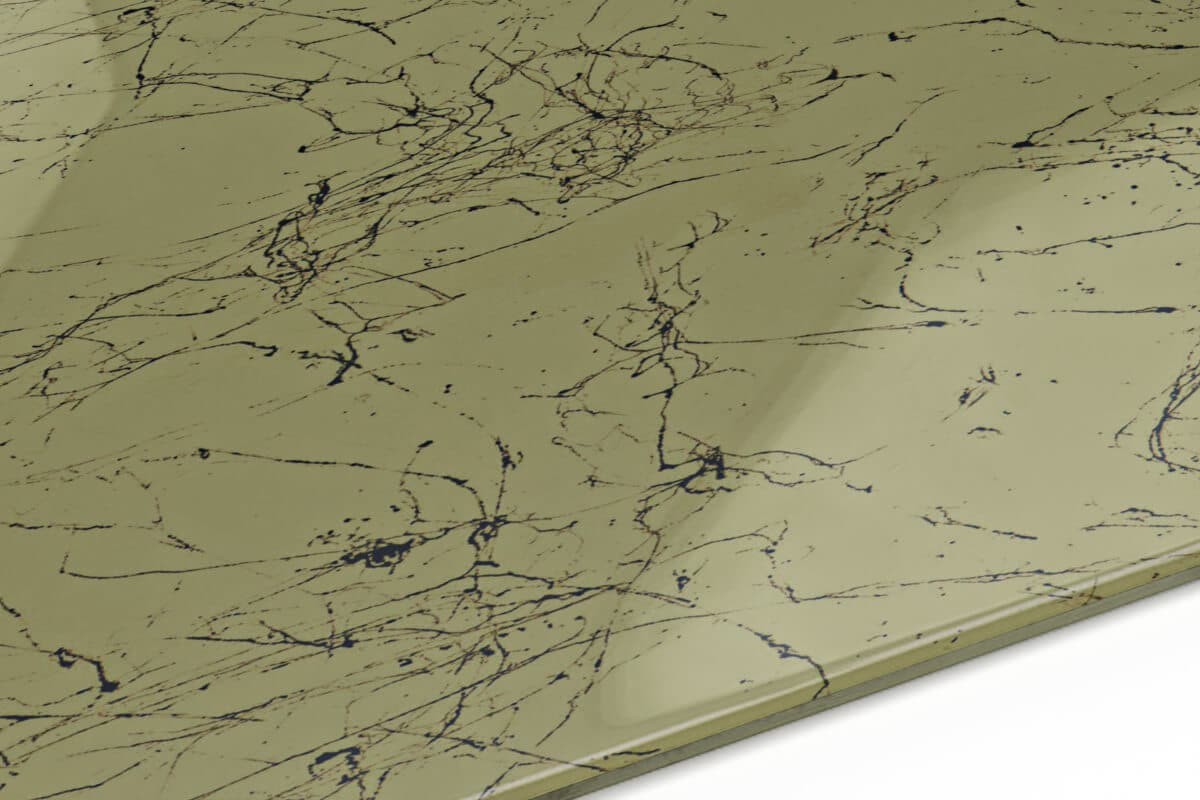
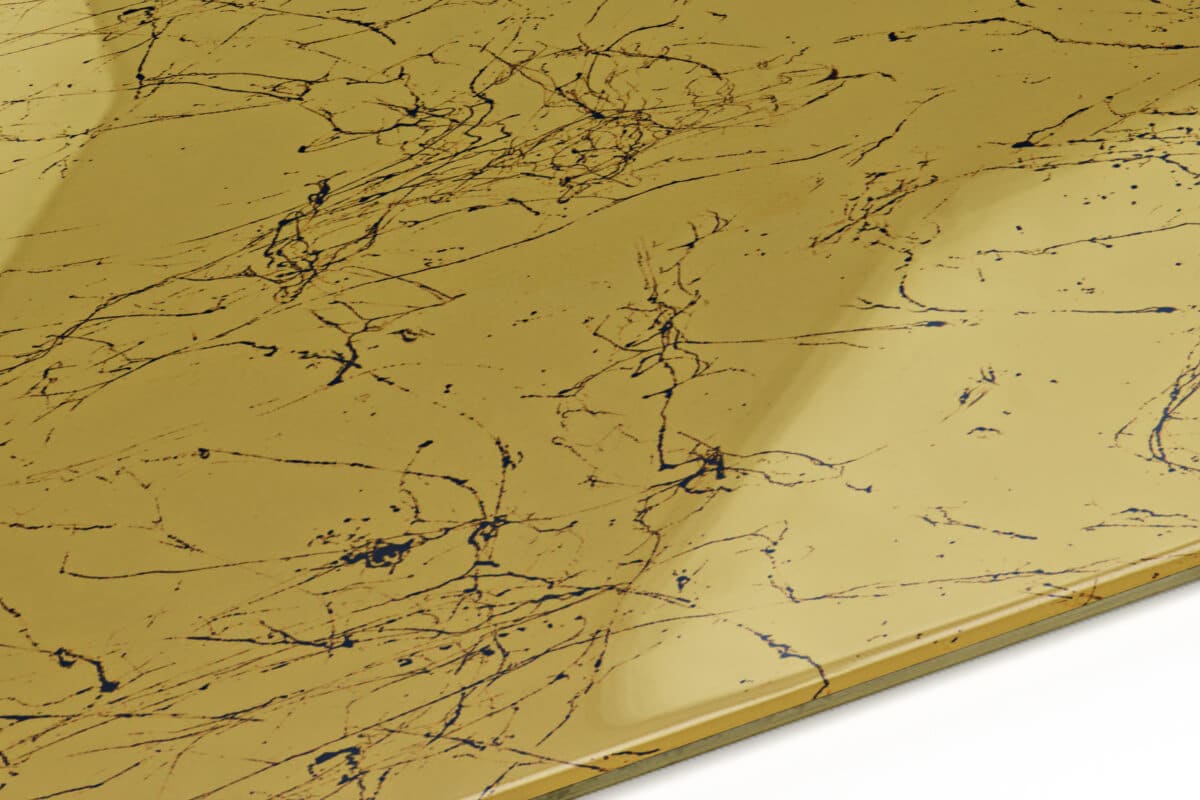
High-Quality 3D Epoxy Flooring
3D Epoxy Flooring
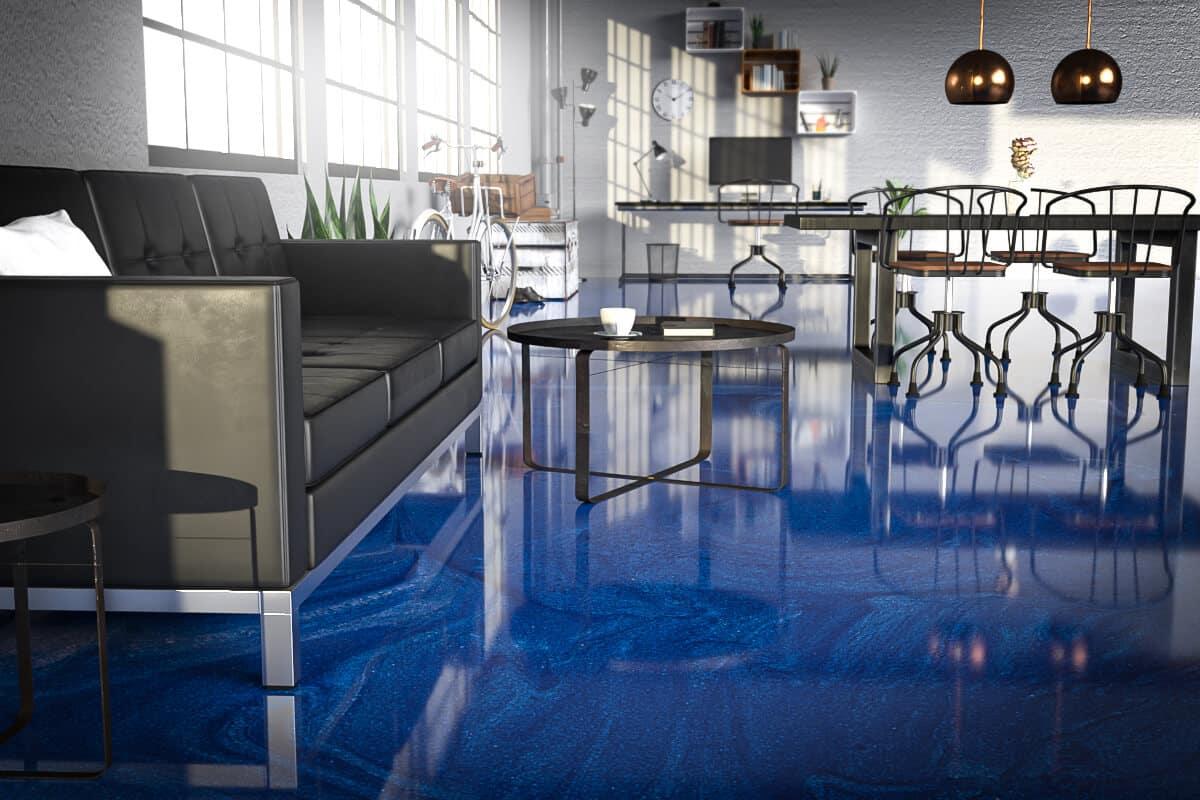
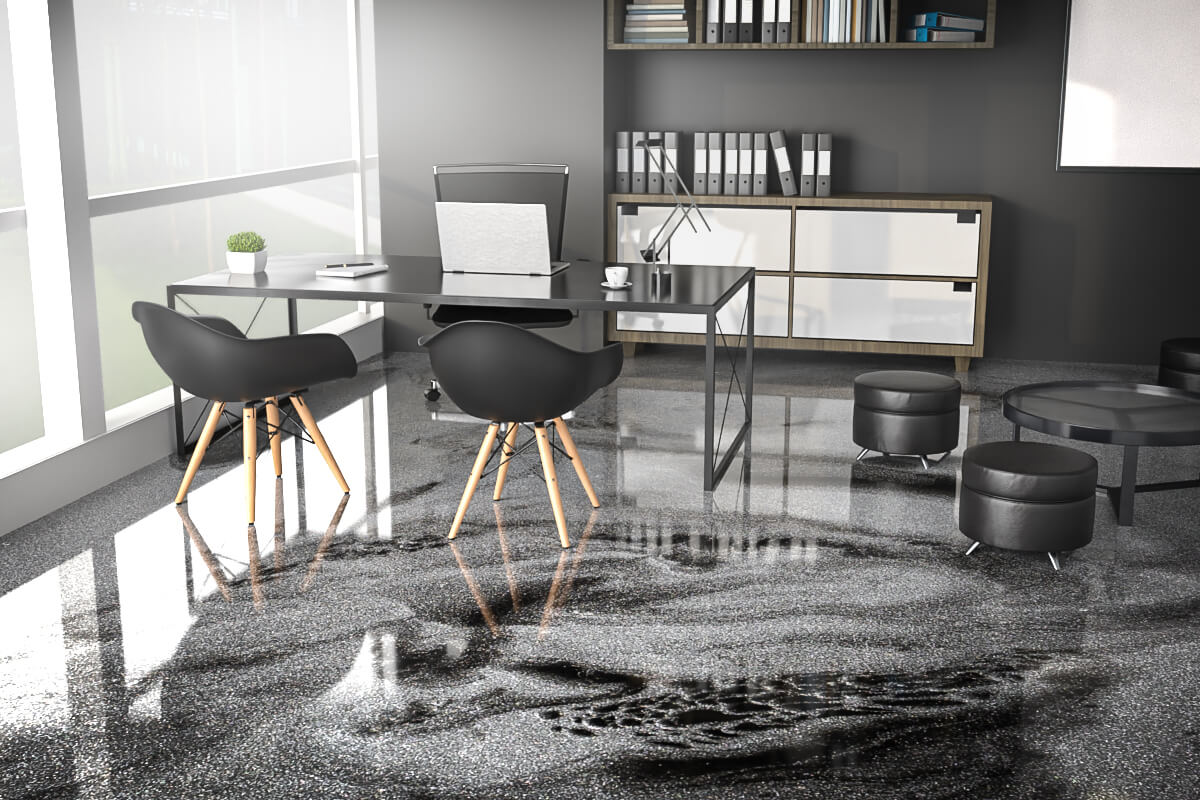
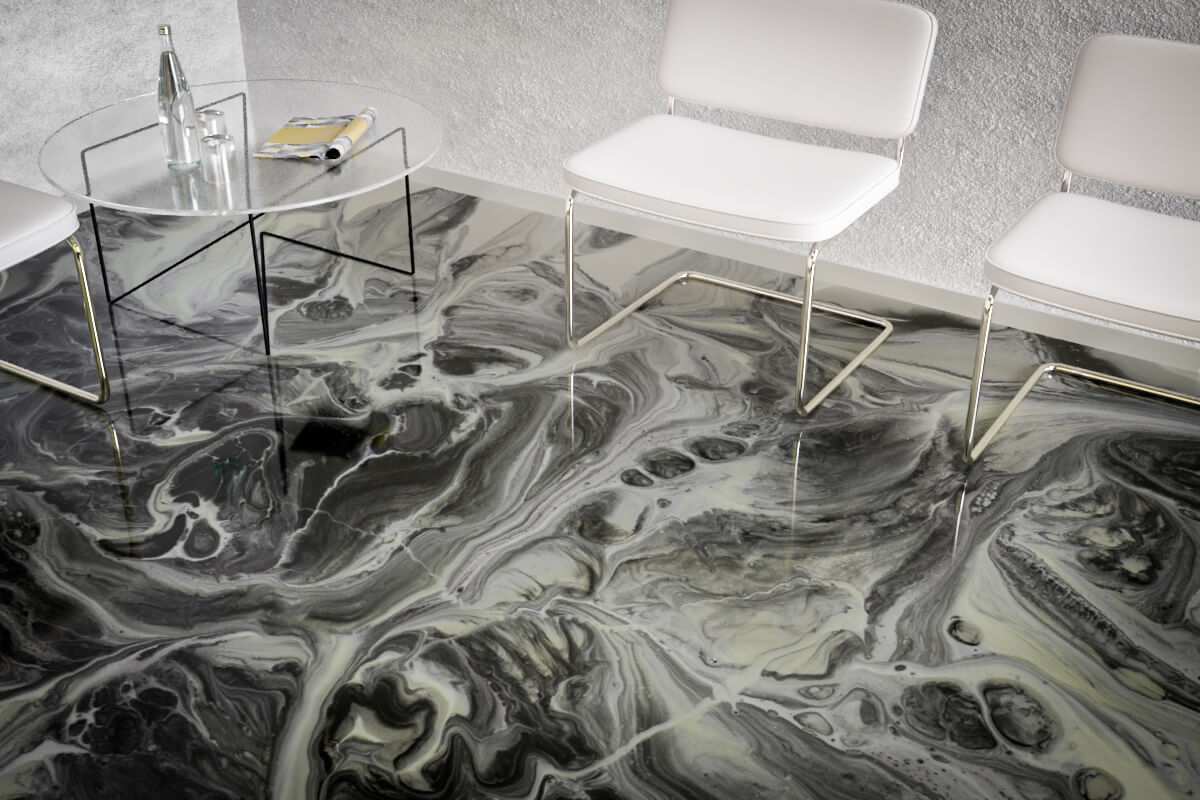
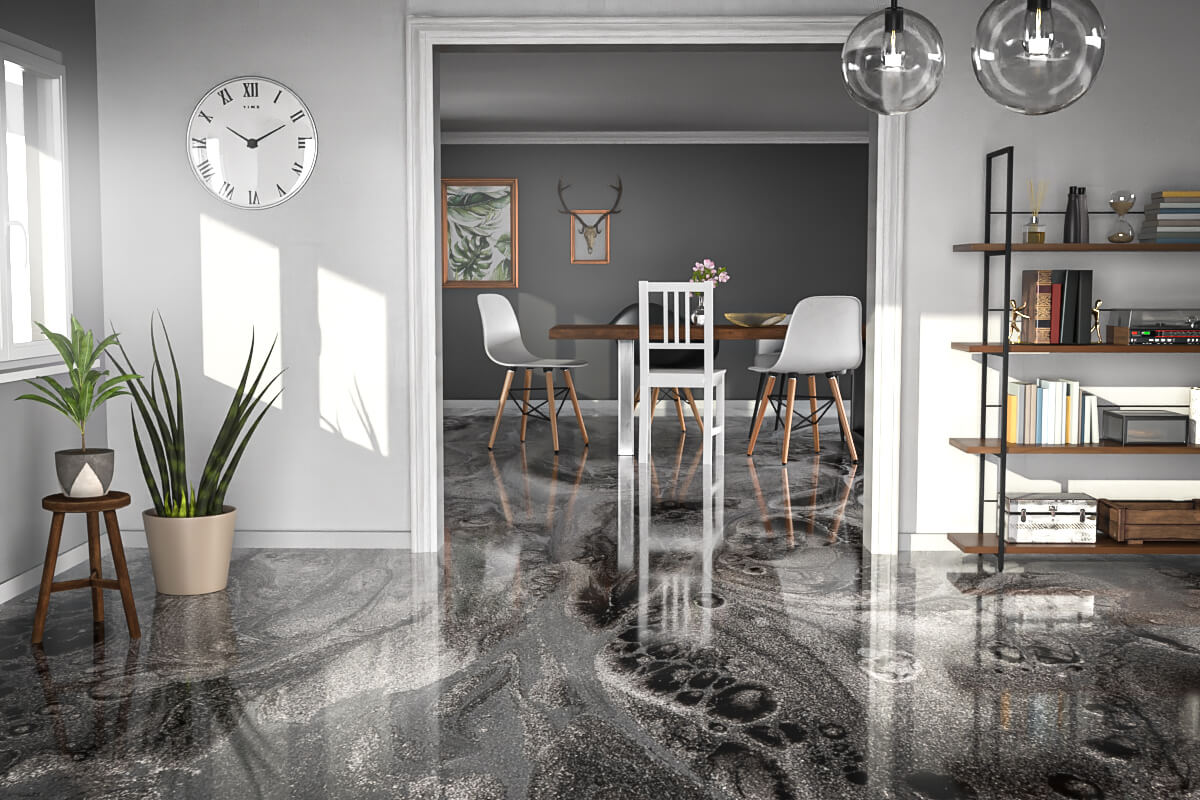
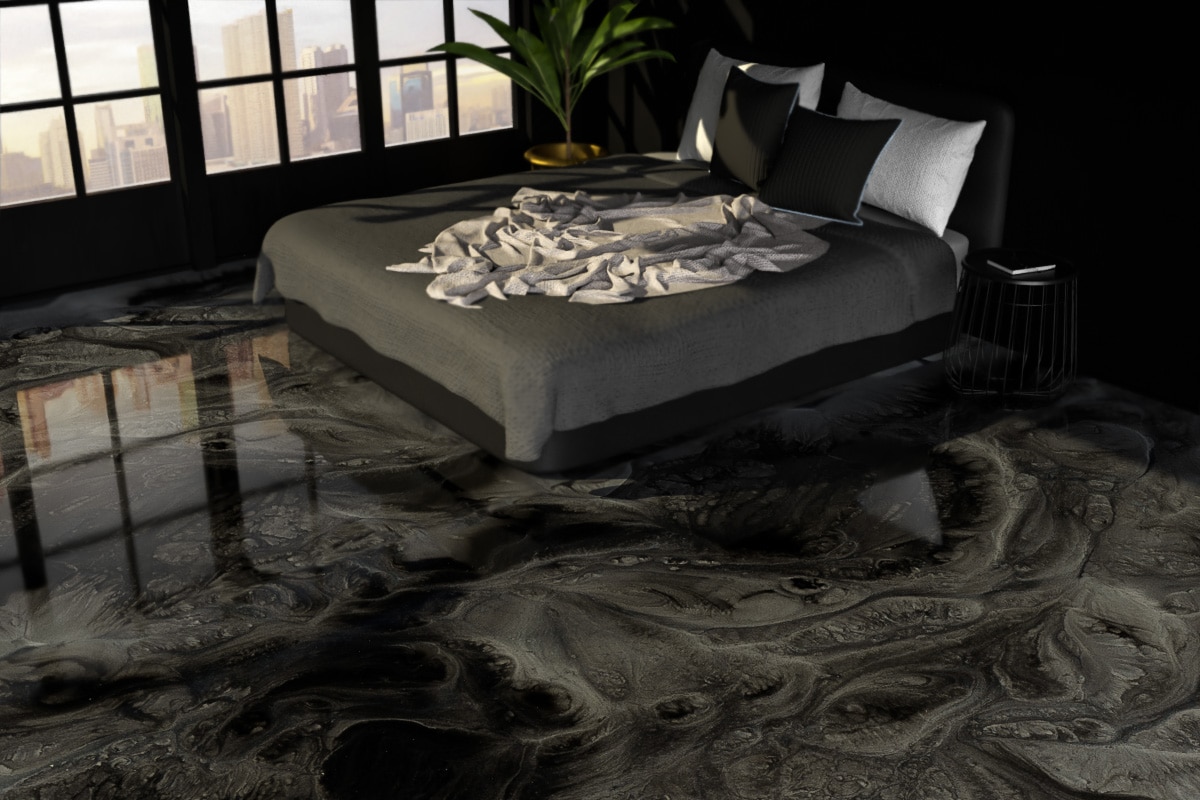
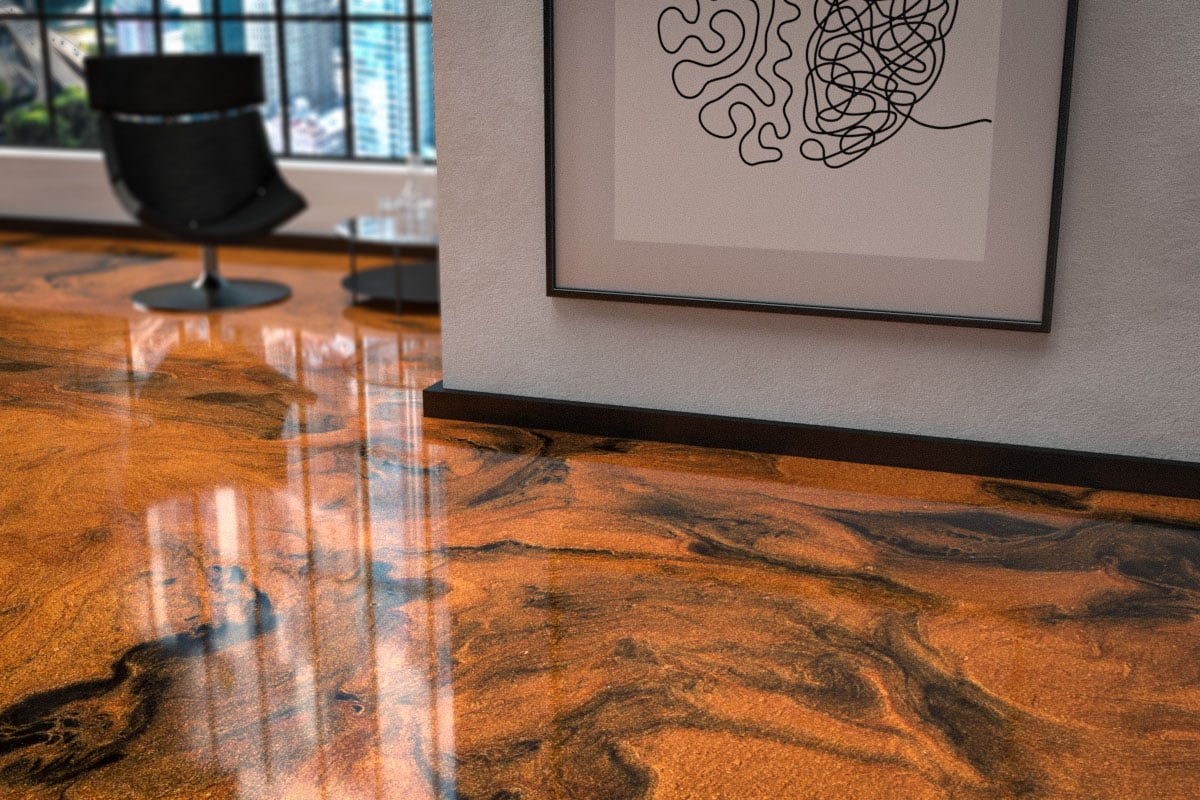
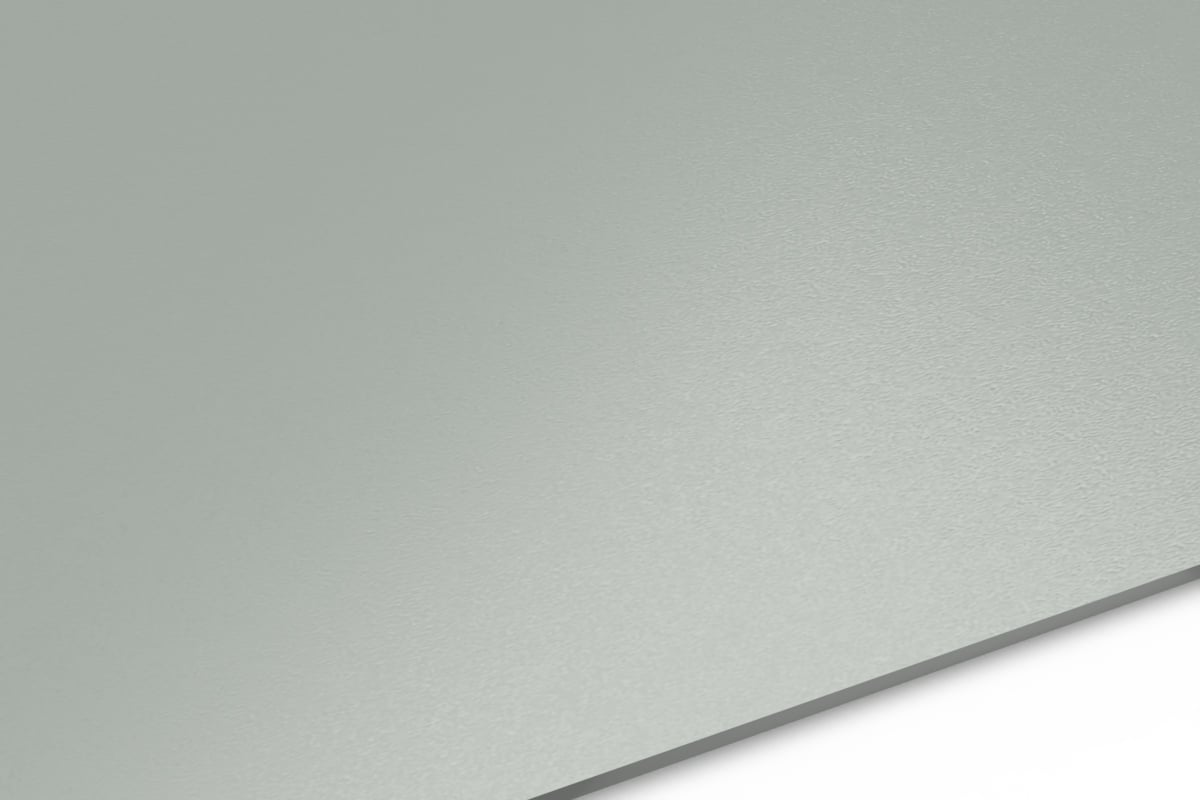
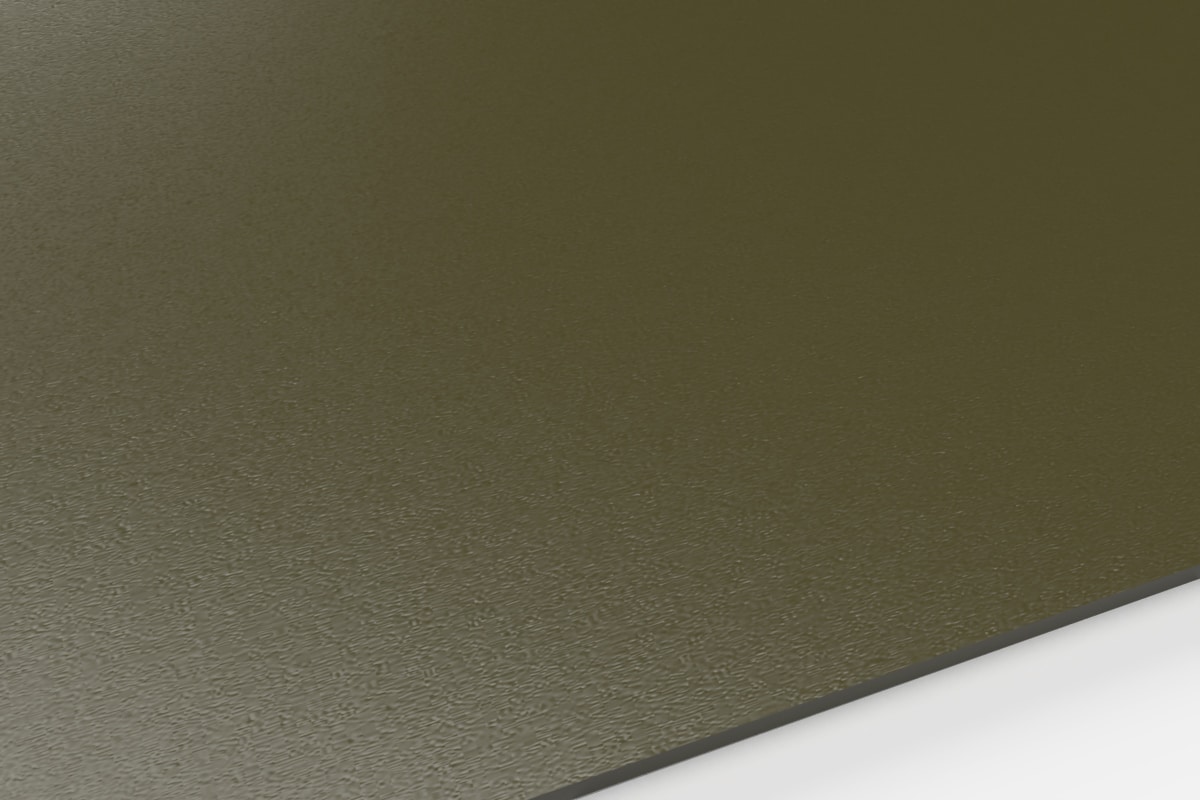
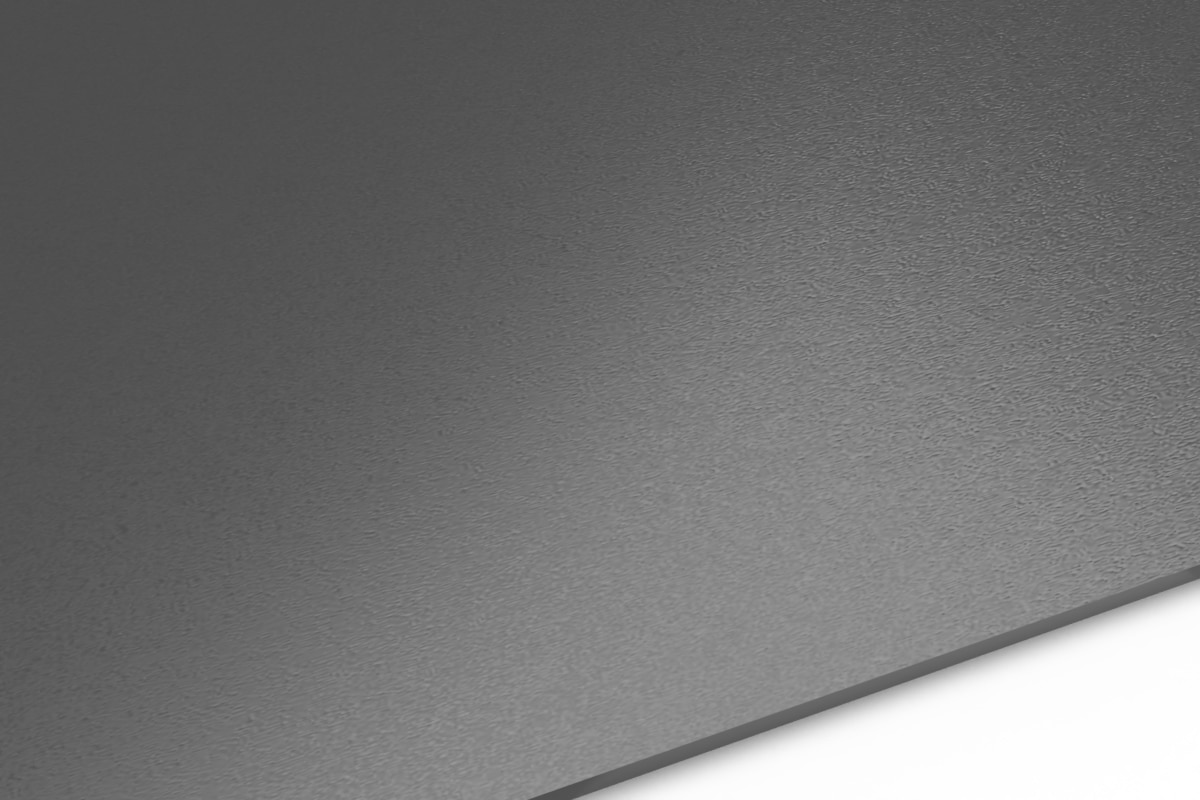
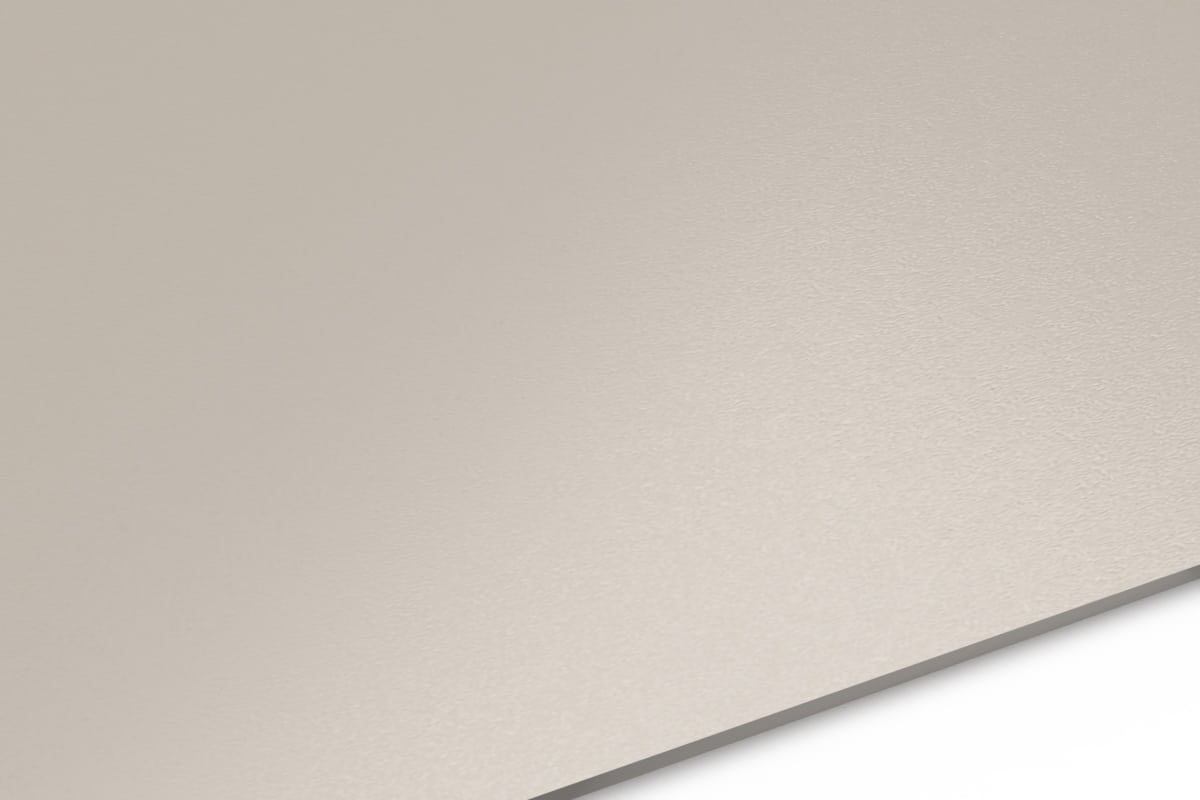
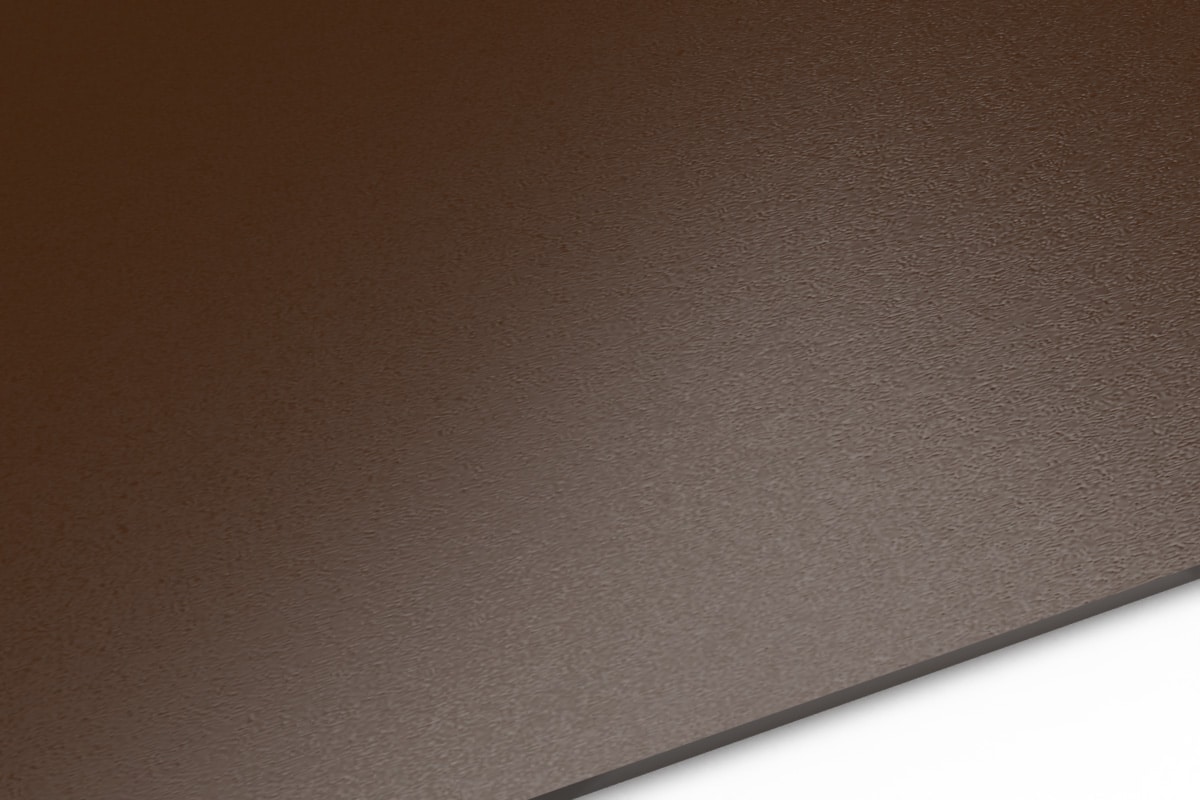
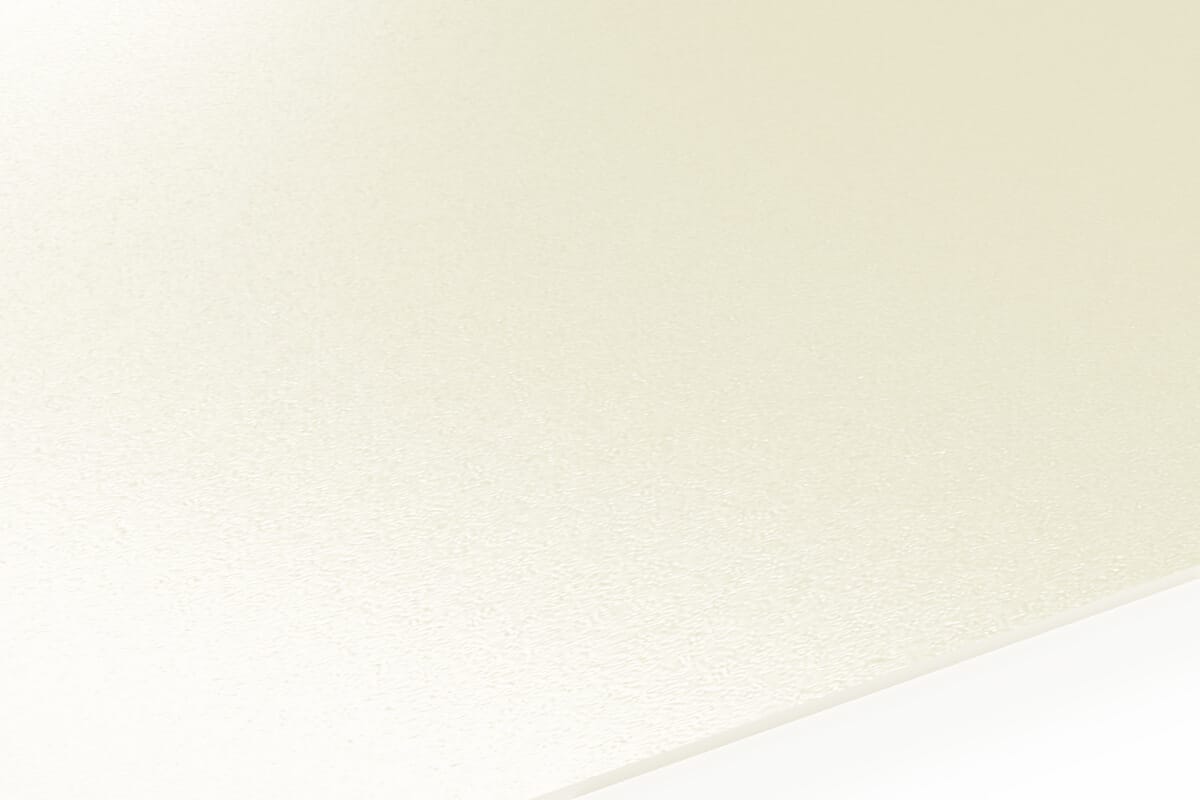
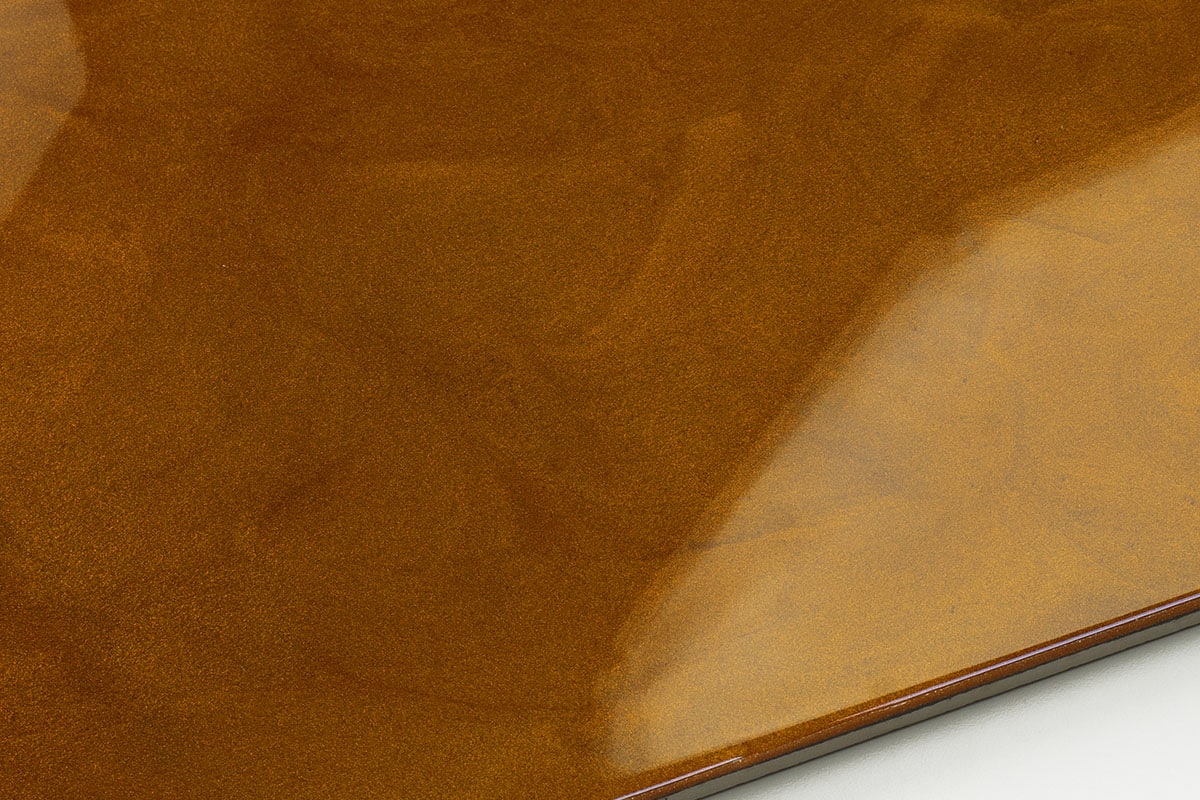
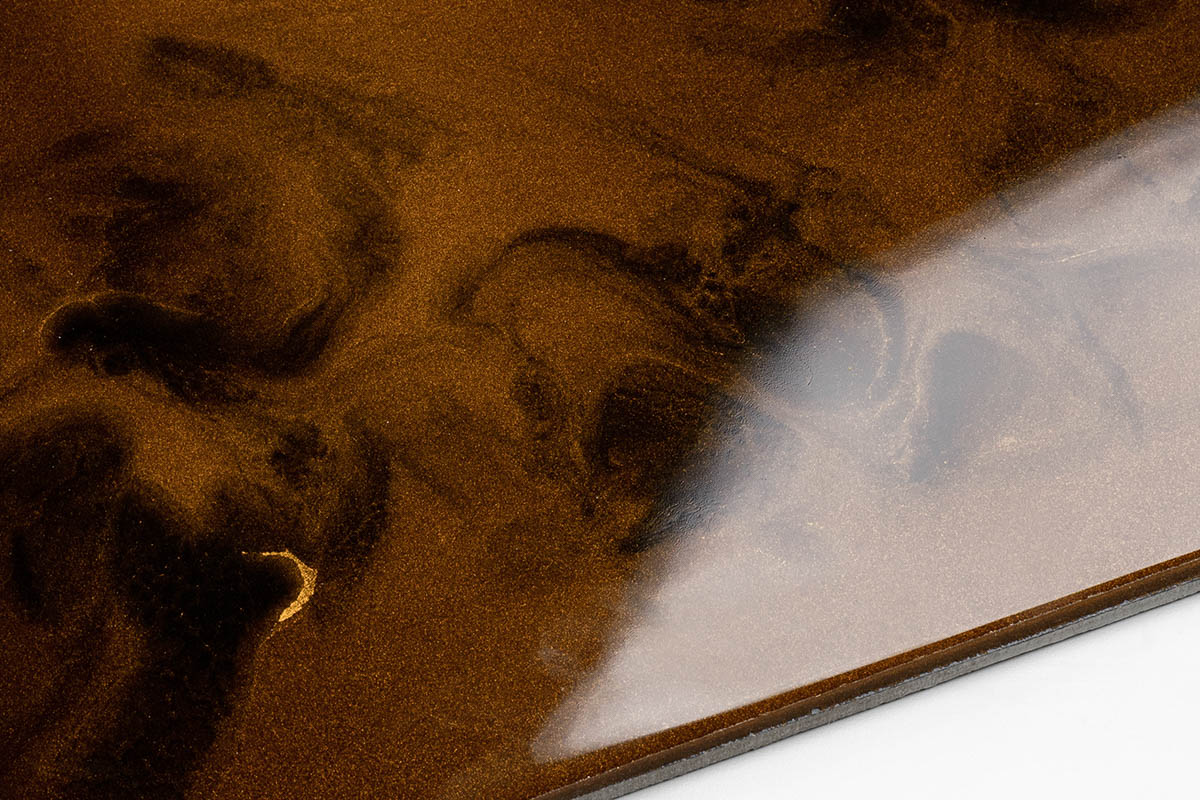
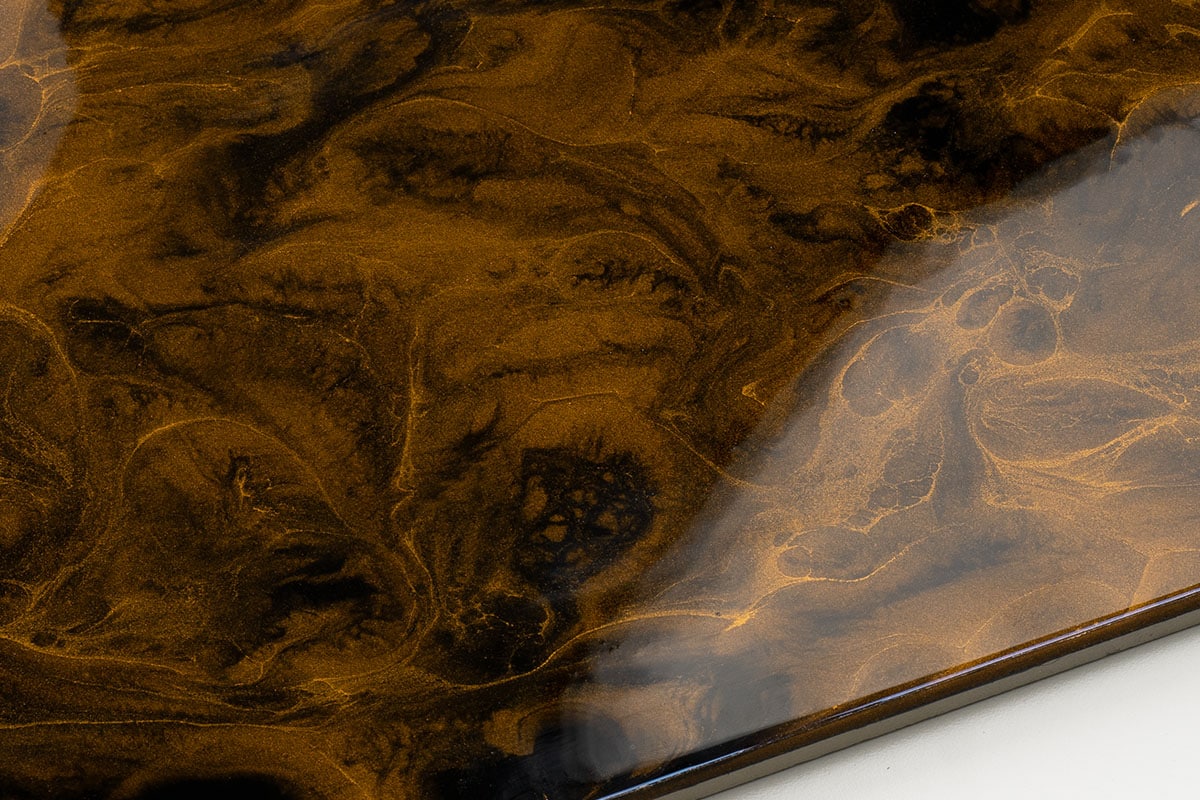
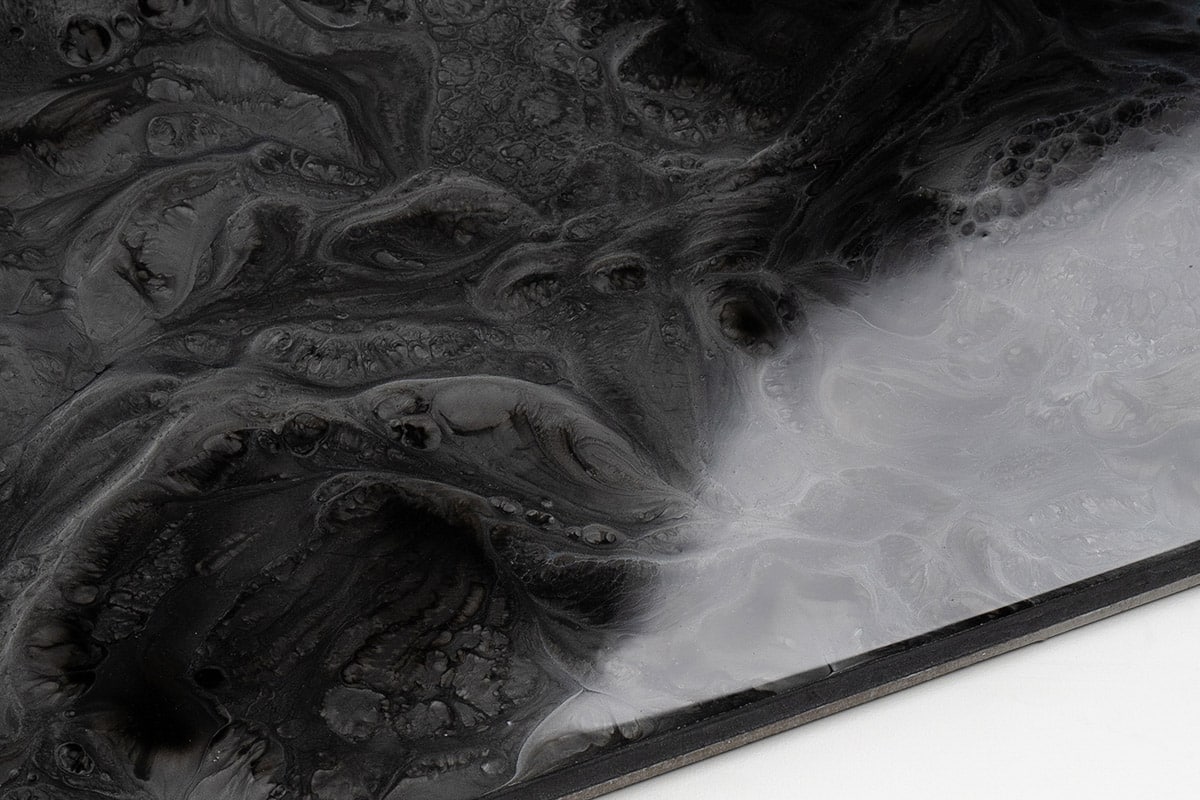
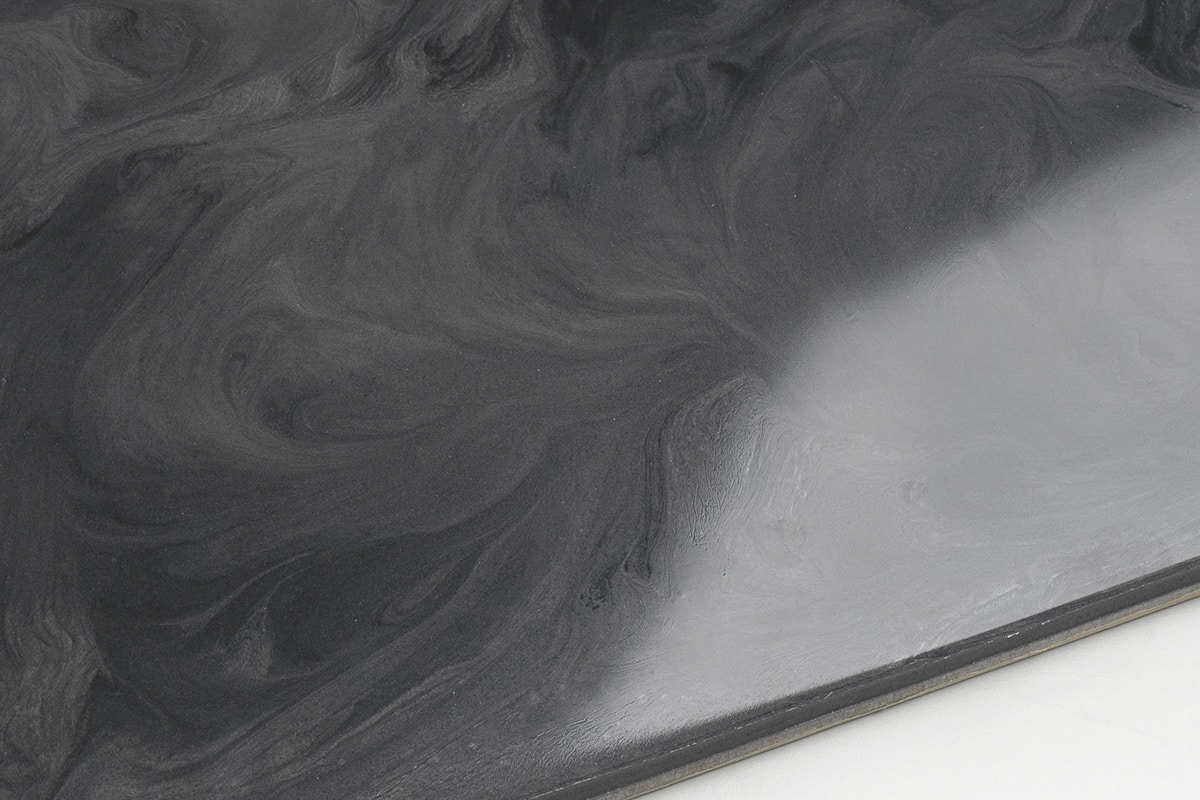
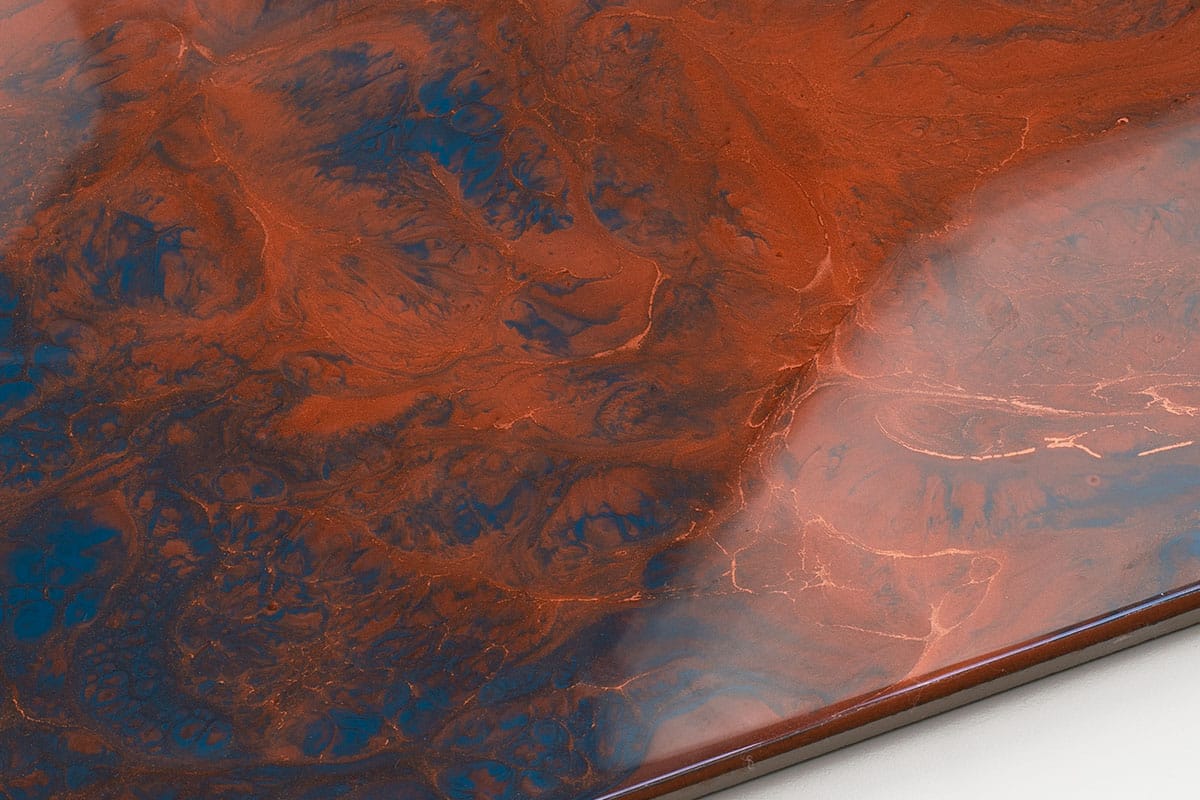
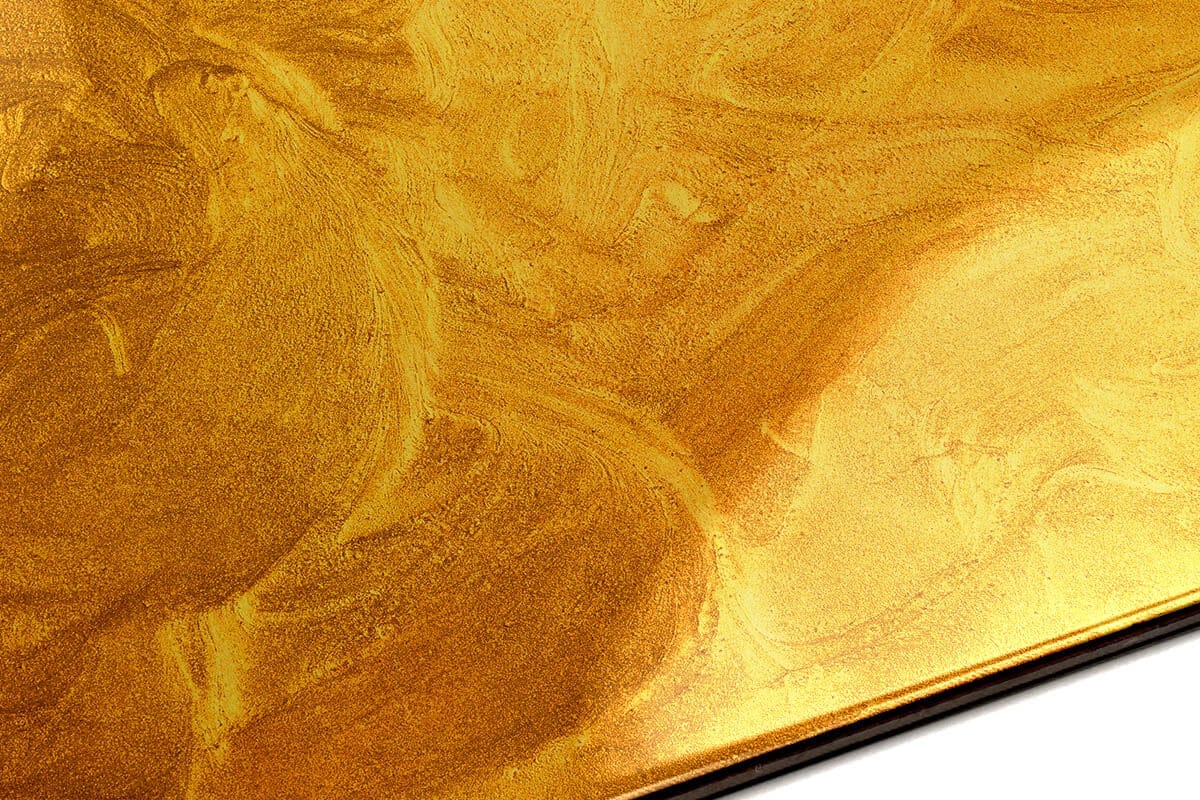
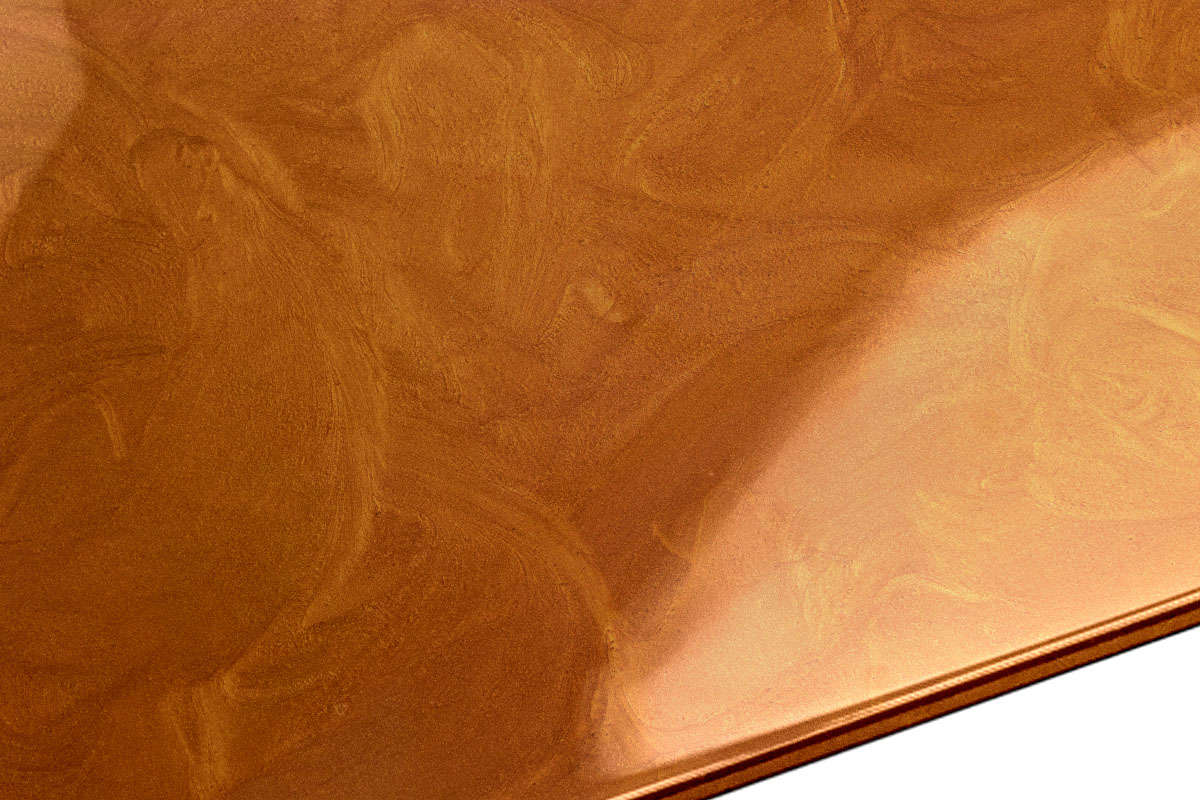
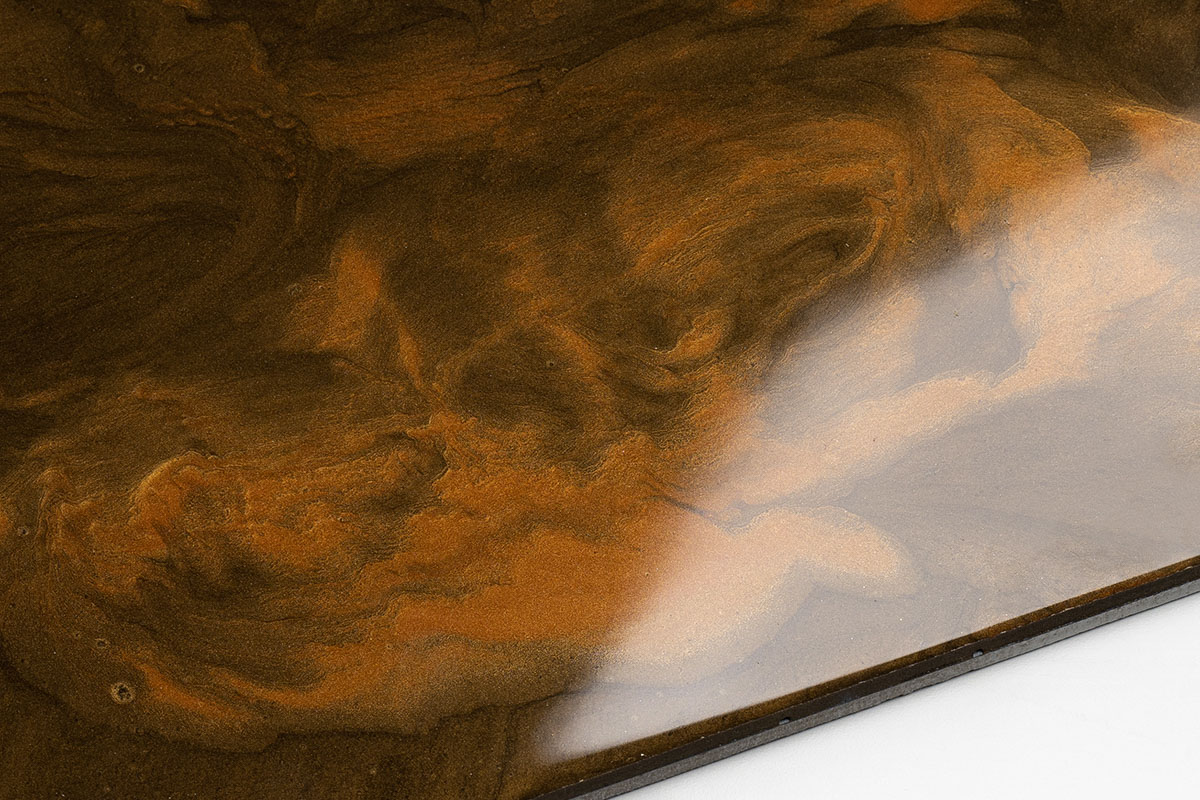
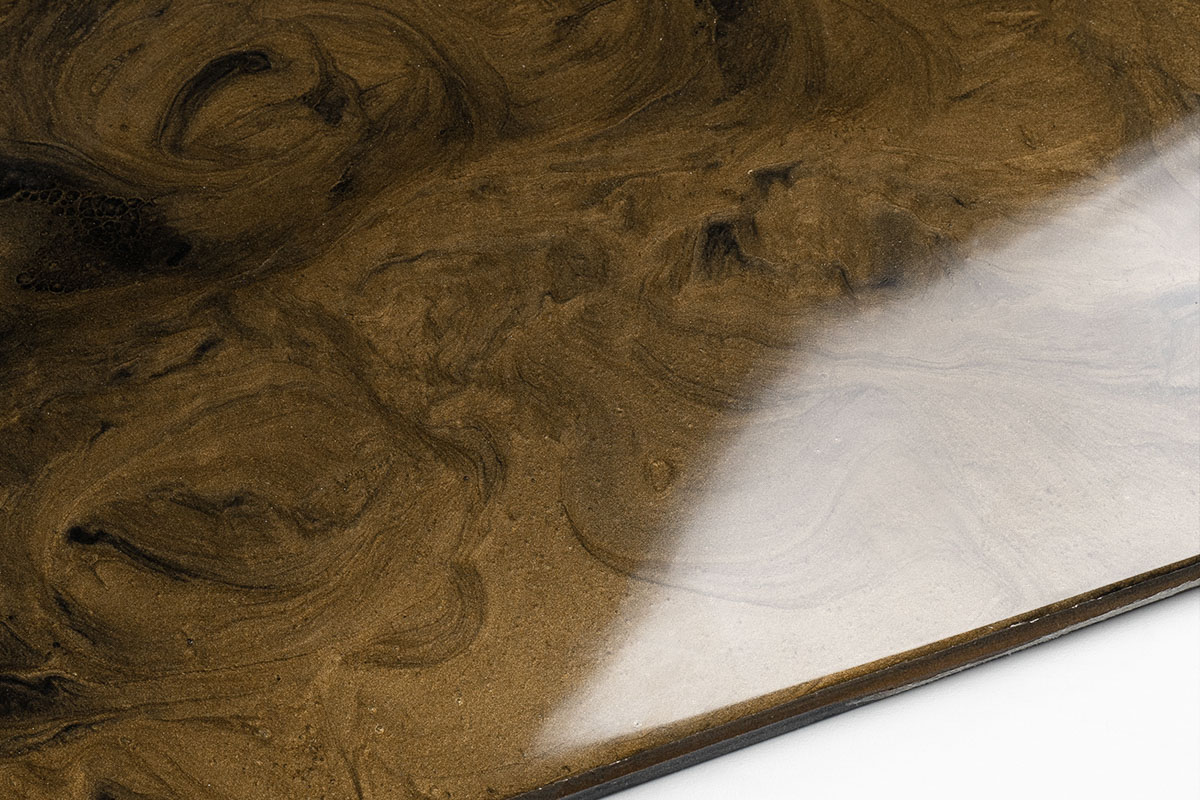
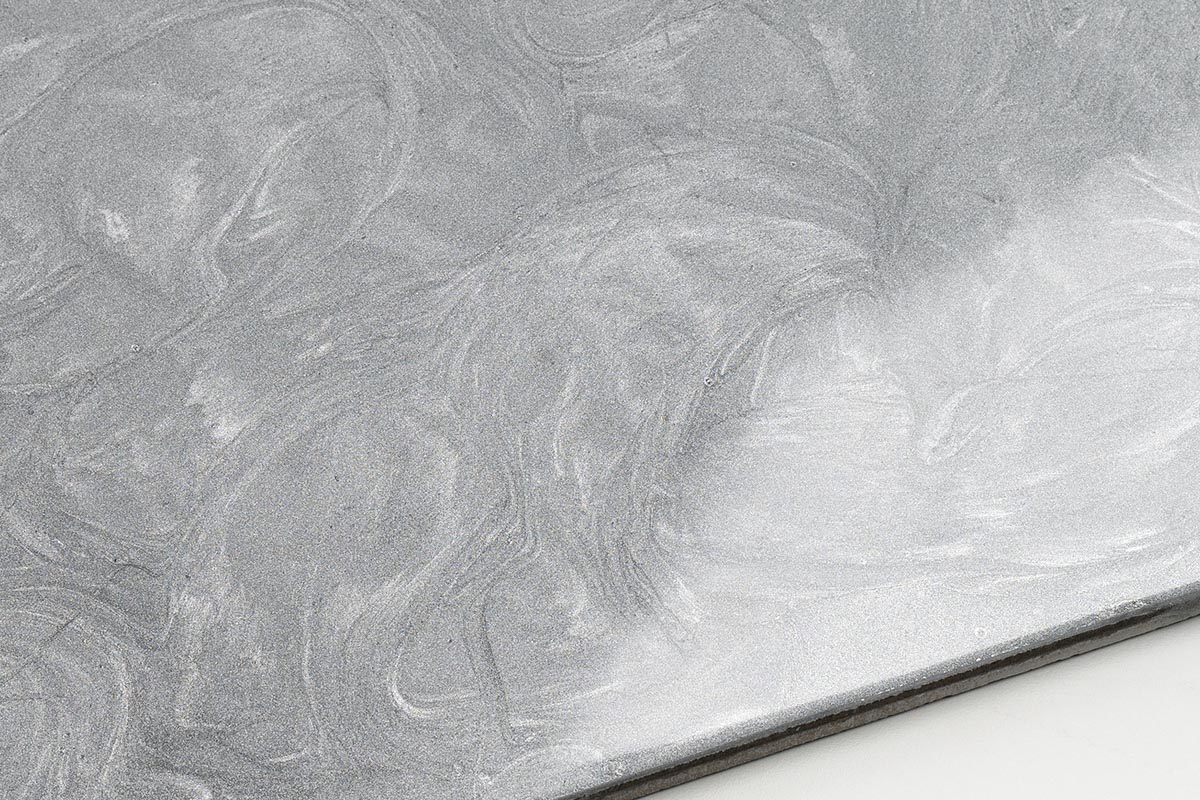
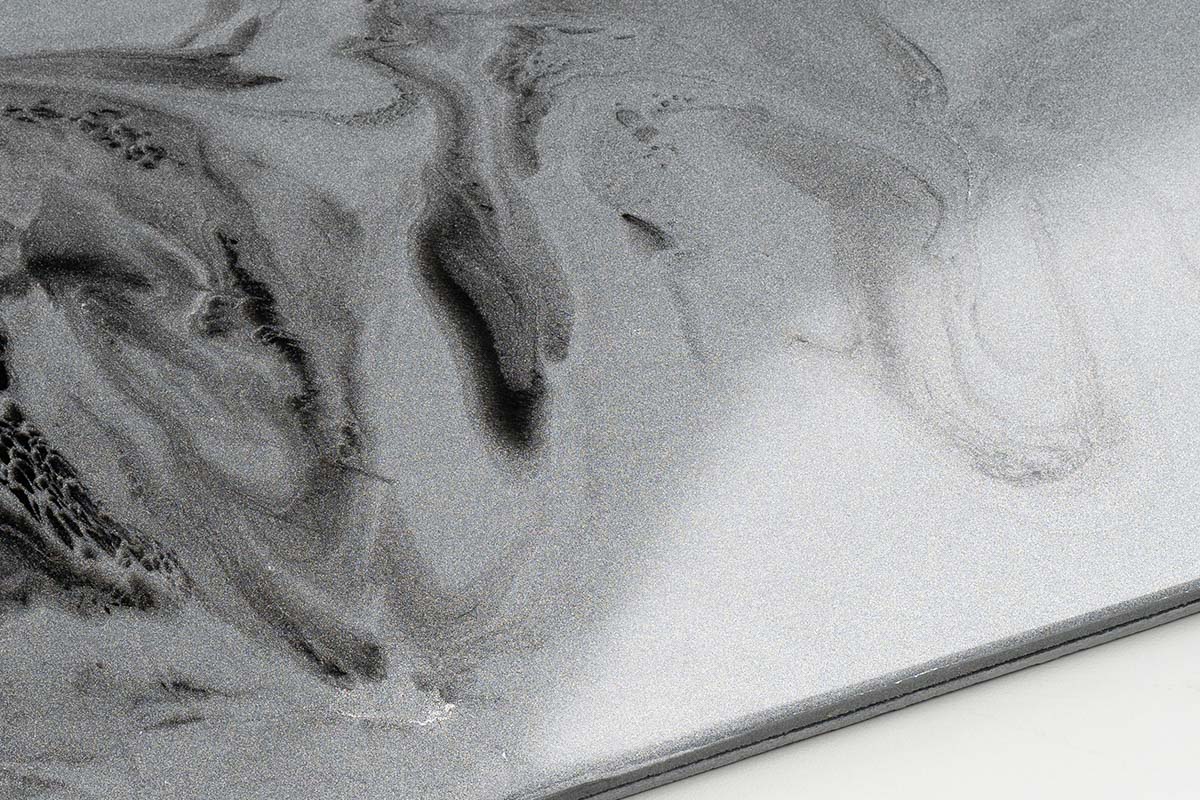
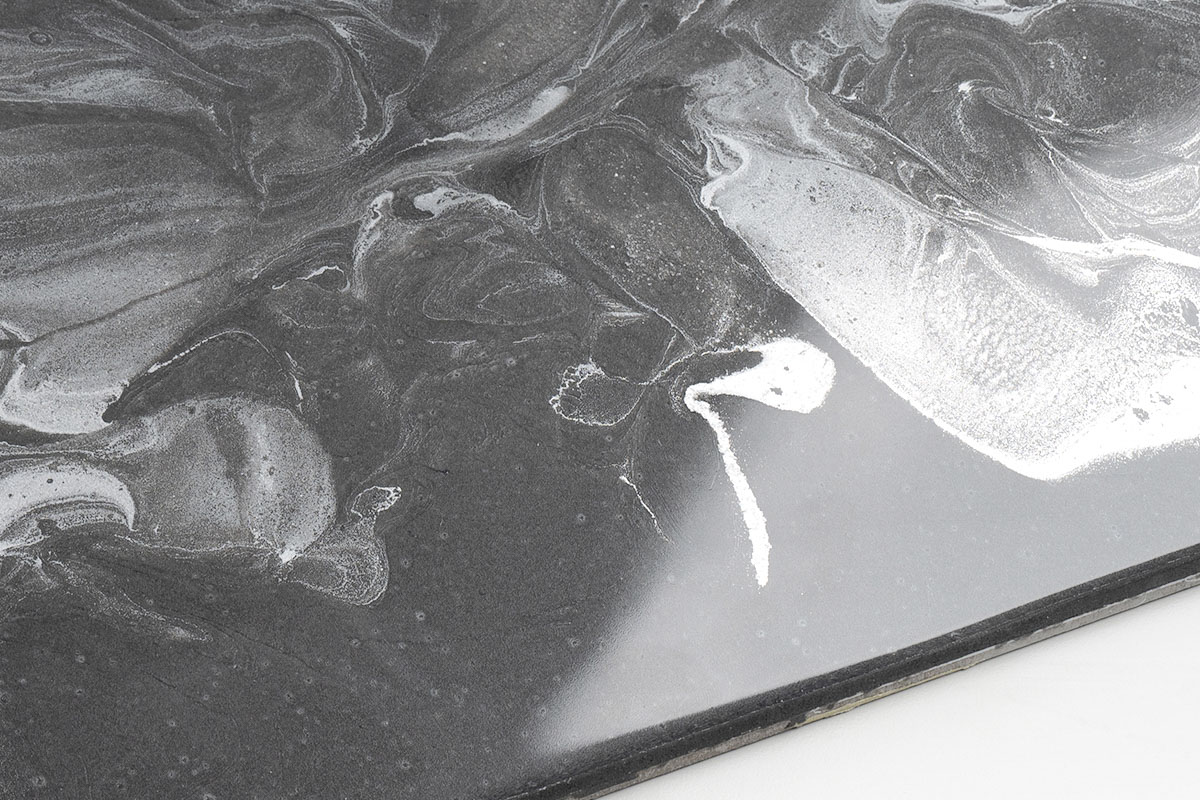
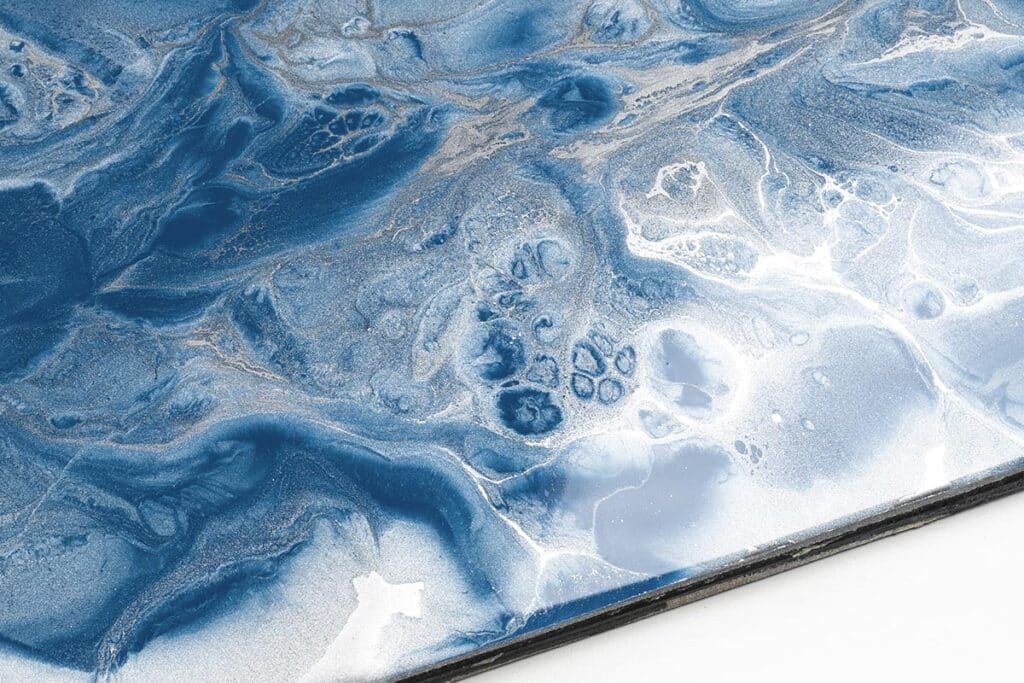
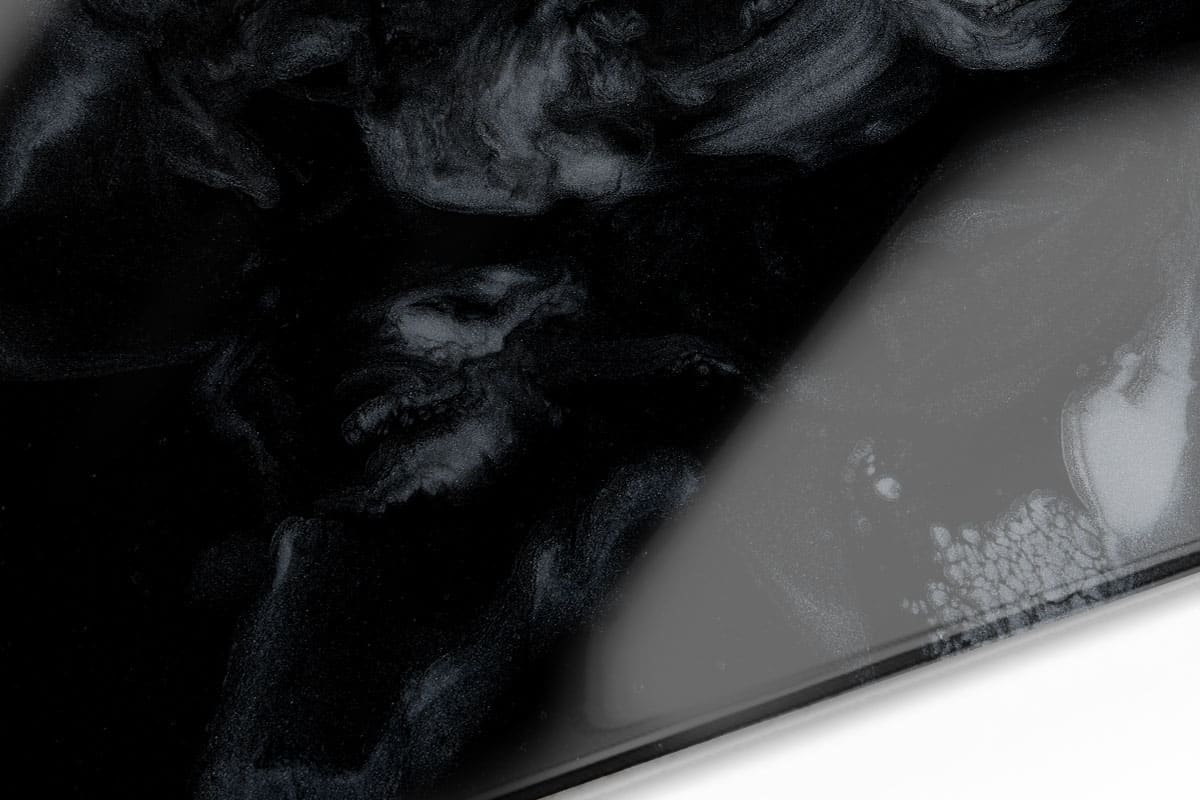
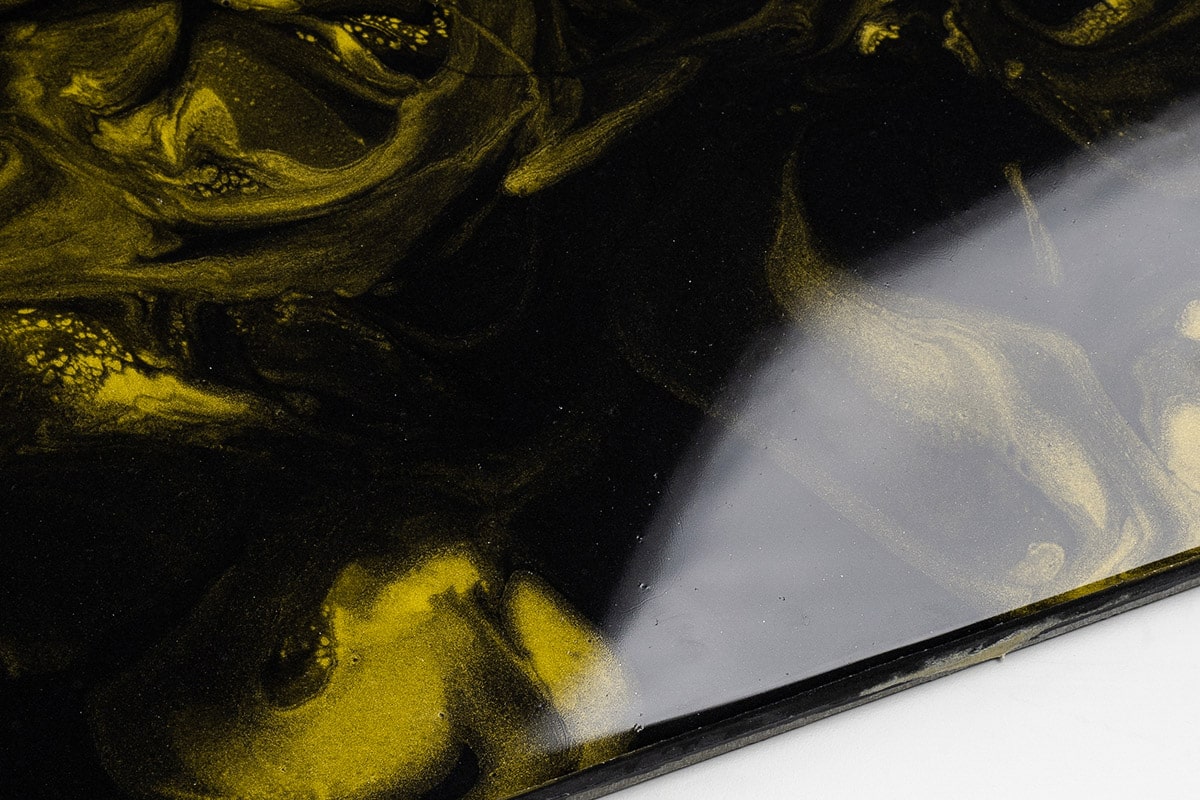
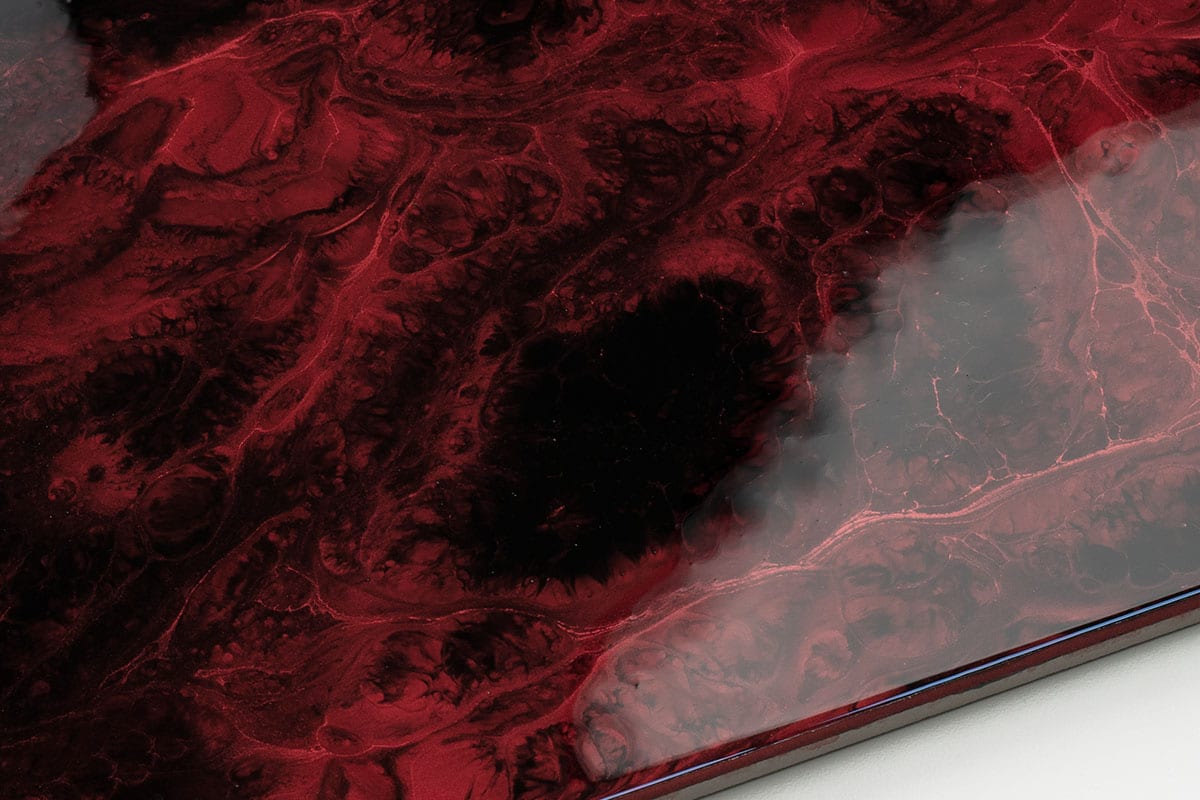
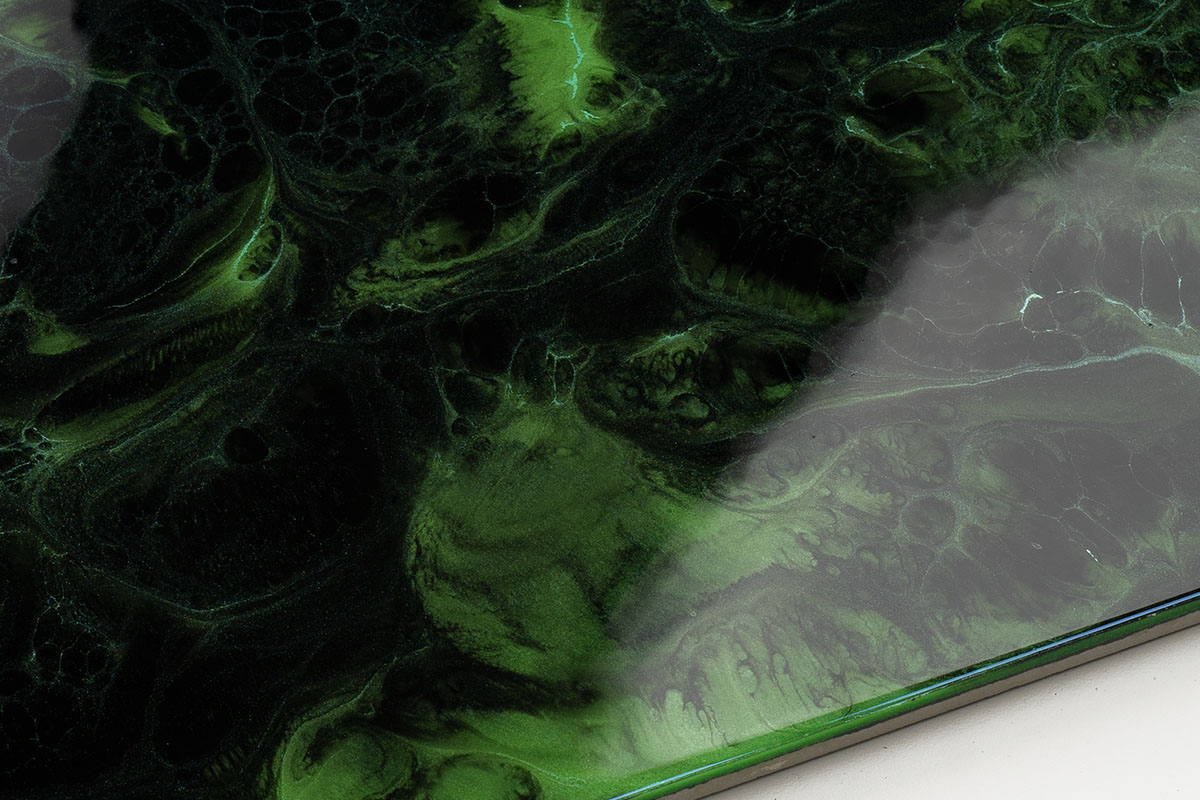
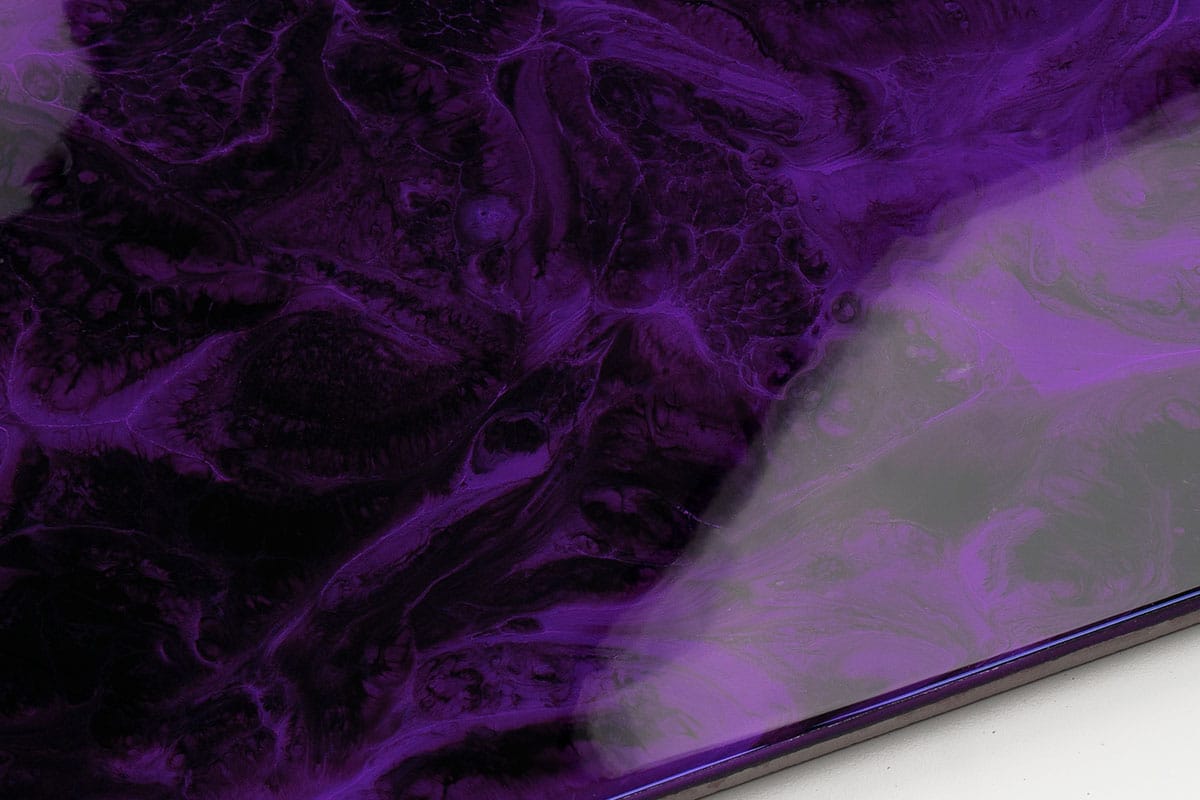
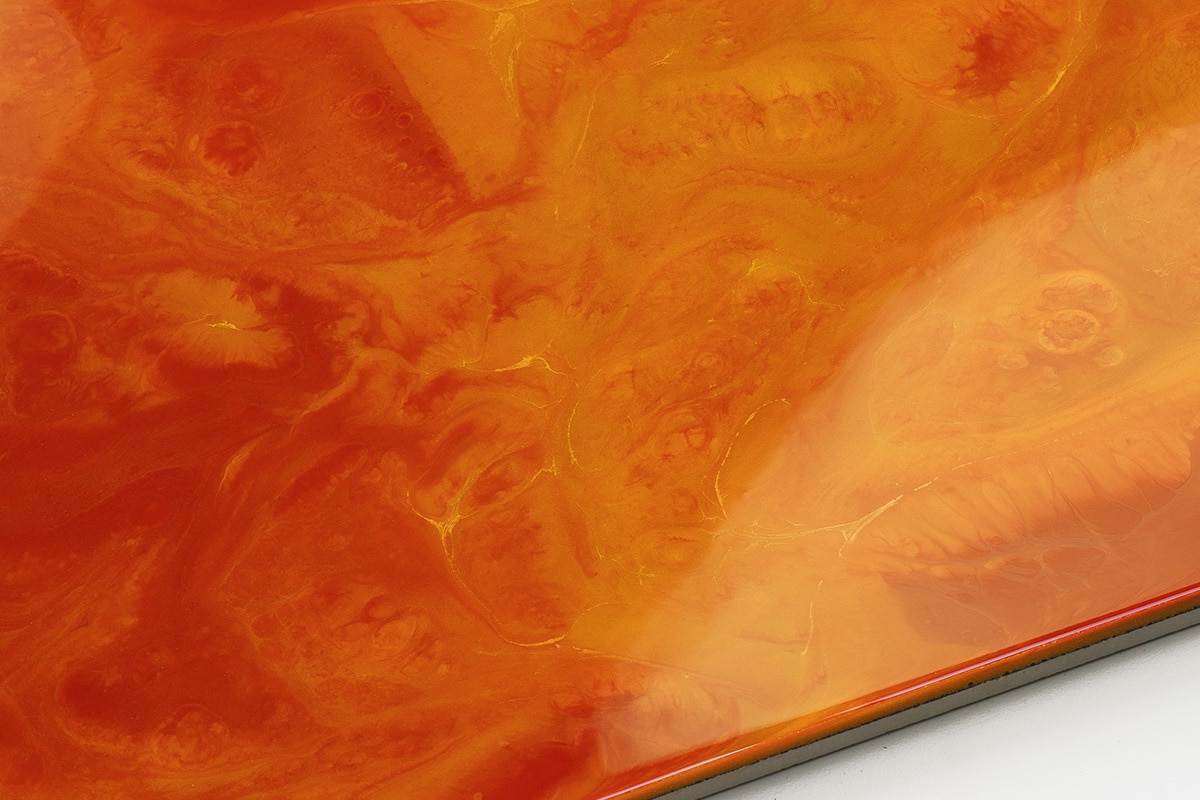
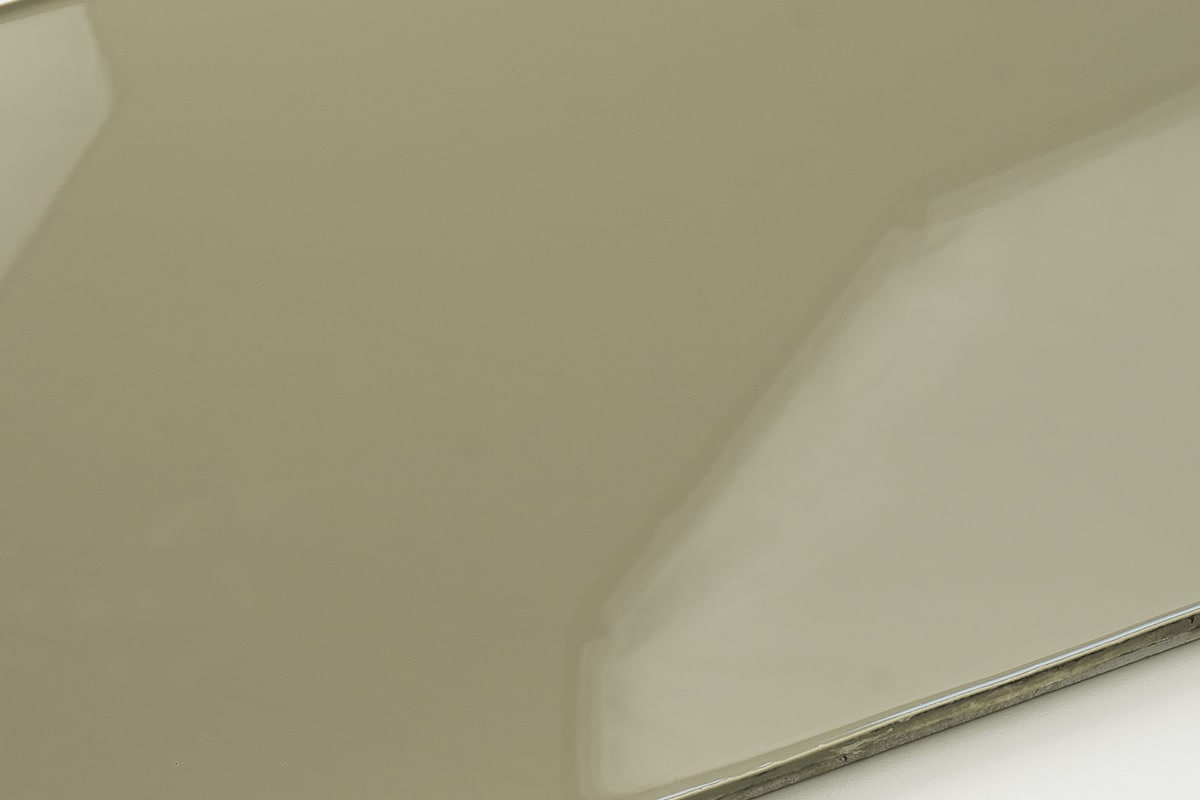
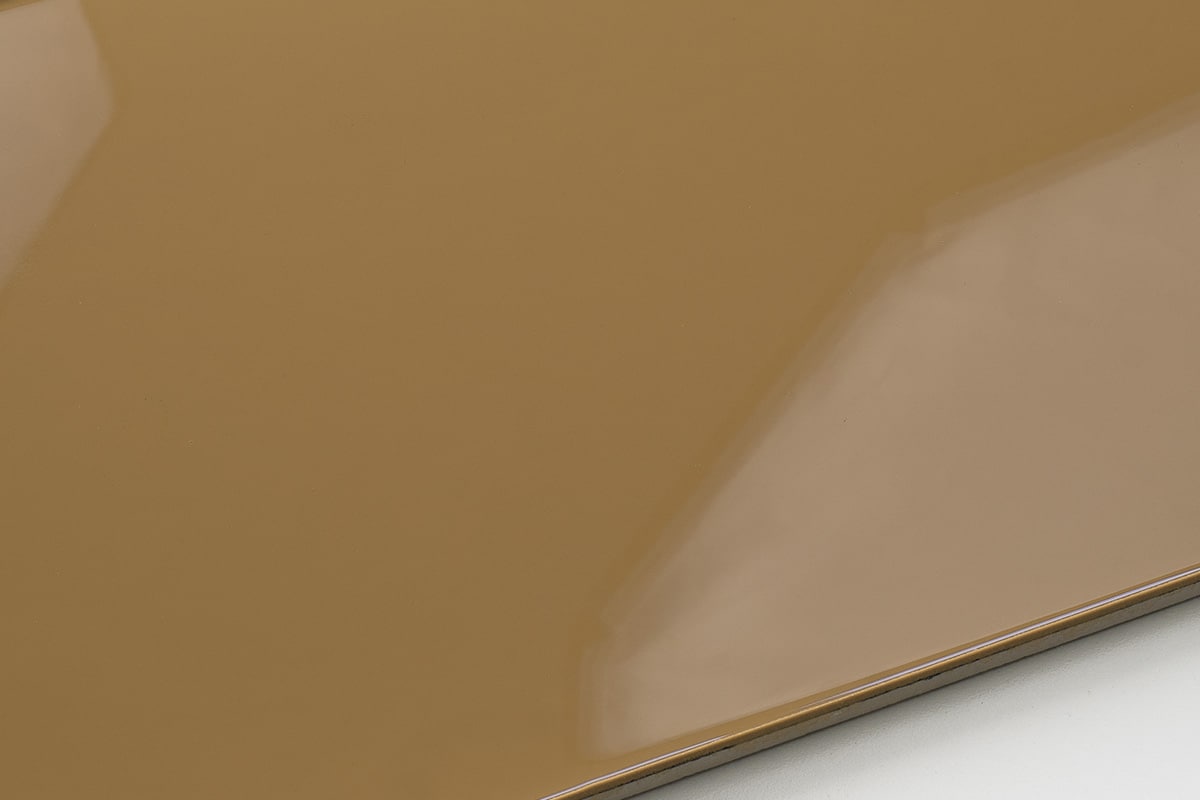
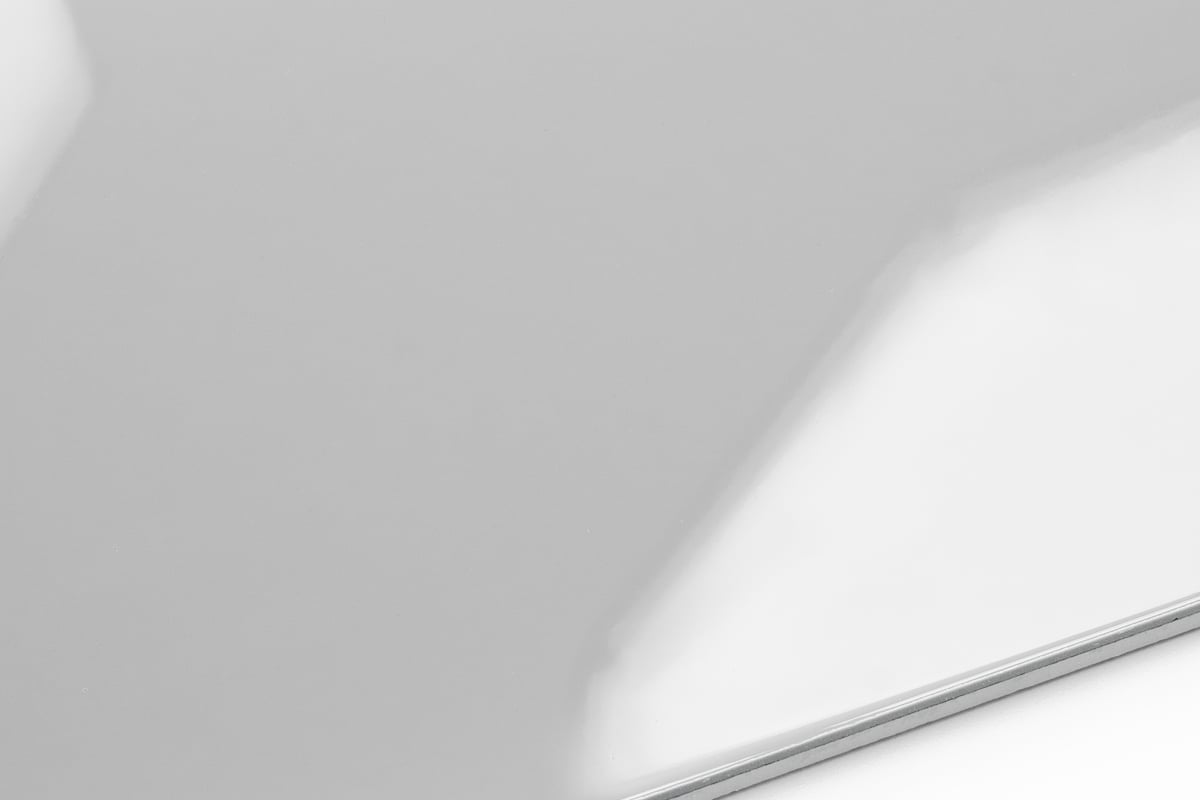
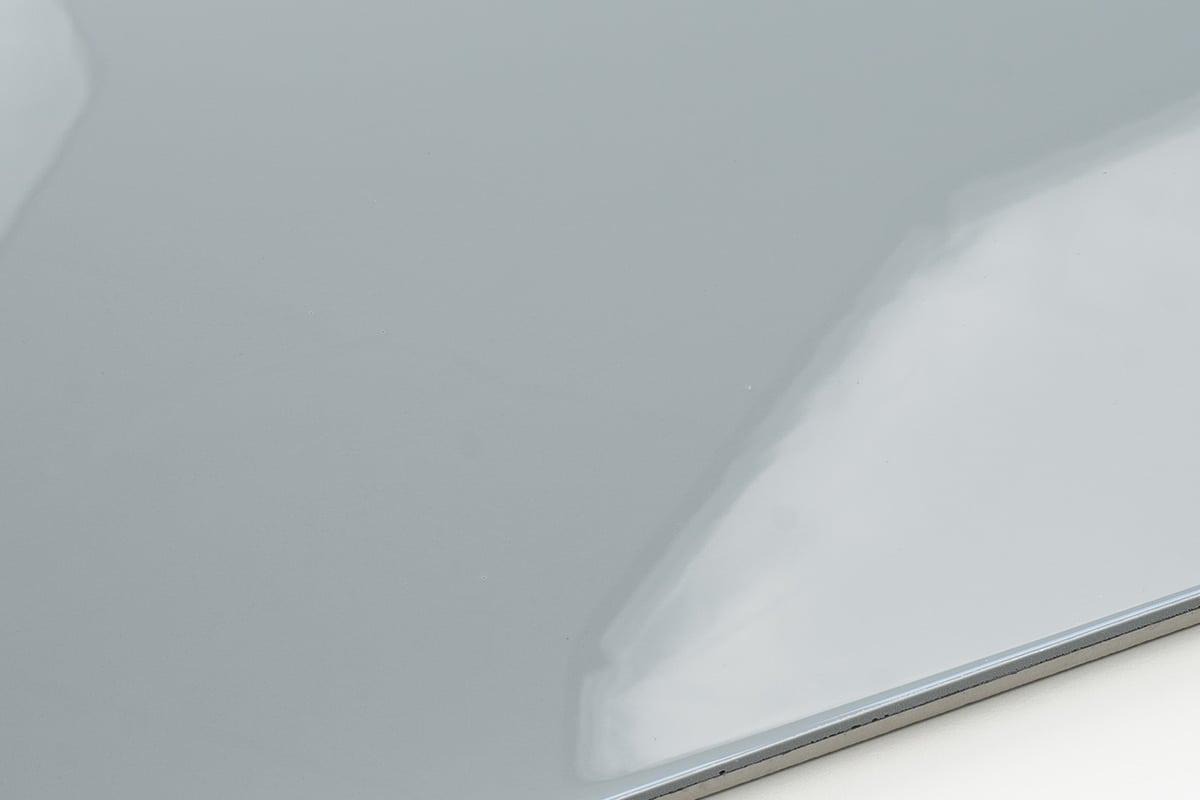
With EPODEX, there are no limits to your creativity. Install a one-of-a-kind 3D epoxy floor with our epoxy resin now. Choose from our 164 colorants to create the most exotic effects.
- Ideal for all types of floors such as industrial floors, garage floors, and designer floors
- Layer Thickness: 1/16″
- Working time: 60min, Curing time primer: 8-12h, Curing time main coat: 16-24h.
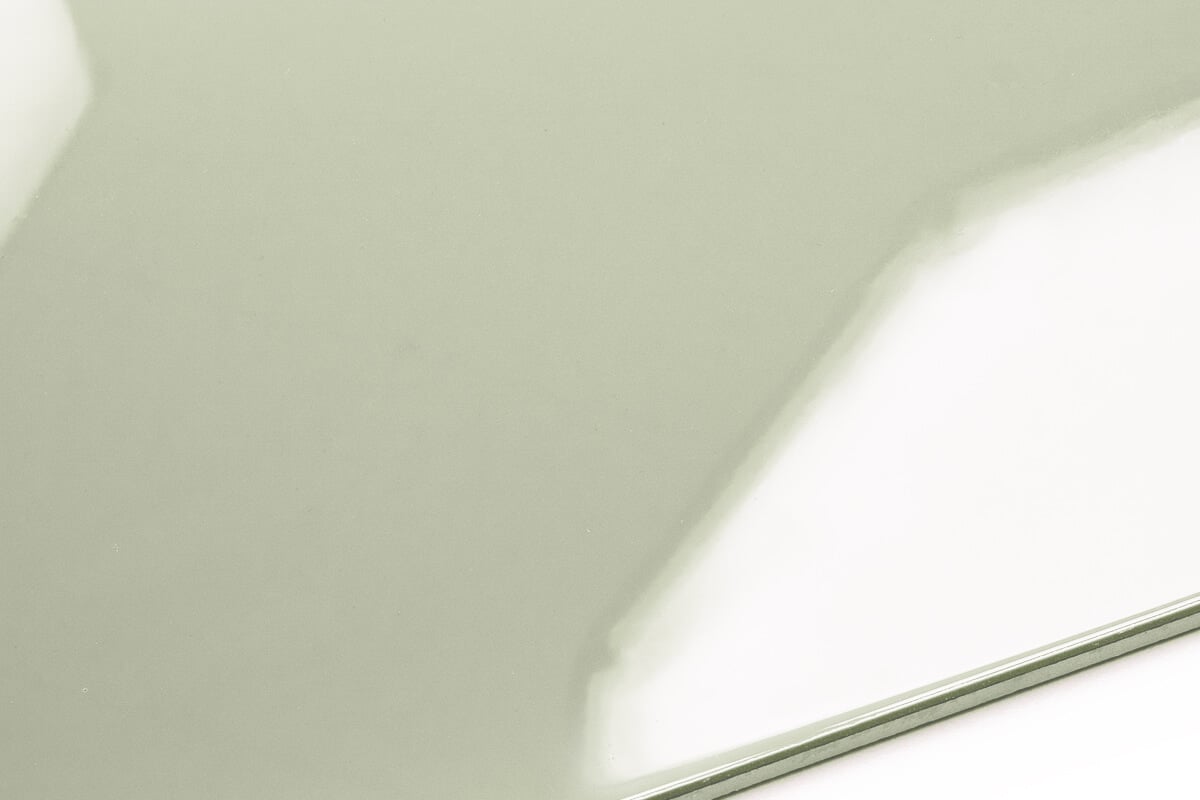
- Kit consists of suitable epoxy primer as well as resin and hardener (mixing ratio 2:1) for the main coat. Epoxy primer not included with the clear kit.
- Select a kit and receive the right amount of colorants to color your epoxy.
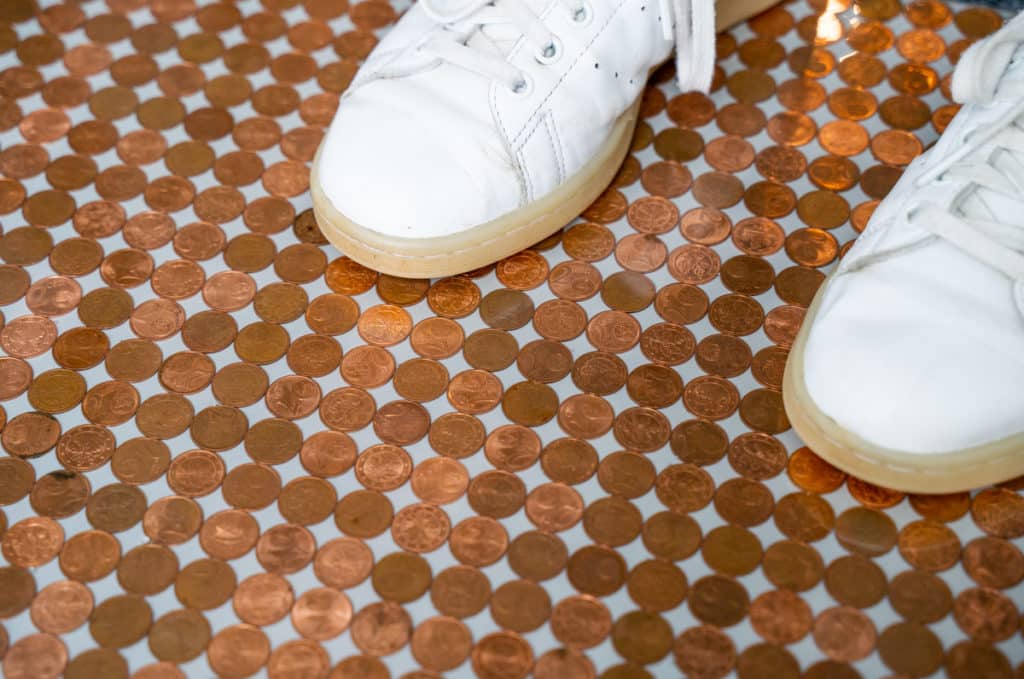
What is Epoxy Flooring?
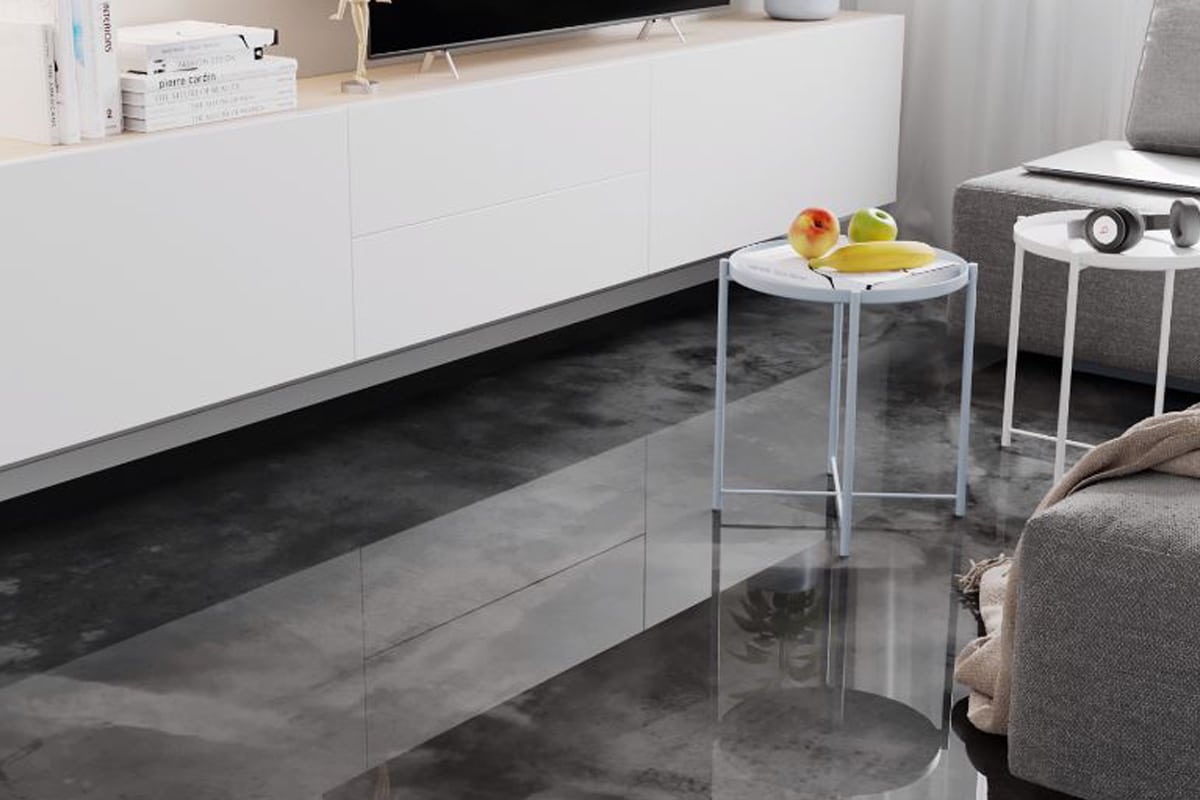
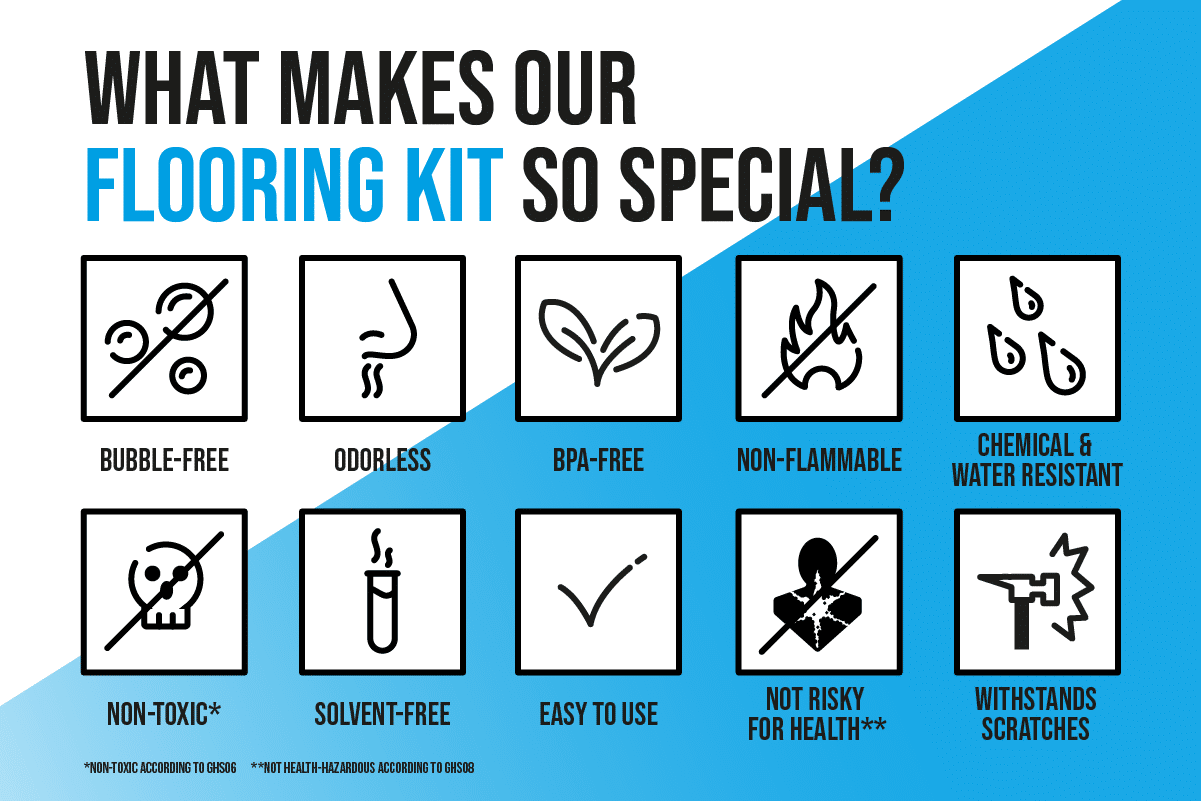
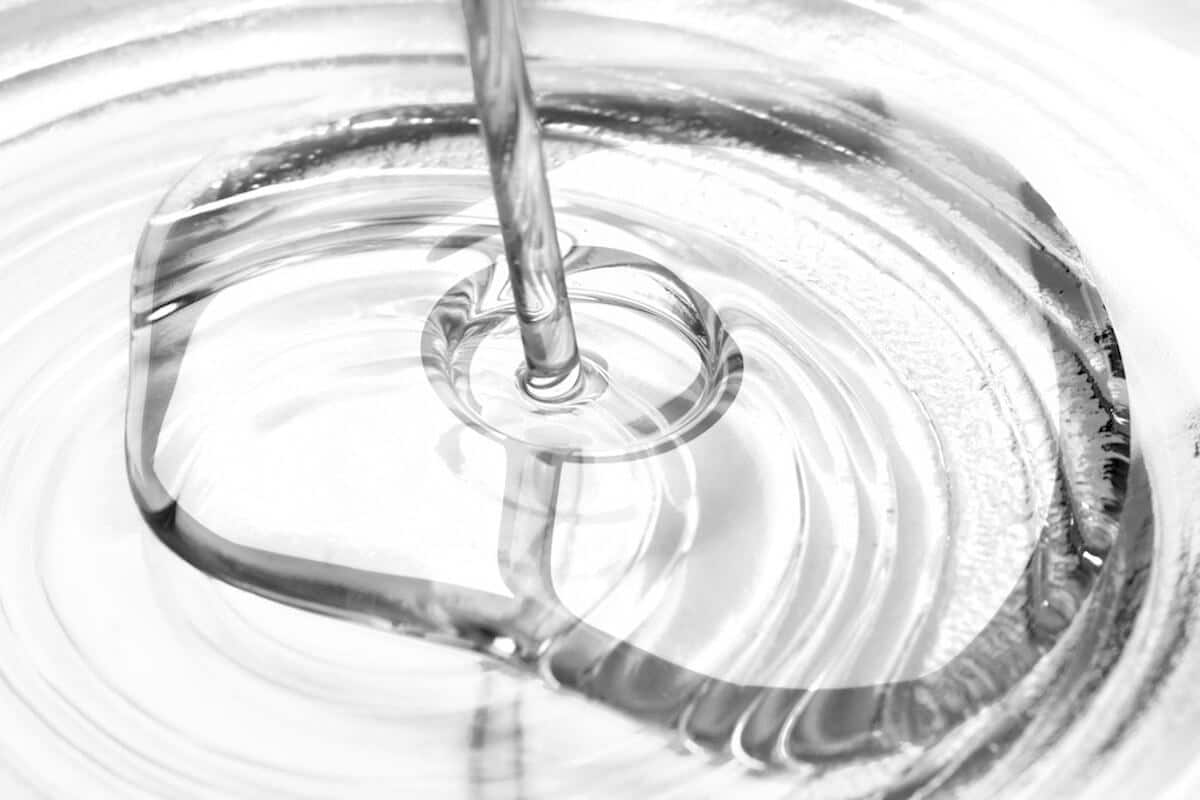
Our 2-part epoxy Flooring kit consists resin and hardener. When mixed the components react to one another resulting in a durable chemical bond with the floor itself. This chemical bond then creates a rock-hard surface that is durable, resistant to deterioration. It is also super easy to maintain. Create solid color floors, 3D epoxy floors, marble effect floors, metallic epoxy floors, or even holographic glitter epoxy floorings. With a guaranteed hassle-free shopping experience, step-by-step video tutorials, and delivery across the USA, you can complete the project in no time!

More than
250,000+
Satisfied costumers
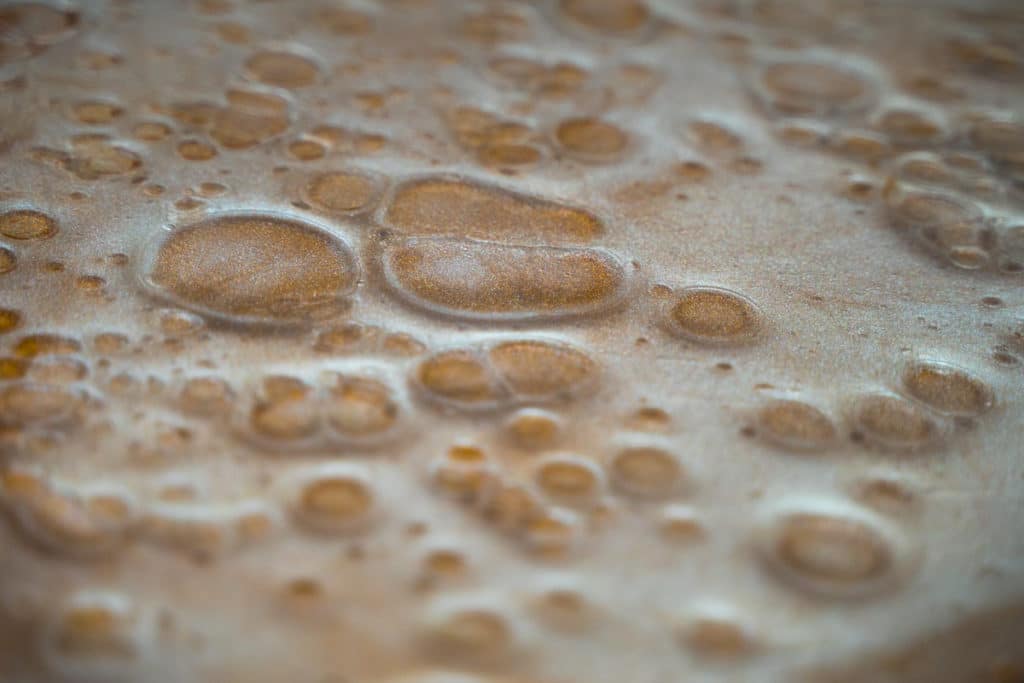
How to Install
For a perfect 3D Epoxy Flooring you have to determine the square footage of the area to be coated with epoxy. Clean the floor thoroughly and repair any damaged areas like holes, cracks, or edges. Preparation is the key ingredient to the perfect 3D epoxy floor. Wear nail soles during the application process.
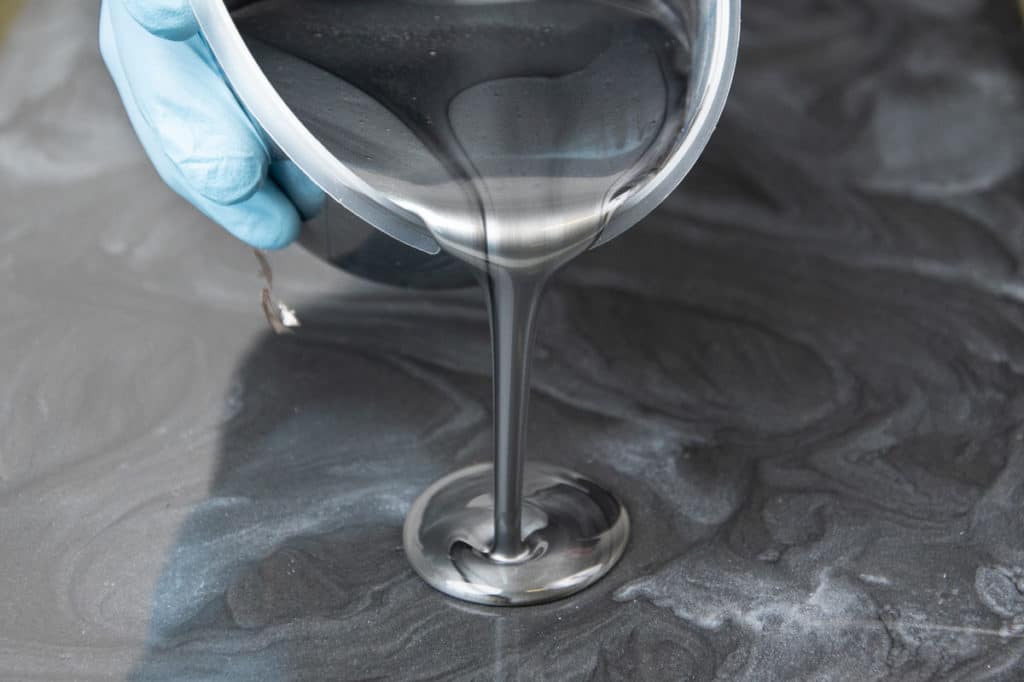
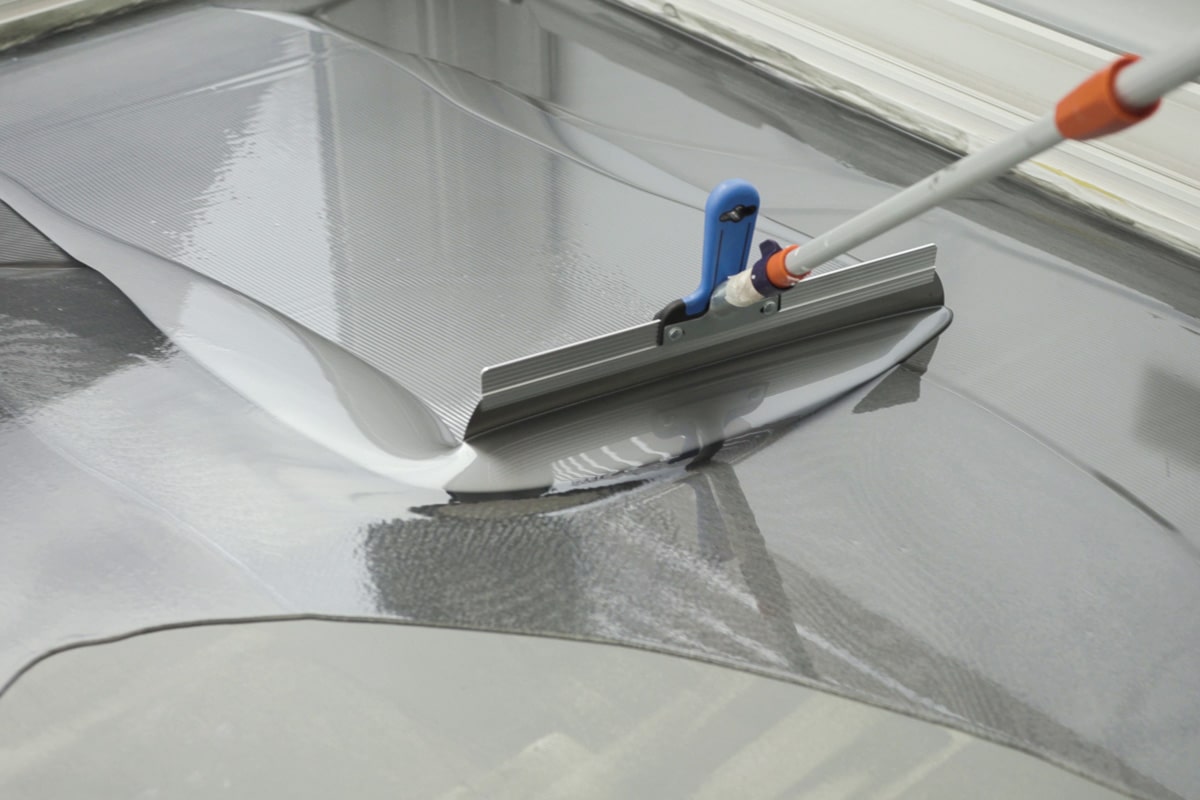
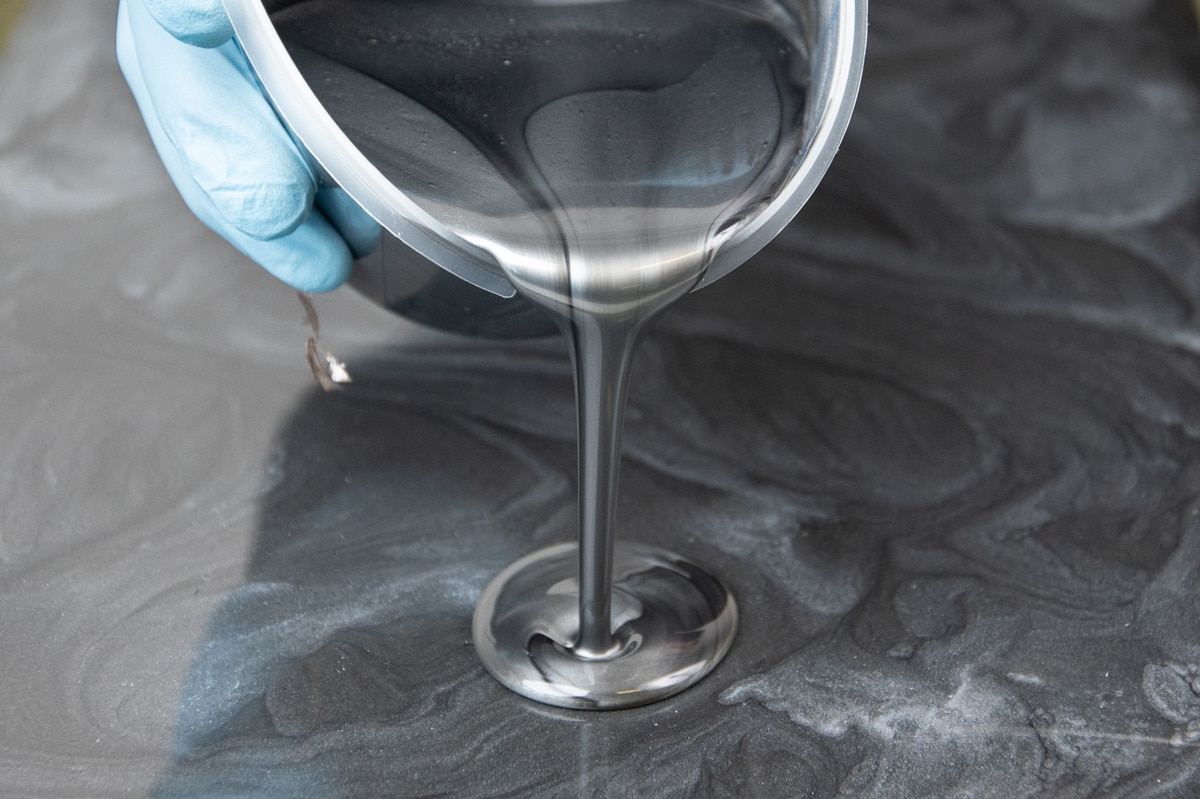
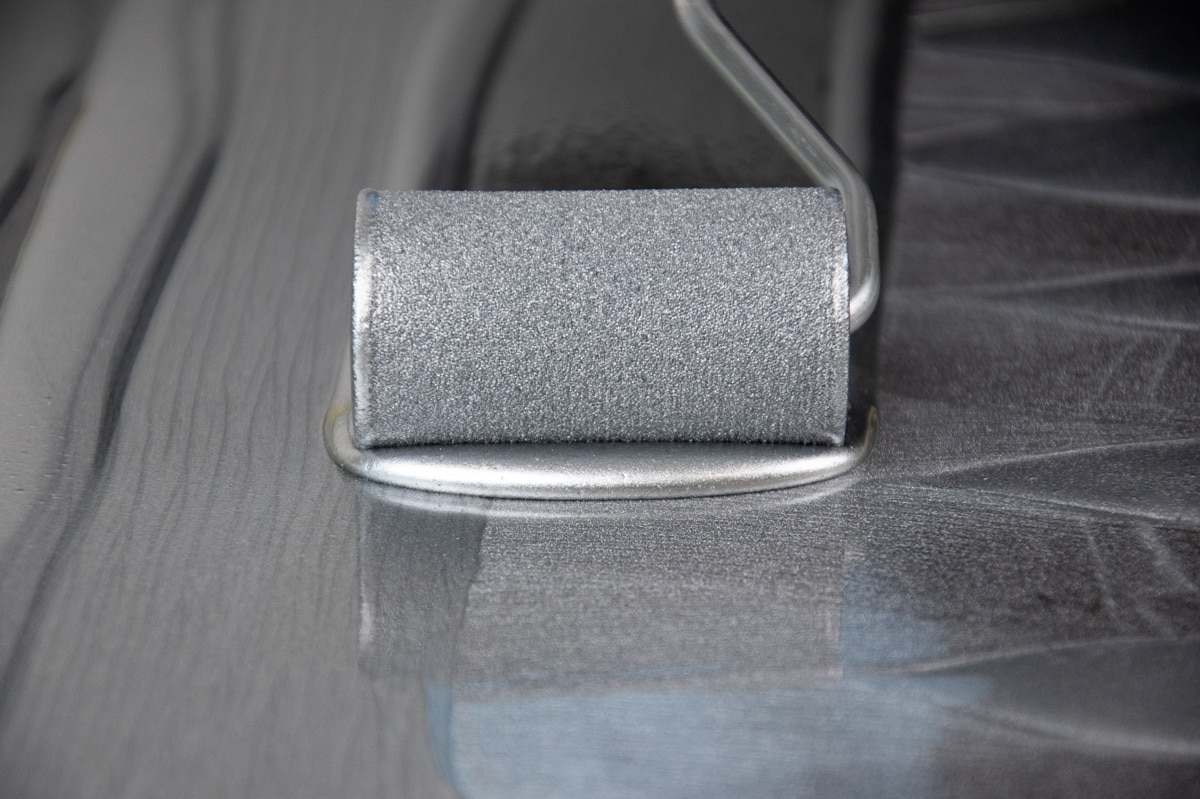
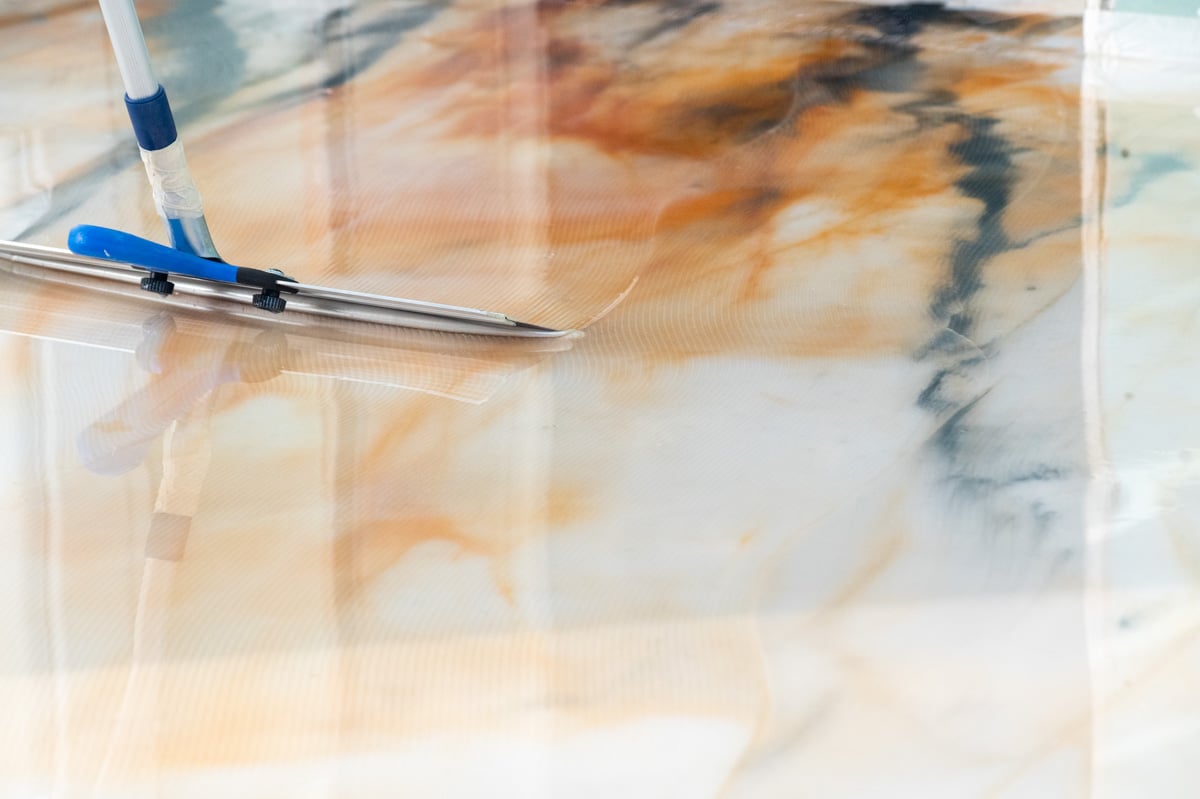
Now apply our primer with a foam roller. The layer seals the floor, creates an even surface, prevents bubbles, and high material loss. Allow the primer to dry for the appropriate time and proceed with the main layer. If you are working with one color, use a squeegee to disperse the base color over the entire surface. If you are working with two or three colors, mix them separately with the resin and hardener and apply them to the surface by working wet on wet. For a swirling design use a foam roller as well. As the metallic epoxy colorants continue to move through the epoxy it creates a stream-like flow or pearl-like design. Once you have completed the job, allow the epoxy to fully cure. With these simple steps, you will now have an insensitive and long-lasting 3D epoxy floor.
How to Maintain
Not only is a 3D epoxy floor easy to install, but it is even easier to maintain. Caring for your floor will take a minimum amount of time but should be regularly done. Use a vacuum to remove any dust. To wash the 3D epoxy floor, use a non-toxic, biodegradable cleaner like Simple Green and mix it into a bucket with hot water. Apply the mixture to the floor with a mop.
Stay away from vinegar and citrus-based cleaners as they leave streaks on the floor. Then rinse the floor with warm water and dry it with a soft cloth.
One of the best ways to remove a stain or spot on your 3D epoxy floor is by using a soft scrubbing brush, pad, or even kitchen sponge to gently scrub with warm water. Always avoid steel wool, scrubbing harshly, or even using abrasive cleaners. Stick to the basics on maintenance and your 3D epoxy floor will remain in tip-top condition for years to come.
